简介
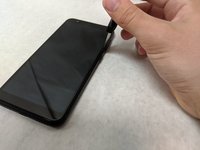
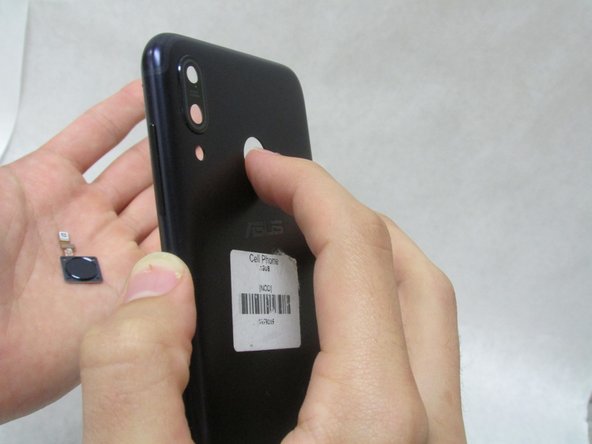
The touch sensor on the ZenFone 5 is located on the back of the phone. Since it is used every time the phone is starting up, it is used very frequently and, since it comes into direct contact with the user very often, can run into issues with relative ease. The touch sensor will need to be replaced if it is not reading a fingerprint or is simply not working in the proper way.
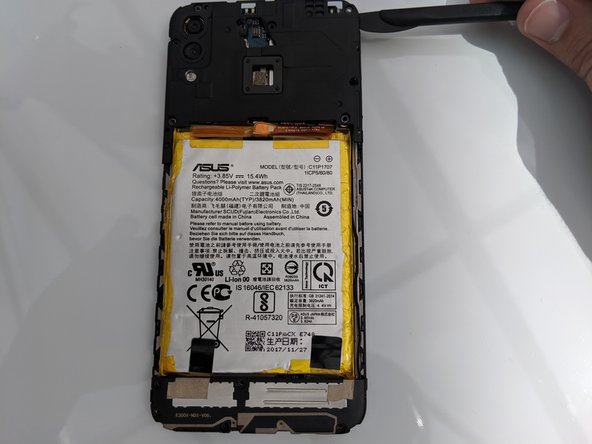
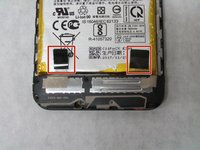
This guide misses a step in disconnecting the touch sensor from the motherboard. If you do not reconnect the press fit connector for the fingerprint sensor during reassembly, it will not function.
你所需要的
-
-
-
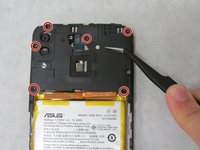
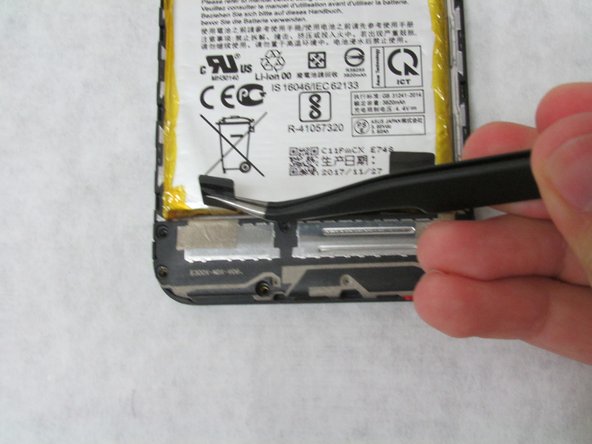
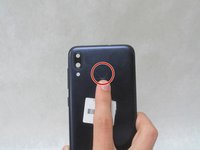
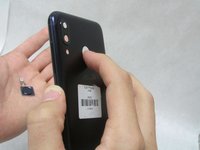
On the back shell of the phone, push with pressure on the touch sensor until it pops out.
-


To reassemble your device, follow these instructions in reverse order.
团队

Embry-Riddle Aeronautical University, Team S3-G27, Watkins Summer 2019 Embry-Riddle Aeronautical University, Team S3-G27, Watkins Summer 2019 的会员
ERAU-WATKINS-SU19S3G27
4 名成员
创作了9篇指南
1指南评论
I might replace the introduction picture in this guide for one that doesn’t have the background missing on the right side.
Alex Watkins - 回复 分享