跳转到主内容
加入维修社区 - 创建账户

Asus ROG Strix GL702VS Fan Replacement

你所需要的

    1. Asus ROG Strix GL702VS Fan Replacement, Back Cover: 步骤 1 中的图像 1,1
      • Flip the computer so the bottom of the laptop is facing up.

      询问修复机器人

      添加评论

    2. Asus ROG Strix GL702VS Fan Replacement: 步骤 2 中的图像 1,1
      • Remove the ten JIS #0 screws around the edge of the laptop.

      • The two bottom screws are slightly shorter

      询问修复机器人

      添加评论

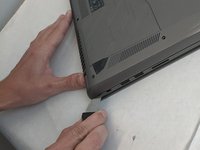
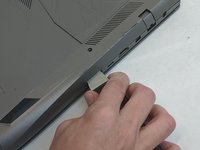
    3. Asus ROG Strix GL702VS Fan Replacement: 步骤 3 中的图像 1,2 Asus ROG Strix GL702VS Fan Replacement: 步骤 3 中的图像 2,2
      • Use a Jimmy to carefully free each side of the bottom casing.

      询问修复机器人

      添加评论

    4. Asus ROG Strix GL702VS Fan Replacement: 步骤 4 中的图像 1,1
      • Lift up the back casing from the computer.

      • You may hear clicking or snapping sounds. This is just the plastic clips coming loose.

      询问修复机器人

      添加评论

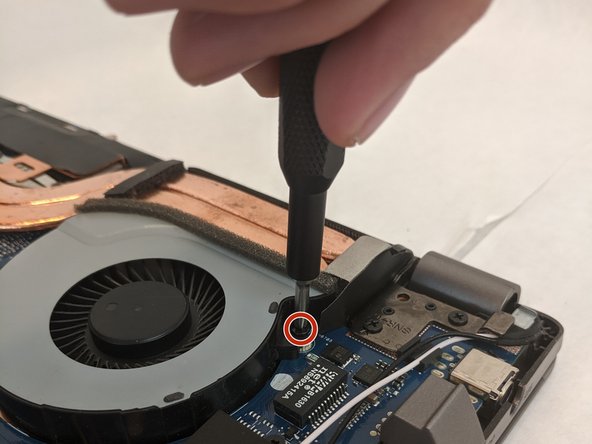
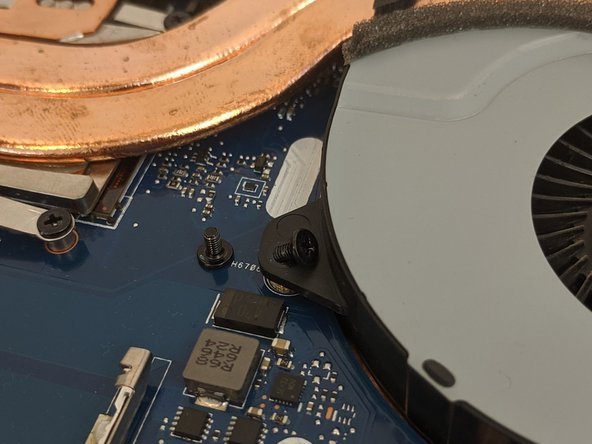
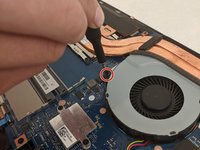
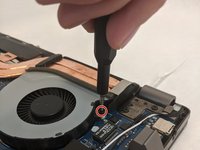
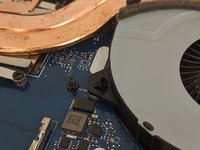
    1. Asus ROG Strix GL702VS Fan Replacement, Cooling Fans: 步骤 5 中的图像 1,3 Asus ROG Strix GL702VS Fan Replacement, Cooling Fans: 步骤 5 中的图像 2,3 Asus ROG Strix GL702VS Fan Replacement, Cooling Fans: 步骤 5 中的图像 3,3
      • Remove the four 4.8mm JIS #0 screws (two on each fan).

      询问修复机器人

      添加评论

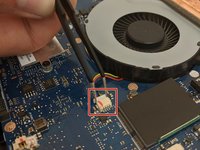
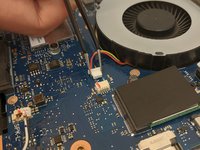
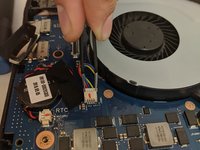
    2. Asus ROG Strix GL702VS Fan Replacement: 步骤 6 中的图像 1,3 Asus ROG Strix GL702VS Fan Replacement: 步骤 6 中的图像 2,3 Asus ROG Strix GL702VS Fan Replacement: 步骤 6 中的图像 3,3
      在这个步骤中使用的工具:
      Tweezers
      $4.99
      • Remove the fan's connector on the motherboard using a pair of tweezers.

      • Be gentle, as the small clips and wires can be easily damaged.

      询问修复机器人

      添加评论

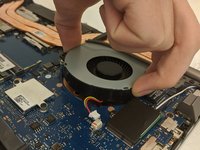
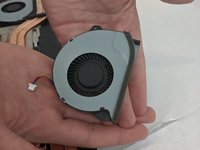
    3. Asus ROG Strix GL702VS Fan Replacement: 步骤 7 中的图像 1,2 Asus ROG Strix GL702VS Fan Replacement: 步骤 7 中的图像 2,2
      • Gently lift each fan up and out of position.

      询问修复机器人

      添加评论

结论

To reassemble your device, follow these instructions in reverse order.


取消:我没有完成这个指南。

另外一个人完成了本指南。

0指南评论

添加评论

浏览统计数据:

过去 24 小时: 0

过去 7 天: 6

过去 30 天: 38

总计 3,480