简介
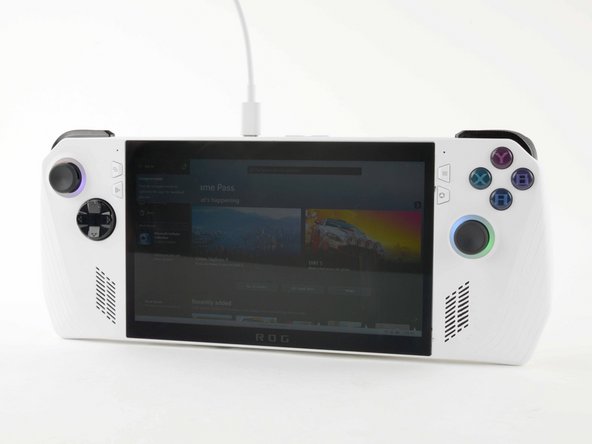
The ASUS ROG Ally was one of 2023's hottest devices but on the go gamers have had one minor complaint: its 2 hour battery life.
A few of us here at iFixit decided to do something about that in this after work hours project.
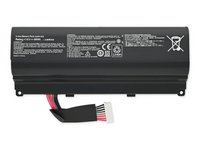
To complete this project, you'll need access to a 3D printer, some tools, and an Asus A42N1403 Laptop Battery.
Head here to pick up a remix of DarkK3y's excellent 3D scan of the Ally's original back cover. You'll be ready to start this mod once you have your new backplate printed!
你所需要的
-
-
Completely power off your device and unplug all cables.
 询问修复机器人
-
-
在这个步骤中使用的工具:FixMat$31.41
-
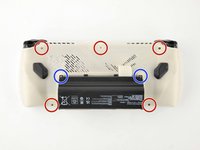
Use a Phillips #0 screwdriver to remove the five 17.2 mm‑long screws securing the top edge and bottom corners of the back cover.
-
Use a Phillips #0 screwdriver to fully loosen the remaining captive screw at the center of the bottom edge. This should create a small gap between the back cover and chassis.
-
-
-
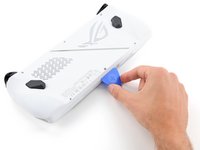
Insert the flat edge of an opening pick between the bottom edge of the back cover and chassis, near the captive screw.
-
Angle the pick upward and push it under the back cover.
-
-
-
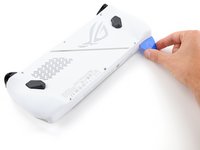
Slide the opening pick along the bottom edge and around the corners of the back cover to release the clips securing it.
-
-
-
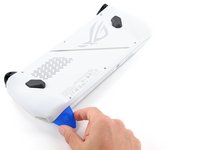
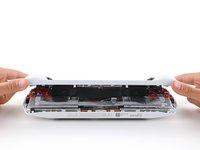
Lift the bottom edge of the back cover off the chassis to release the remaining clips.
-
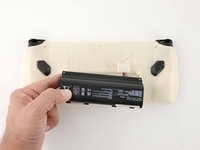
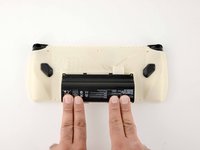
Remove the back cover.
-
-
-
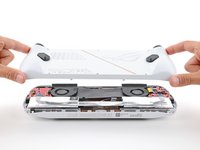
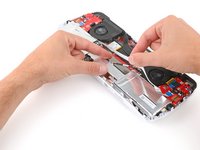
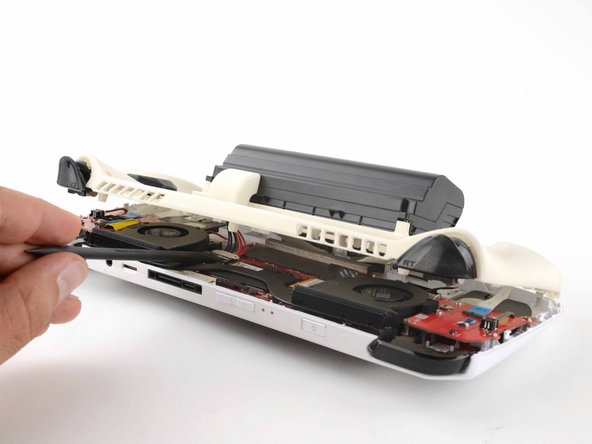
Use your fingers to peel up and remove the black plastic cover between the fans.
-
-
-
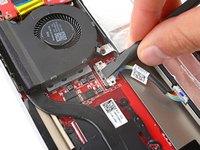
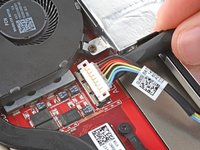
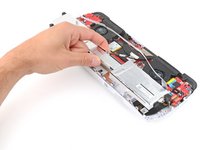
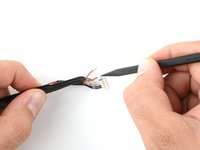
Use the flat end of a spudger to gently push the locking bar away from the connector to unlatch it.
-
-
-
-
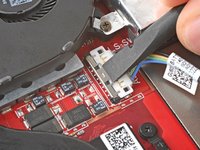
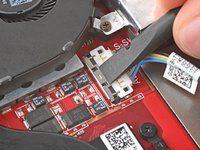
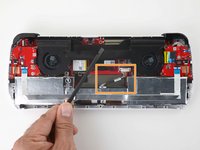
Insert the flat end of a spudger under the center of the battery connector.
-
Lift the connector straight up and out of its socket to disconnect the battery.
-
-
在这个步骤中使用的工具:Tweezers$4.99
-
Use a Phillips #00 screwdriver to remove the four screws securing the battery:
-
Two 9.6 mm‑long screws near the center of the top edge
-
Two 3.4 mm‑long screws at the left and right edges
-
-
-
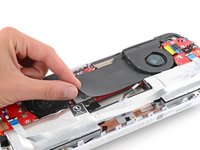
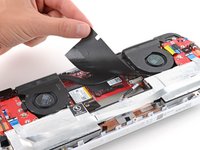
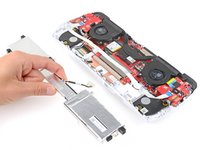
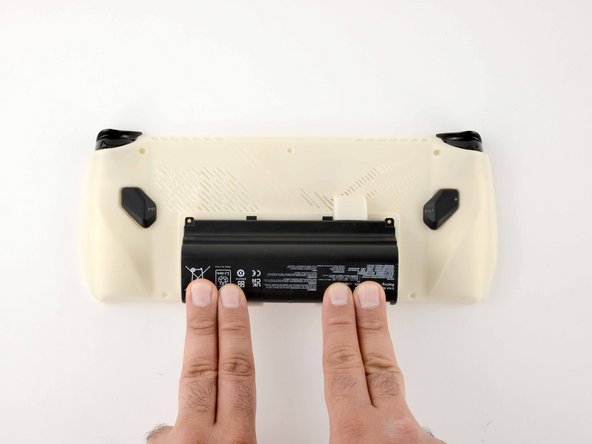
With one hand, hold the ribbon cable that runs along the top of the battery out of the way.
-
With your free hand, lift the battery straight up and remove it.
-
-
-
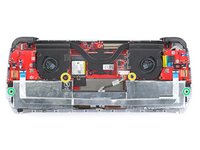
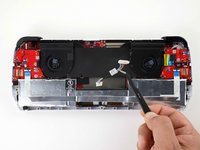
With one hand, firmly secure the outer battery cells.
-
With your free hand, use the point of a spudger to push on alternating sides of the battery connector to walk it out of its socket.
-
Gently push the connector partially into its socket.
-
Use a spudger to push in the outer edges of the connector until it slides fully into its socket.
-
-
-
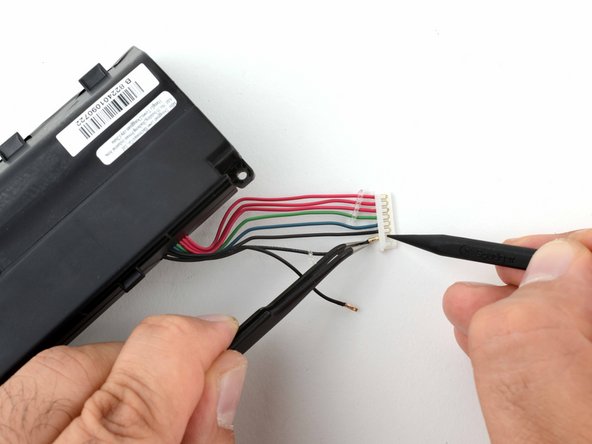
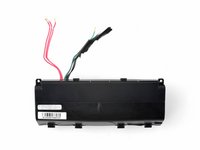
We need the cable connecting the battery pouch to the mainboard.
-
-
-
Use a bit of heat to loosen the glue around the base of the connector that connects to the mainboard.
-
Once the glue around the base is soft, pry the glue away.
-
Gently lift the small white tabs holding each wire in place and remove the wires one by one.
-
Save the connector head for step 16.
-
-
-
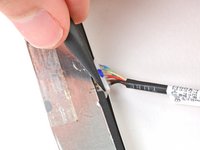
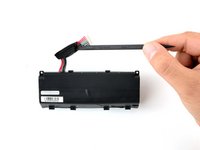
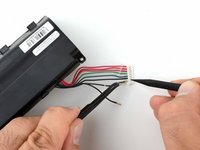
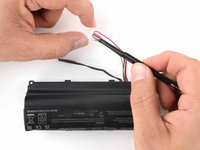
Remove the black tape around the wires on the A42N1403 battery.
-
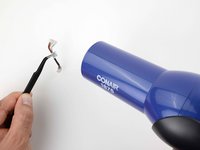
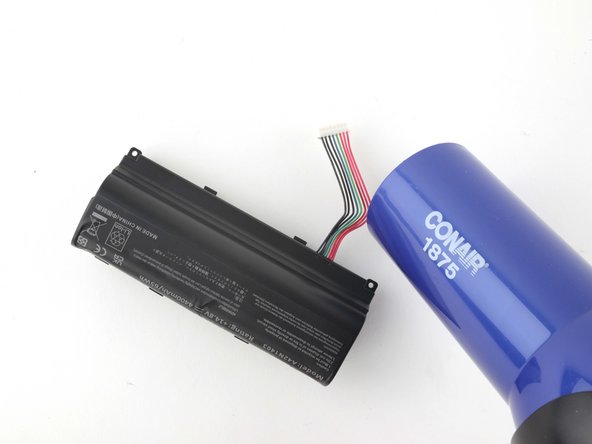
Position your hair dryer in a way that directs heat towards the connector but away from the battery.
-
-
-
Pry away the glue at the base of the connector.
-
Use a spudger to lift the plastic tabs on the connector and remove the black wires.
-
Tape the three black wires together.
-
-
在这个步骤中使用的工具:E6000 Adhesive Glue$2.99
-
Remove the remaining wires and discard the connector.
-
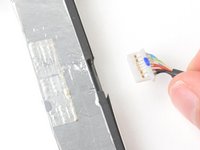
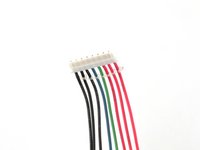
Retrieve the connector head you salvaged from the ROG Ally and place it with the row of small white tabs facing up.
-
Attach the red wires first and glue them in place with an adhesive of your choice (I used this).
-
Attach the orange/green and blue wires, followed by the three black wires as shown in the picture. Glue them all in place.
-
-
-
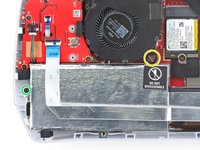
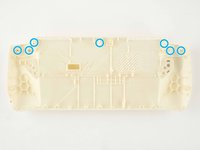
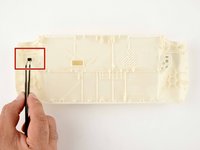
It's a good idea to run pilot holes through any screw pillars before proceeding further.
-
Make sure to grab the light blocker from the original back cover and place it in the new shell.
-
Transfer the paddles and triggers from the original cover over to the newly printed back plate.
-
-
-
Pass the battery cable through the opening in the new back plate.
-
Turn the connector head 180 degrees so the small white tabs are facing towards the mainboard.
-
Ensure the battery is correctly positioned and firmly press down on the base of the battery pack until you hear a click.
-
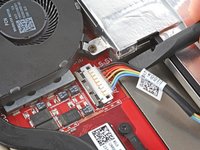
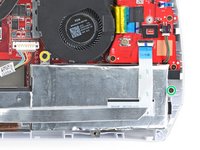
With the back plate loose, you need to carefully connect the battery connector and slide the metal bracket into its locked position.
-
-
-
You can replace five of the original six screws used to secure the backplate.
-
Use two of the screws from the original battery pack to further secure the new battery.
-
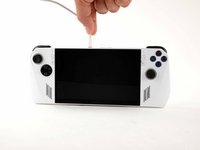
Plug in your ROG Ally to its power supply.
-
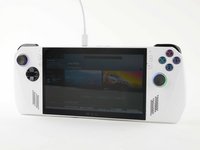
Your ROG Ally should now be able to run off the new battery pack.
-
-
-
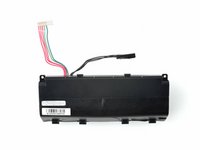
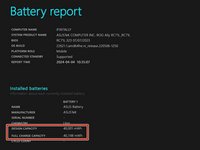
OEM battery pack capacity.
-
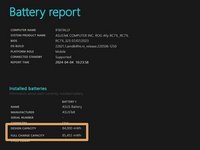
Upgraded battery pack capacity.
-
Game on.
-
-
-
For the terminally curious, this is a shot of the BMS board.
-
Did you install the light blocker on your new back cover? Did you try taping the light sensor over with black tape?
-
Did you plug your Ally into mains using the original charging brick?
-
Double check to ensure your cable is properly seated on the mainboard. The margins are tight and it can pop out easily.
-
Double check that the pins on the connector head are inserted fully. You should be able to see the copper tabs through the white plastic.
-
Check your wiring. With the connector heads little white tabs facing up, you should have 3 red wires on the right and 3 black wires on the left. When connected to the mainboard, you should have 3 red wires on the left and 3 black wires on the right.
-


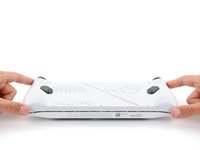


To reassemble your device, follow these instructions in reverse order.
6等其他人完成本指南。


23指南评论
And how much battery time did you actually won with this mod?