跳转到主内容
加入维修社区 - 创建账户

Asus Eee PC 1008ha Screen Replacement

你所需要的

    1. Asus Eee PC 1008ha Screen Replacement, Battery: 步骤 1 中的图像 1,1
      • Using the plastic opening tool, carefully pry the top panel from the base.

      询问修复机器人
      添加评论

    2. Asus Eee PC 1008ha Screen Replacement: 步骤 2 中的图像 1,3 Asus Eee PC 1008ha Screen Replacement: 步骤 2 中的图像 2,3 Asus Eee PC 1008ha Screen Replacement: 步骤 2 中的图像 3,3
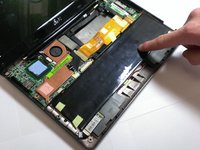
      • Lift the side of the keyboard.

      • Disconnect the attached ribbon located underneath the keyboard.

      • Place your index finger in the hole on the right side of the keyboard tray and lift the tray.

      询问修复机器人

      添加评论

    3. Asus Eee PC 1008ha Screen Replacement: 步骤 3 中的图像 1,2 Asus Eee PC 1008ha Screen Replacement: 步骤 3 中的图像 2,2
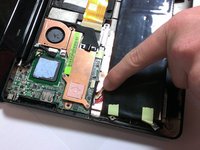
      • Use your fingers to lift the battery and gently disconnect the wires from the base.

      询问修复机器人

      添加评论

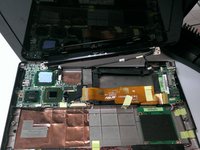
    1. Asus Eee PC 1008ha Screen Replacement, LCD Screen: 步骤 4 中的图像 1,2 Asus Eee PC 1008ha Screen Replacement, LCD Screen: 步骤 4 中的图像 2,2
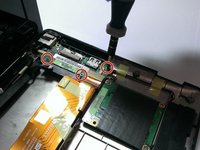
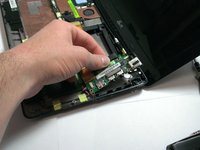
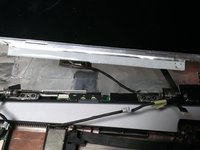
      • Using the Phillips #00 screwdriver, unscrew the 4mm screws from the rightmost circuit board.

      • Carefully pull the circuit board away from side of device base.

      询问修复机器人
      添加评论

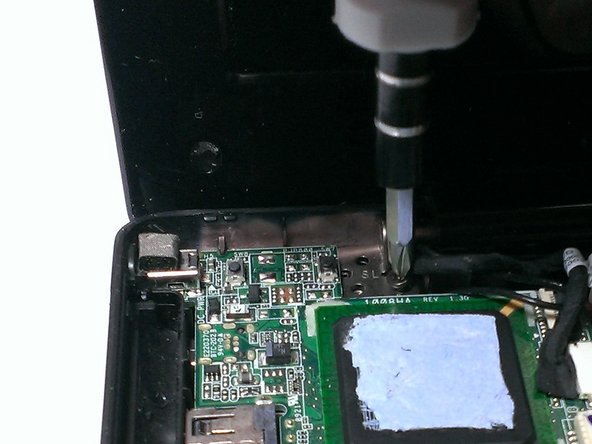
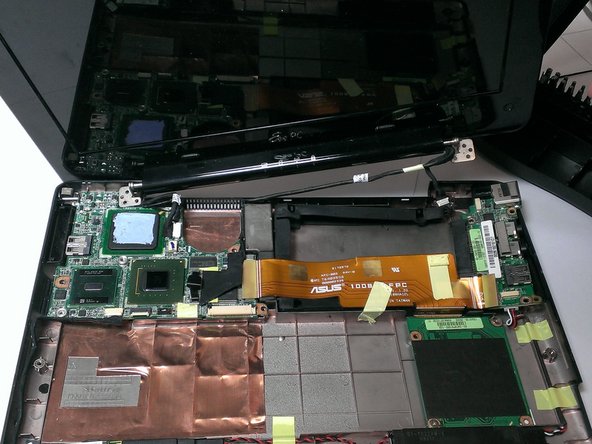
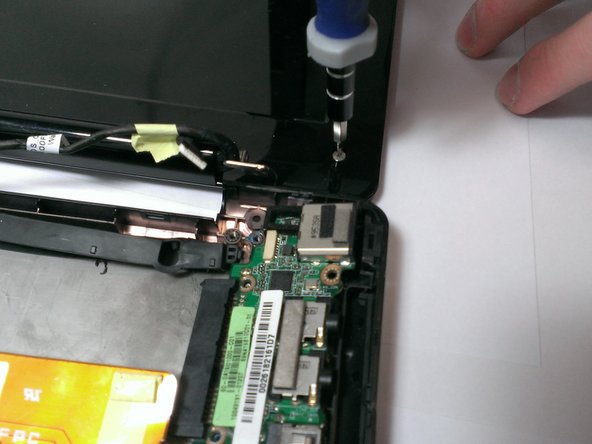
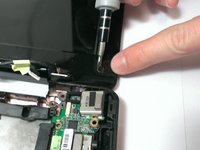
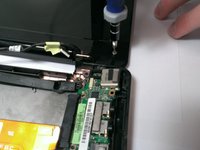
    2. Asus Eee PC 1008ha Screen Replacement: 步骤 5 中的图像 1,3 Asus Eee PC 1008ha Screen Replacement: 步骤 5 中的图像 2,3 Asus Eee PC 1008ha Screen Replacement: 步骤 5 中的图像 3,3
      • Using the Phillips #00 screwdriver, unscrew the 4mm screws attaching screen to base from both sides.

      • Gently lift the screen portion from the base.

      询问修复机器人
      添加评论

    3. Asus Eee PC 1008ha Screen Replacement: 步骤 6 中的图像 1,2 Asus Eee PC 1008ha Screen Replacement: 步骤 6 中的图像 2,2
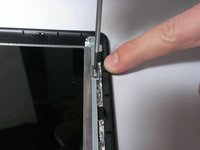
      • Using the Plastic Opening Tool, pry the six small chits from the face of the screen portion.

      • Using the Phillips #00 screwdriver, unscrew the two 2mm and four 4mm screws from underneath the chits.

      询问修复机器人

      添加评论

    4. Asus Eee PC 1008ha Screen Replacement: 步骤 7 中的图像 1,2 Asus Eee PC 1008ha Screen Replacement: 步骤 7 中的图像 2,2
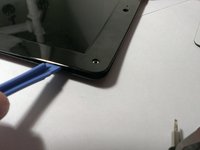
      • Slide the Plastic Opening Tool under the edge of the screen bezel to release the front panel of the screen.

      询问修复机器人

      添加评论

    5. Asus Eee PC 1008ha Screen Replacement: 步骤 8 中的图像 1,2 Asus Eee PC 1008ha Screen Replacement: 步骤 8 中的图像 2,2
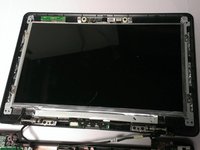
      • Using the Phillips #00 screwdriver, unscrew the 2mm screws from the perimeter of the screen.

      • Use your fingers to hold the screen and carefully lift it from the base.

      询问修复机器人

      添加评论

    6. Asus Eee PC 1008ha Screen Replacement: 步骤 9 中的图像 1,2 Asus Eee PC 1008ha Screen Replacement: 步骤 9 中的图像 2,2
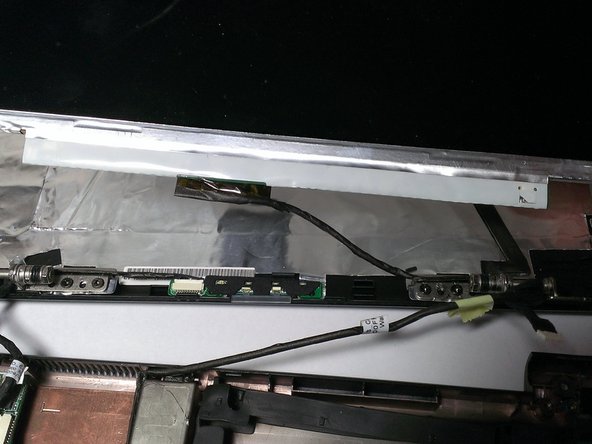
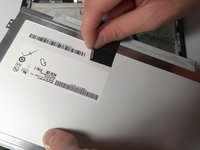
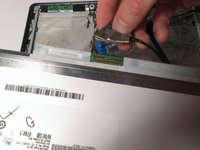
      • Use your fingers to peel back the adhesive tape located on the back of the screen.

      • Disconnect the wire from the screen.

      询问修复机器人

      添加评论

结论

To reassemble your device, follow these instructions in reverse order.

取消:我没有完成这个指南。

另外一个人完成了本指南。

团队

Cal Poly, Team 21-52, Johann Spring 2013 Cal Poly, Team 21-52, Johann Spring 2013 的会员

CPSU-JOHANN-S13S21G52

4 名成员

创作了36篇指南

0指南评论

添加评论

浏览统计数据:

过去 24 小时: 2

过去 7 天: 11

过去 30 天: 36

总计 3,535