跳转到主内容
加入维修社区 - 创建账户

Asus A53U-ES21 Optical Drive Replacement

你所需要的

    1. Asus A53U-ES21 Optical Drive Replacement, Battery: 步骤 1 中的图像 1,2 Asus A53U-ES21 Optical Drive Replacement, Battery: 步骤 1 中的图像 2,2
      • Make sure the laptop is off.

      • Flip the laptop upside down so that the battery is facing you.

      询问修复机器人

      添加评论

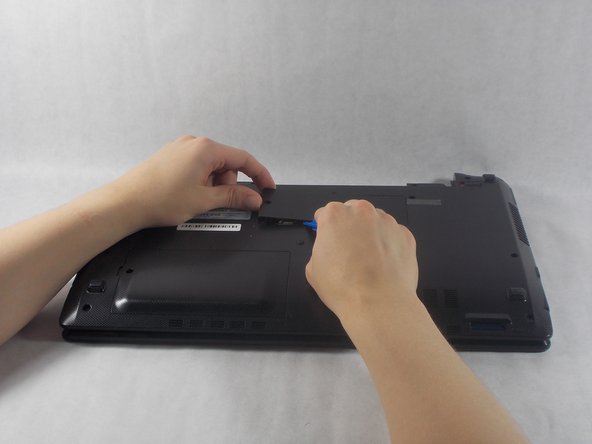
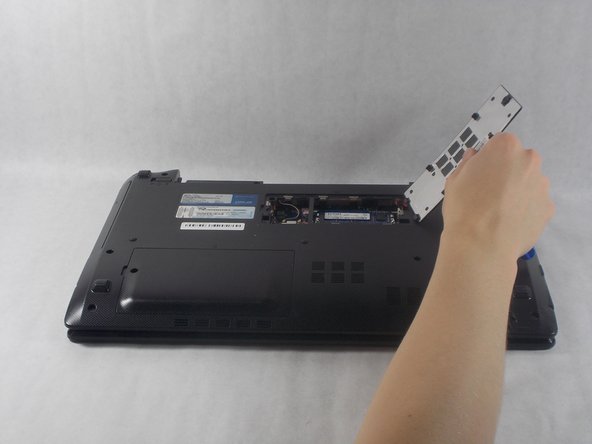
    2. Asus A53U-ES21 Optical Drive Replacement: 步骤 2 中的图像 1,2 Asus A53U-ES21 Optical Drive Replacement: 步骤 2 中的图像 2,2
      • Move the two sliders towards the outer edge of the laptop.

      • Pull the battery out with your left hand while holding the right slider.

      询问修复机器人

      添加评论

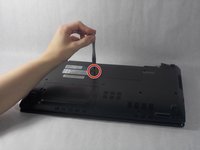
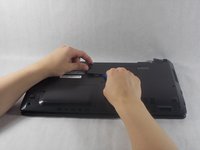
    1. Asus A53U-ES21 Optical Drive Replacement, Optical Drive: 步骤 3 中的图像 1,3 Asus A53U-ES21 Optical Drive Replacement, Optical Drive: 步骤 3 中的图像 2,3 Asus A53U-ES21 Optical Drive Replacement, Optical Drive: 步骤 3 中的图像 3,3
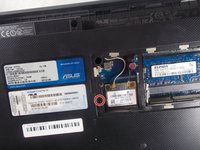
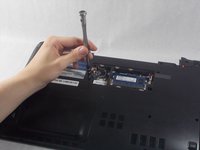
      • Remove the 5mm screw using a Phillips #1 screwdriver.

      • Use the iFixit opening tools to remove the RAM panel.

      询问修复机器人

      添加评论

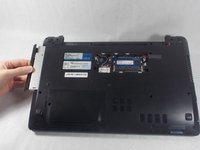
    2. Asus A53U-ES21 Optical Drive Replacement: 步骤 4 中的图像 1,3 Asus A53U-ES21 Optical Drive Replacement: 步骤 4 中的图像 2,3 Asus A53U-ES21 Optical Drive Replacement: 步骤 4 中的图像 3,3
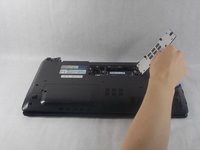
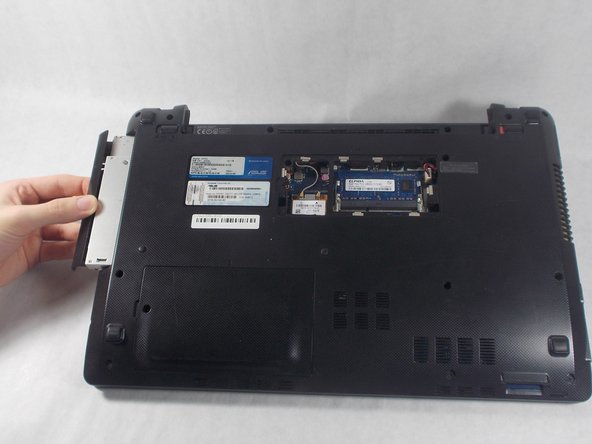
      • Remove the 7mm screw using a Phillips #1 screwdriver.

      • Pull the optical drive out from the side of the laptop.

      询问修复机器人

      添加评论

结论

To reassemble your device, follow these instructions in reverse order.

取消:我没有完成这个指南。

Chase Poirier

于10/23/18注册

585 声望

创作了5篇指南

团队

UMass Dartmouth, Team S1-G3, Simcock Fall 2018 UMass Dartmouth, Team S1-G3, Simcock Fall 2018 的会员

UMASSD-SIMCOCK-F18S1G3

3 名成员

创作了49篇指南

0指南评论

添加评论

浏览统计数据:

过去 24 小时: 0

过去 7 天: 5

过去 30 天: 39

总计 612