跳转到主内容
加入维修社区 - 创建账户

Asus A52F Hard Drive Replacement

你所需要的

    1. Asus A52F Hard Drive Replacement, Battery: 步骤 1 中的图像 1,2 Asus A52F Hard Drive Replacement, Battery: 步骤 1 中的图像 2,2
      • Place the laptop face down with the battery facing away from you.

      • Locate the two buttons next to the battery.

      • Slide the right slider to the unlocked (red) position.

      询问修复机器人

      添加评论

    2. Asus A52F Hard Drive Replacement: 步骤 2 中的图像 1,2 Asus A52F Hard Drive Replacement: 步骤 2 中的图像 2,2
      • Hold the left button to the left.

      • Slide the battery with your other hand away from you and it should disconnect.

      询问修复机器人

      添加评论

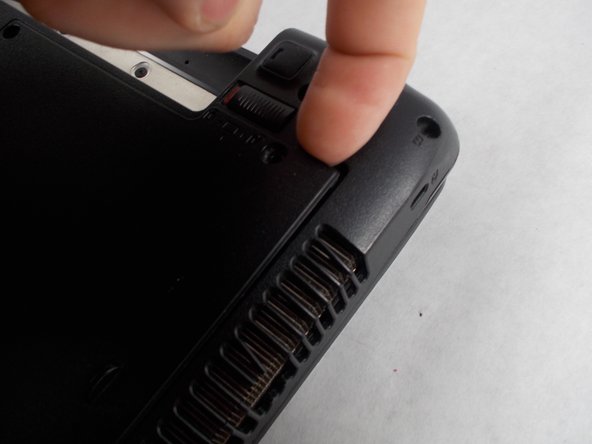
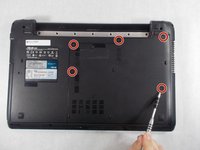
    1. Asus A52F Hard Drive Replacement, Lower Case: 步骤 3 中的图像 1,3 Asus A52F Hard Drive Replacement, Lower Case: 步骤 3 中的图像 2,3 Asus A52F Hard Drive Replacement, Lower Case: 步骤 3 中的图像 3,3
      • Remove the five Phillips # 0 screws from the back panel.

      • Using your finger or a plastic spudger start to carefully pry up the back planel.

      询问修复机器人

      添加评论

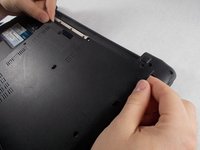
    2. Asus A52F Hard Drive Replacement: 步骤 4 中的图像 1,2 Asus A52F Hard Drive Replacement: 步骤 4 中的图像 2,2
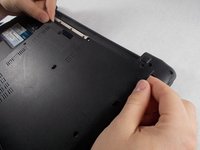
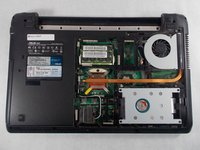
      • Slide the back panel away and remove the panel.

      询问修复机器人

      添加评论

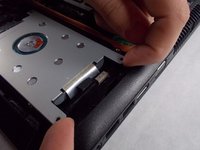
    1. Asus A52F Hard Drive Replacement, Hard Drive: 步骤 5 中的图像 1,3 Asus A52F Hard Drive Replacement, Hard Drive: 步骤 5 中的图像 2,3 Asus A52F Hard Drive Replacement, Hard Drive: 步骤 5 中的图像 3,3
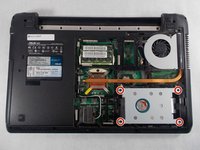
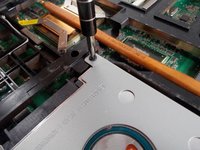
      • Remove the four Phillips #0 screws holding the hard drive case to the laptop.

      • Lift the hard drive upwards by the two arms in order to remove the hard drive case from the laptop.

      询问修复机器人

      添加评论

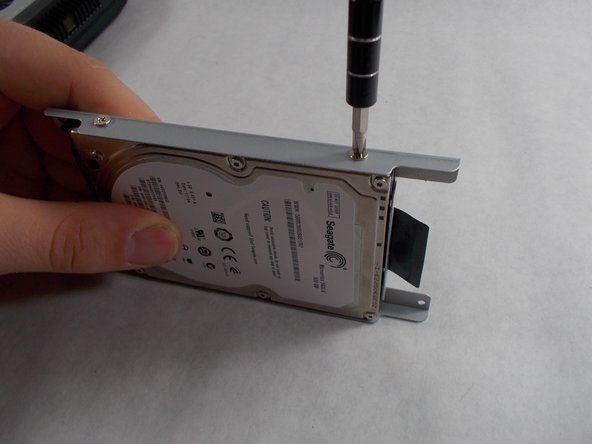
    2. Asus A52F Hard Drive Replacement: 步骤 6 中的图像 1,2 Asus A52F Hard Drive Replacement: 步骤 6 中的图像 2,2
      • Using a Phillips #0 screwdriver, remove the cage screws on the side of the hard drive.

      询问修复机器人

      添加评论

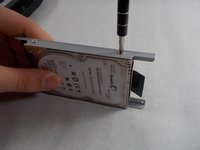
    3. Asus A52F Hard Drive Replacement: 步骤 7 中的图像 1,2 Asus A52F Hard Drive Replacement: 步骤 7 中的图像 2,2
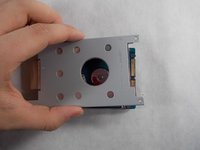
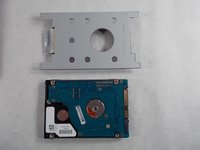
      • Next, slide the case off of the broken hard drive.

      • Slide the working hard drive into the case and screw it on.

      询问修复机器人

      添加评论

结论

To reassemble your device, follow these instructions in reverse order.

取消:我没有完成这个指南。

3等其他人完成本指南。

Roman Justice

于03/08/17注册

255 声望

创作了2篇指南

团队

UMass Dartmouth, Team S5-G1, Botvin Spring 2017 UMass Dartmouth, Team S5-G1, Botvin Spring 2017 的会员

UMASSD-BOTVIN-S17S5G1

4 名成员

创作了35篇指南

0指南评论

添加评论

浏览统计数据:

过去 24 小时: 0

过去 7 天: 14

过去 30 天: 40

总计 2,155