跳转到主内容
加入维修社区 - 创建账户

Astro Mixamp Control Button Replacement

你所需要的

    1. Astro Mixamp Control Button Replacement, Panel Dial: 步骤 1 中的图像 1,2 Astro Mixamp Control Button Replacement, Panel Dial: 步骤 1 中的图像 2,2
      • Grip the dial tightly and pull straight off the device.

      • Repeat for the second dial

      询问修复机器人

      添加评论

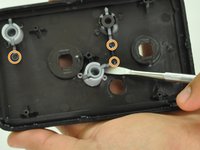
    2. Astro Mixamp Control Button Replacement: 步骤 2 中的图像 1,2 Astro Mixamp Control Button Replacement: 步骤 2 中的图像 2,2
      在这个步骤中使用的工具:
      Tweezers
      $4.99
      • Using tweezers, remove the spacer nuts and washers from each dial post.

      询问修复机器人

      添加评论

    1. Astro Mixamp Control Button Replacement, Outer Casing: 步骤 3 中的图像 1,2 Astro Mixamp Control Button Replacement, Outer Casing: 步骤 3 中的图像 2,2
      • Before opening your device, ensure the device is not on or connected to the charging cable.

      • Insert a plastic opening tool into the seam between the rubber foot and plastic casing.

      • Pull the rubber foot free of the plastic casing.

      询问修复机器人

      添加评论

    2. Astro Mixamp Control Button Replacement: 步骤 4 中的图像 1,1
      • Use a screwdriver to remove the screw from the rear casing.

      询问修复机器人

      添加评论

    3. Astro Mixamp Control Button Replacement: 步骤 5 中的图像 1,1
      • Gently lift the rear casing from the device.

      添加评论

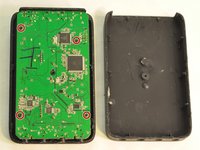
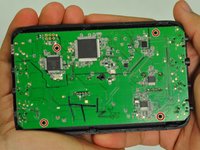
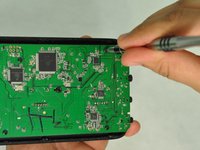
    1. Astro Mixamp Control Button Replacement, Motherboard: 步骤 6 中的图像 1,3 Astro Mixamp Control Button Replacement, Motherboard: 步骤 6 中的图像 2,3 Astro Mixamp Control Button Replacement, Motherboard: 步骤 6 中的图像 3,3
      • Remove the four screws that hold the motherboard in place.

      • Only touch the edges of the motherboard. Touching the surface can damage the motherboard.

      询问修复机器人

      添加评论

    2. Astro Mixamp Control Button Replacement: 步骤 7 中的图像 1,1
      • Gently pull the motherboard from the front cover.

      询问修复机器人

      添加评论

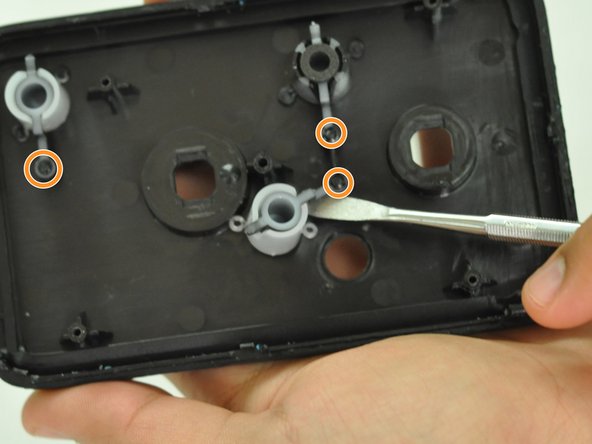
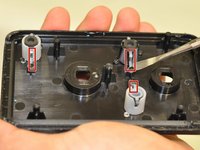
    1. Astro Mixamp Control Button Replacement, Control Button: 步骤 8 中的图像 1,2 Astro Mixamp Control Button Replacement, Control Button: 步骤 8 中的图像 2,2
      • Gently insert a metal spudger under a control button housing.

      • Do not pry the button housing from the front panel, this can cause damage to the button.

      • Rotate the control button around the marked pin.

      添加评论

结论

To reassemble your device, follow these instructions in reverse order.

取消:我没有完成这个指南。

3等其他人完成本指南。

Hope Burns

于10/29/16注册

769 声望

创作了5篇指南

0指南评论

添加评论

浏览统计数据:

过去 24 小时: 1

过去 7 天: 10

过去 30 天: 38

总计 2,096