简介
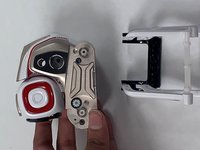
If your Anki Cozmo robot keeps turning off or the screen does not come on, follow this guide. This guide is to assist users replacing the battery in an Anki Cozmo robot, so it can come back to life. The battery, located inside Cozmo’s base, allows it to survive. Without a functioning battery, nothing else will work. Before beginning, make sure to power off your Anki Cozmo robot and disconnect it from the Anki Cozmo app.
WARNING: when using hands to remove any component, be careful not to cut yourself or rip your fingernail.
你所需要的
-
-
Remove the two black rubber treads from the wheels using your hands to pull them off.
 询问修复机器人
-
-
-
-
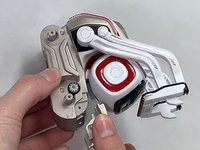
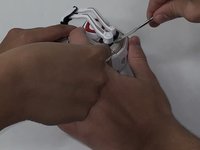
The thinner upper arms have a small hole on the bottom of the rotating hub, allowing you to press the retaining clip in while pulling the arm outward to remove it.
-
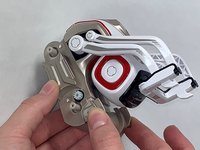
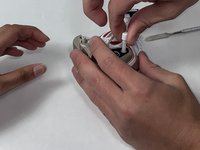
The thicker lower arms have indexed slots that align with retaining tabs internally. Rotate the arm to its topmost position, where it touches the upper axle. Apply gentle pressure outward to remove the arm.
-
-
-
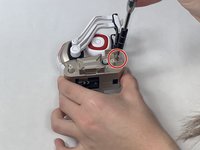
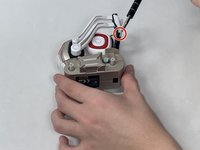
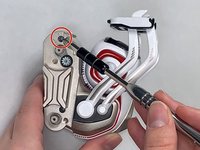
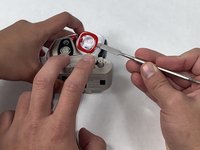
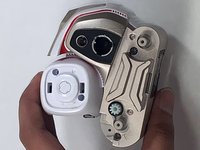
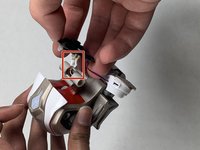
Remove the two 5.5 mm screws from the red trim that was behind the white head using a JIS #1 screwdriver.
-


To reassemble your device, follow these instructions in reverse order.
19等其他人完成本指南。

团队

UMass Dartmouth, Team 4-8, Gulbrandsen Fall 2021 UMass Dartmouth, Team 4-8, Gulbrandsen Fall 2021 的会员
UMASSD-GULBRANDSEN-F21S4G8
3 名成员
创作了7篇指南
18指南评论
Step 9 is the hardest from far ! And you'll easily get hurt by your tools. Moreover, reassembling cozmo will certainly deteriorate it. You should operate the big part of the arm (the lower) while the arm is at his maximum height. To do so, disassemble the white part of the fork by prying it down. Then remove the 2 screws of the upper arms, and remove these arms. Eventually, the big arm is easy to remove (or to reassemble).
Eric Hueber - 回复 分享