跳转到主内容

Analogue Pocket Rear Shell Replacement

你所需要的

  1. Analogue Pocket Rear Shell Replacement, Prepare your device for disassembly: 步骤 1 中的图像 1,3 Analogue Pocket Rear Shell Replacement, Prepare your device for disassembly: 步骤 1 中的图像 2,3 Analogue Pocket Rear Shell Replacement, Prepare your device for disassembly: 步骤 1 中的图像 3,3
    • Unplug all cables and fully power off your device.

    • Working on your device requires laying it screen-side down. To prevent damage, lay it on a soft surface such as a towel.

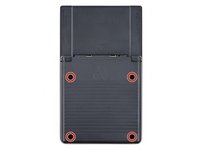
  2. Analogue Pocket Rear Shell Replacement, Unfasten the battery shell: 步骤 2 中的图像 1,2 Analogue Pocket Rear Shell Replacement, Unfasten the battery shell: 步骤 2 中的图像 2,2
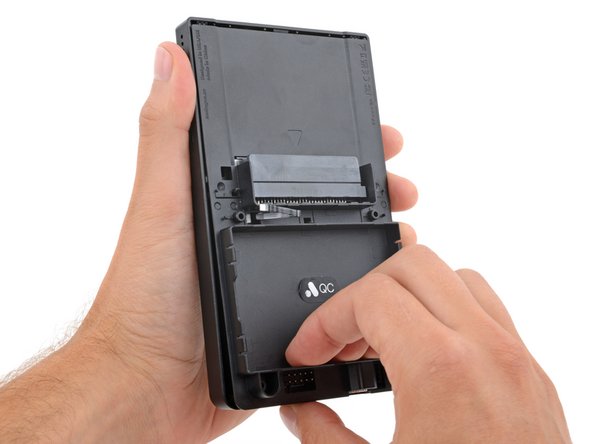
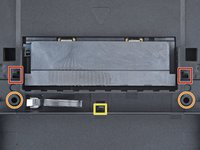
    • Use a T6 Torx screwdriver to remove the four 13.4 mm‑long screws securing the battery shell.

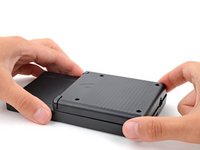
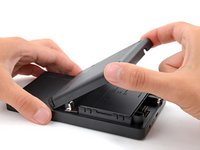
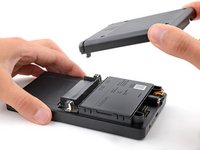
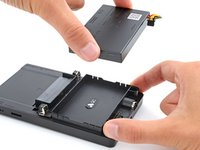
  3. Analogue Pocket Rear Shell Replacement, Remove the battery shell: 步骤 3 中的图像 1,3 Analogue Pocket Rear Shell Replacement, Remove the battery shell: 步骤 3 中的图像 2,3 Analogue Pocket Rear Shell Replacement, Remove the battery shell: 步骤 3 中的图像 3,3
  4. Analogue Pocket Rear Shell Replacement, Disconnect the battery: 步骤 4 中的图像 1,3 Analogue Pocket Rear Shell Replacement, Disconnect the battery: 步骤 4 中的图像 2,3 Analogue Pocket Rear Shell Replacement, Disconnect the battery: 步骤 4 中的图像 3,3
    在这个步骤中使用的工具:
    Tweezers
    $4.99
    购买
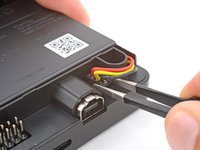
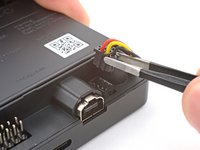
    • Use blunt nose tweezers to pull the battery connector out of its socket on the bottom right corner of your device.

    • If you're having trouble, try rocking the connector side-to-side to help loosen it.

    • During reassembly, use the flat end of a spudger to push down on the edges of the connector until it's secure in the socket.

  5. Analogue Pocket Rear Shell Replacement, Remove the battery: 步骤 5 中的图像 1,3 Analogue Pocket Rear Shell Replacement, Remove the battery: 步骤 5 中的图像 2,3 Analogue Pocket Rear Shell Replacement, Remove the battery: 步骤 5 中的图像 3,3
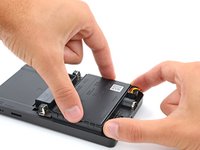
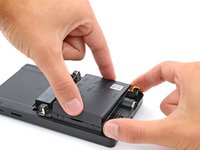
    • Lift one of the battery's short edges until the clips release.

    • Remove the battery.

    • During reassembly, push the battery into its recess until the clips engage.

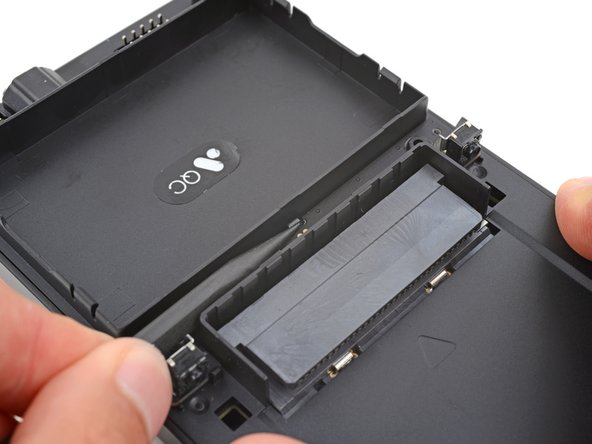
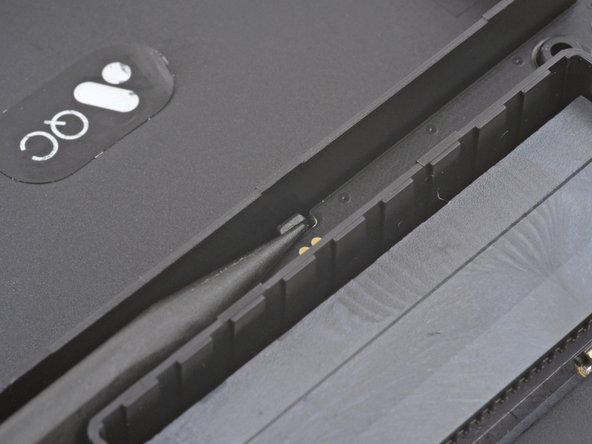
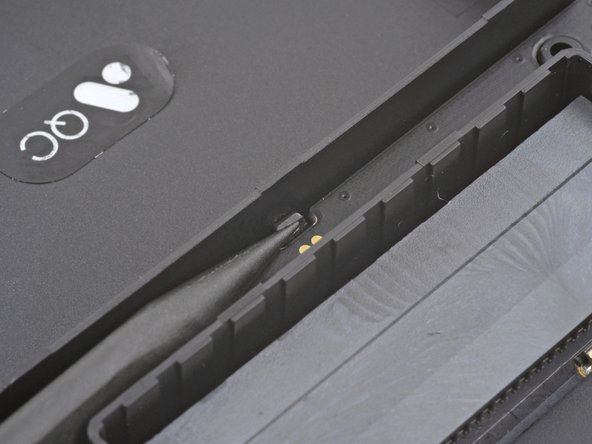
  6. Analogue Pocket Rear Shell Replacement, Unclip the button board: 步骤 6 中的图像 1,3 Analogue Pocket Rear Shell Replacement, Unclip the button board: 步骤 6 中的图像 2,3 Analogue Pocket Rear Shell Replacement, Unclip the button board: 步骤 6 中的图像 3,3
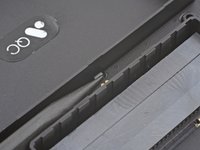
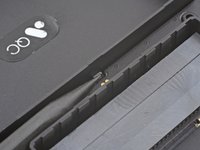
    • A plastic clip secures the center of the button board.

    • Use the point of a spudger to push the clip out and release the board.

    • Don't try to remove the board—a delicate ribbon cable secures it to the device.

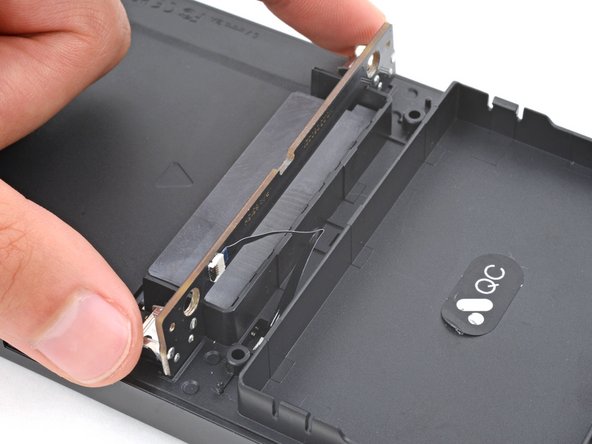
  7. Analogue Pocket Rear Shell Replacement, Reposition the button board: 步骤 7 中的图像 1,3 Analogue Pocket Rear Shell Replacement, Reposition the button board: 步骤 7 中的图像 2,3 Analogue Pocket Rear Shell Replacement, Reposition the button board: 步骤 7 中的图像 3,3
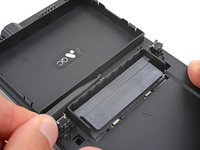
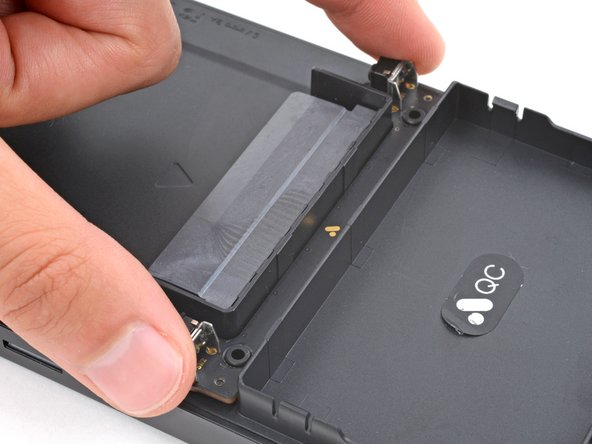
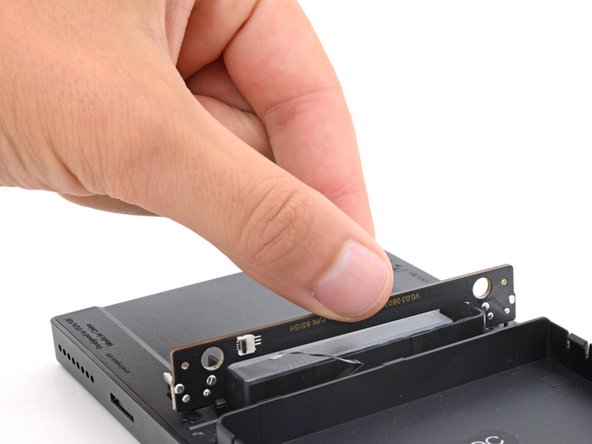
    • Swing the bottom edge of the button board up and over the cartridge reader.

    • Set the board on top of the cartridge reader so the cable's connector is facing the bottom of the device.

    • During reassembly:

    • Put the top edges of the board under their tabs on the rear shell.

    • Lay the board onto the rear shell so the alignment posts go into their circular cutouts on the board.

    • Press the board down until the plastic clip engages.

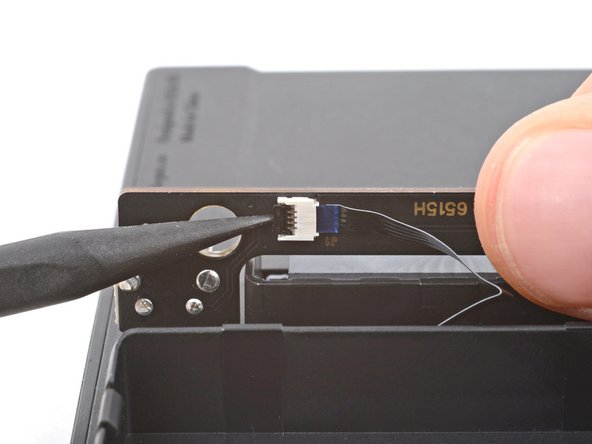
  8. Analogue Pocket Rear Shell Replacement, Disconnect the button board: 步骤 8 中的图像 1,3 Analogue Pocket Rear Shell Replacement, Disconnect the button board: 步骤 8 中的图像 2,3 Analogue Pocket Rear Shell Replacement, Disconnect the button board: 步骤 8 中的图像 3,3
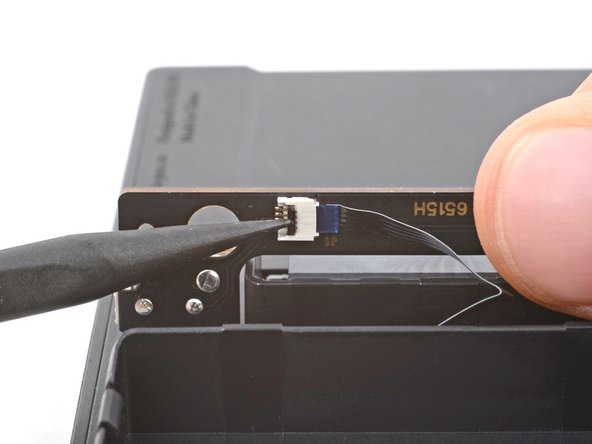
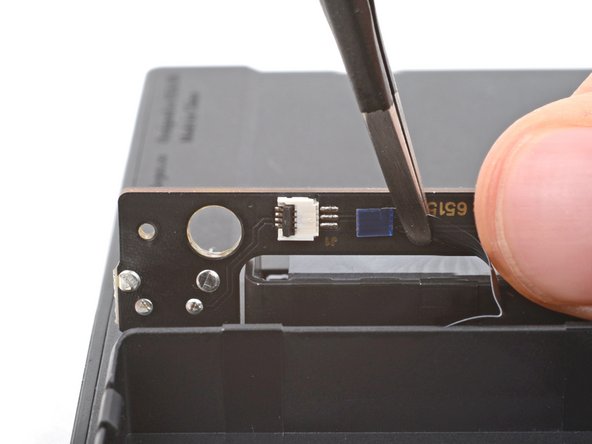
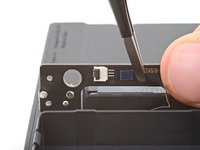
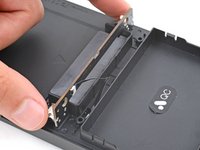
    • Use the tip of a spudger or a clean fingernail to flip up the hinged locking flap on the board cable ZIF connector located on the board itself.

    • Use blunt nose tweezers to pull the cable straight out of its socket.

  9. Analogue Pocket Rear Shell Replacement, Remove the board: 步骤 9 中的图像 1,2 Analogue Pocket Rear Shell Replacement, Remove the board: 步骤 9 中的图像 2,2
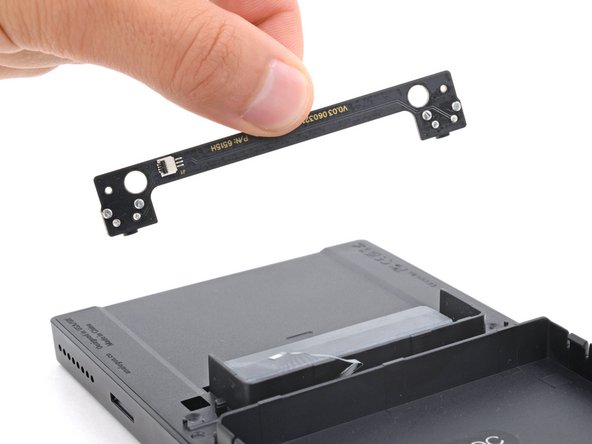
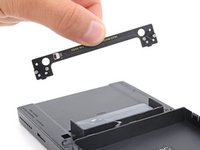
    • Remove the board.

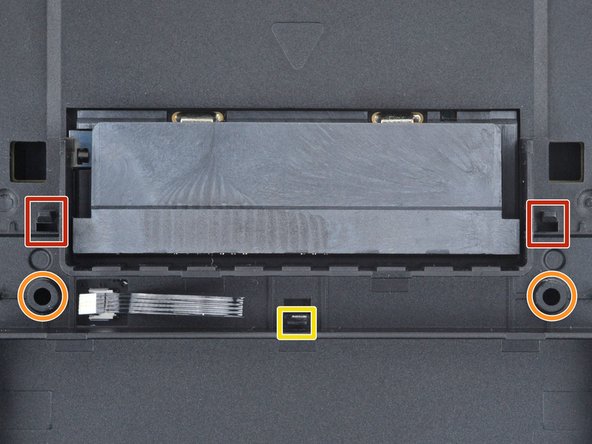
  10. Analogue Pocket Rear Shell Replacement, Unclip the rear shell: 步骤 10 中的图像 1,3 Analogue Pocket Rear Shell Replacement, Unclip the rear shell: 步骤 10 中的图像 2,3 Analogue Pocket Rear Shell Replacement, Unclip the rear shell: 步骤 10 中的图像 3,3
    • Sliding tabs secure the perimeter of the rear shell.

    • Firmly grip your device with one hand.

    • With your free hand, lift the bottom edge of the rear shell until it clears the front shell.

    • Pull the rear shell down until the sliding tabs disengage.

  11. Analogue Pocket Rear Shell Replacement, Remove the rear shell: 步骤 11 中的图像 1,3 Analogue Pocket Rear Shell Replacement, Remove the rear shell: 步骤 11 中的图像 2,3 Analogue Pocket Rear Shell Replacement, Remove the rear shell: 步骤 11 中的图像 3,3
    • Remove the rear shell.

    • During reassembly:

    • Thread the button board cable through its slot in the rear shell.

    • Lay the rear shell on the front shell so its bottom edge slightly overhangs.

    • This allows the tabs to slide into place. If the rear shell is perfectly flush with the front shell, the tabs won't slide.

    • Push the rear shell in and slide it up to engage the sliding tabs.

结论

To reassemble your device, follow these instructions in reverse order.

Take your e-waste to an R2 or e-Stewards certified recycler.

Repair didn’t go as planned? Try some basic troubleshooting, or ask our Answers community for help.

Spencer Day

于09/14/22注册

59,147 声望

创作了430篇指南

团队

iFixit iFixit 的会员

Staff

138 名成员

创作了17,680篇指南

3条评论

Does anyone know what size screws the back plate uses?

Jesse DuRona - 回复

The back shell itself is only secured with clips, which you can see how to unclip in this step. The battery shell must be removed before this, and it uses 13.4 mm‑long T6 Torx screws as shown here.
Spencer Day -

Does analogue even have replacement shells?

Charles - 回复

添加评论

浏览统计数据:

过去 24 小时: 2

过去 7 天: 14

过去 30 天: 65

总计 1,162