跳转到主内容
加入维修社区 - 创建账户

Amazon Luna Controller Buttons Replacement

你所需要的

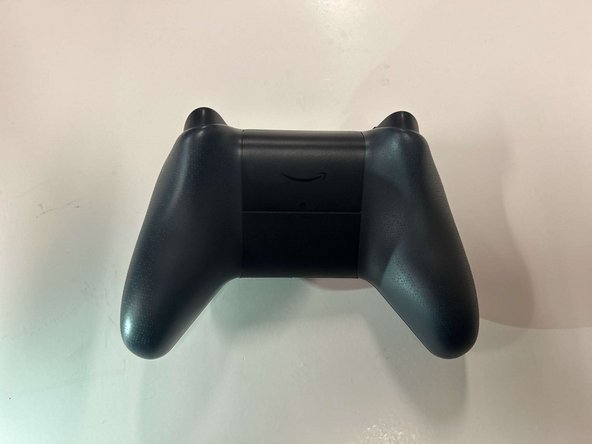
    1. Amazon Luna Controller Buttons Replacement, Battery: 步骤 1 中的图像 1,1
      • Flip the controller over so that the back panel is facing up.

      询问修复机器人

      添加评论

    2. Amazon Luna Controller Buttons Replacement: 步骤 2 中的图像 1,3 Amazon Luna Controller Buttons Replacement: 步骤 2 中的图像 2,3 Amazon Luna Controller Buttons Replacement: 步骤 2 中的图像 3,3
      • Locate the latch on the back panel.

      • Pull down gently to open the compartment and expose the battery slots.

      • Remove batteries.

      询问修复机器人

      添加评论

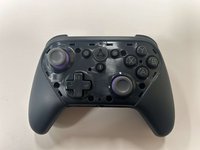
    1. Amazon Luna Controller Buttons Replacement, Faceplate: 步骤 3 中的图像 1,1
      • Flip the controller over to its front and locate the seam where the front plate connects to the rest of the body.

      询问修复机器人

      添加评论

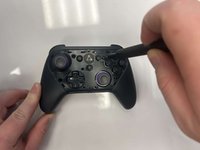
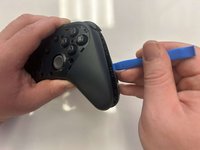
    2. Amazon Luna Controller Buttons Replacement: 步骤 4 中的图像 1,1
      • Hold the controller firmly.

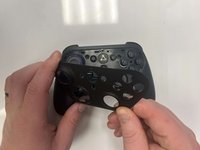
      • Insert the thin edge of an iFixit opening tool into the seam at the edge of the front plate close to the A button.

      • Work slowly and carefully around all sides to avoid snapping the clips.

      询问修复机器人

      添加评论

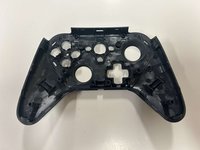
    3. Amazon Luna Controller Buttons Replacement: 步骤 5 中的图像 1,2 Amazon Luna Controller Buttons Replacement: 步骤 5 中的图像 2,2
      • Once all clips are released, lift the front plate away from the controller.

      询问修复机器人

      添加评论

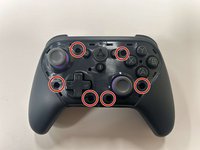
    1. Amazon Luna Controller Buttons Replacement, Buttons: 步骤 6 中的图像 1,2 Amazon Luna Controller Buttons Replacement, Buttons: 步骤 6 中的图像 2,2
      • Remove the six 8 mm screws securing the controller's body using a TR9 Torx screwdriver.

      询问修复机器人

      添加评论

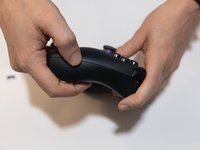
    2. Amazon Luna Controller Buttons Replacement: 步骤 7 中的图像 1,2 Amazon Luna Controller Buttons Replacement: 步骤 7 中的图像 2,2
      • Gently pry along the seam that separates the two halves of the controller using an opening tool.

      • Work your way around the perimeter to carefully release the clips securing the two halves.

      询问修复机器人

      添加评论

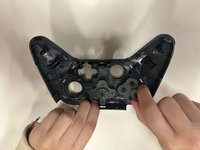
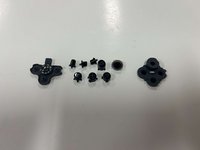
    3. Amazon Luna Controller Buttons Replacement: 步骤 8 中的图像 1,3 Amazon Luna Controller Buttons Replacement: 步骤 8 中的图像 2,3 Amazon Luna Controller Buttons Replacement: 步骤 8 中的图像 3,3
      • Lay the front of the controller shell downward.

      • Remove the rubber padding that keeps the buttons in place.

      • Remove the buttons from the shell housing.

      询问修复机器人

      添加评论

结论

To reassemble your device, follow these instructions in reverse order.

取消:我没有完成这个指南。

另外一个人完成了本指南。

0指南评论

添加评论

浏览统计数据:

过去 24 小时: 1

过去 7 天: 6

过去 30 天: 33

总计 351