跳转到主内容
加入维修社区 - 创建账户

Alienware M15x GPU Replacement

你所需要的

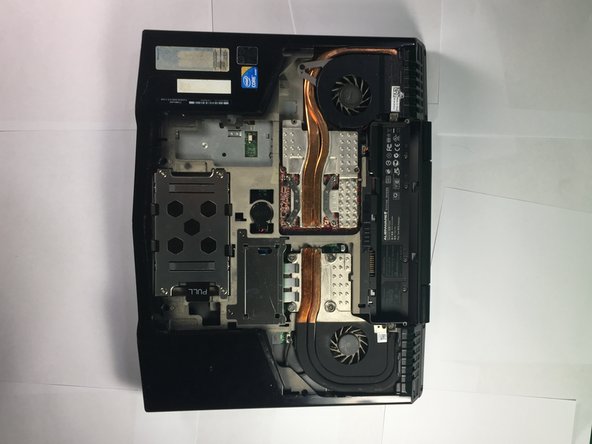
    1. Alienware M15x GPU Replacement, GPU: 步骤 1 中的图像 1,1
      • Turn the laptop over so that the bottom is facing upward.

      询问修复机器人

      添加评论

    2. Alienware M15x GPU Replacement: 步骤 2 中的图像 1,1
      • Release the battery latch and flip the battery out.

      询问修复机器人

      添加评论

    3. Alienware M15x GPU Replacement: 步骤 3 中的图像 1,2 Alienware M15x GPU Replacement: 步骤 3 中的图像 2,2
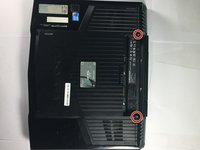
      • Remove the two 4mm screws using a Phillips #1 screwdriver.

      • Remove the compartment door by sliding it away from the battery.

      询问修复机器人

      添加评论

    4. Alienware M15x GPU Replacement: 步骤 4 中的图像 1,1
      • Remove the four 4mm screws with the Phillips #1 screwdriver.

      询问修复机器人

      添加评论

    5. Alienware M15x GPU Replacement: 步骤 5 中的图像 1,1
      • Position the laptop vertically so that the hinge is facing up and the laptop is slightly open toward the ground

      • The laptop position should resemble an upside-down V shape.

      • Locate the panel and pry open using a plastic opening tool.

      询问修复机器人

      添加评论

    6. Alienware M15x GPU Replacement: 步骤 6 中的图像 1,3 Alienware M15x GPU Replacement: 步骤 6 中的图像 2,3 Alienware M15x GPU Replacement: 步骤 6 中的图像 3,3
      在这个步骤中使用的工具:
      Tweezers
      $4.99
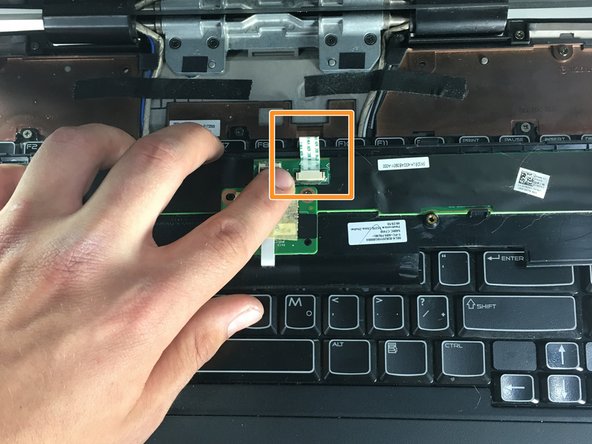
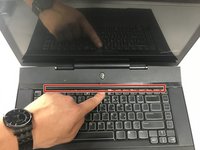
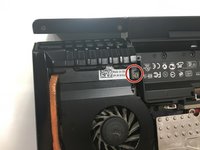
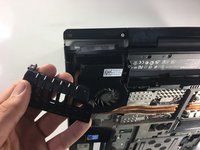
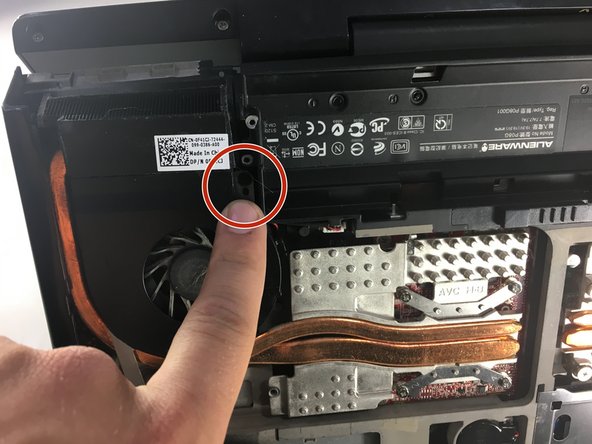
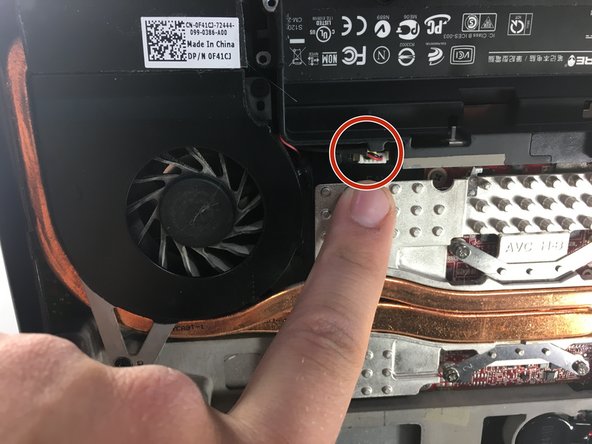
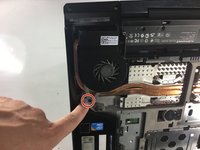
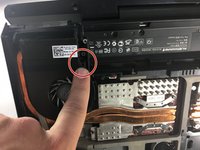
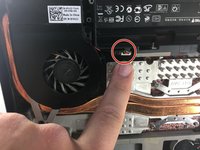
      • Position the laptop normally, with the bottom on the ground and the screen flipped up towards you.

      • Lift the power button panel using the plastic opening tool.

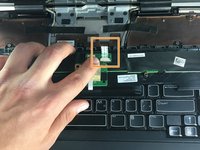
      • Disconnect the ribbon cable by using tweezers to unclip the two small black clips. Remove power button panel.

      询问修复机器人

      添加评论

    7. Alienware M15x GPU Replacement: 步骤 7 中的图像 1,1
      • Remove the two 4mm screws with a Phillips #1 screwdriver.

      询问修复机器人

      添加评论

    8. Alienware M15x GPU Replacement: 步骤 8 中的图像 1,2 Alienware M15x GPU Replacement: 步骤 8 中的图像 2,2
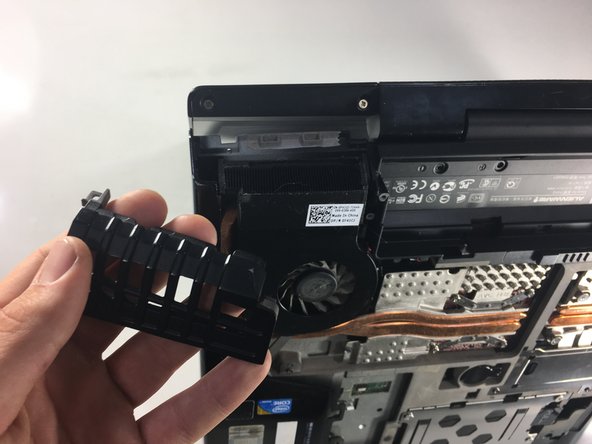
      • Use a Phillips #1 screwdriver to remove the 4mm screw from the exhaust port cover.

      • Remove the exhaust port cover entirely.

      询问修复机器人

      添加评论

    9. Alienware M15x GPU Replacement: 步骤 9 中的图像 1,3 Alienware M15x GPU Replacement: 步骤 9 中的图像 2,3 Alienware M15x GPU Replacement: 步骤 9 中的图像 3,3
      • Use a Phillips #0 screwdriver to remove the two 3mm screws holding the fan in place, then unclip the electrical connection using tweezers.

      询问修复机器人

      添加评论

    10. Alienware M15x GPU Replacement: 步骤 10 中的图像 1,1
      • Remove the heat sink by loosening the 4 screws with a Phillips #0 screwdriver.

      询问修复机器人

      添加评论

    11. Alienware M15x GPU Replacement: 步骤 11 中的图像 1,1
      • Use a Phillips #0 screwdriver to remove the two screws.

      • Remove the GPU from the laptop.

      • When replacing the GPU, it is important to reapply thermal paste in a small line along the length of the chip.

      询问修复机器人

      添加评论

结论

To reassemble your device, follow these instructions in reverse order.

取消:我没有完成这个指南。

Tomas Kronmark

于01/22/18注册

193 声望

撰写一个指南

团队

Cal Poly, Team S11-G3, Banghart Winter 2018 Cal Poly, Team S11-G3, Banghart Winter 2018 的会员

CPSU-BANGHART-W18S11G3

5 名成员

创作了30篇指南

0指南评论

添加评论

浏览统计数据:

过去 24 小时: 2

过去 7 天: 13

过去 30 天: 40

总计 2,344