简介
This guide is used to help setup your AT-LP60X after receiving back from a repair.
-
-
-
Place your turntable on a clear, flat surface.
-
Ensure there is no power connected to the turntable at this time.
 询问修复机器人
-
-
-
Obtain the silver metal platter.
-
Verify that the belt is installed around the inner ring of the platter.
-
-
-
-
Place the platter on the center spindle.
-
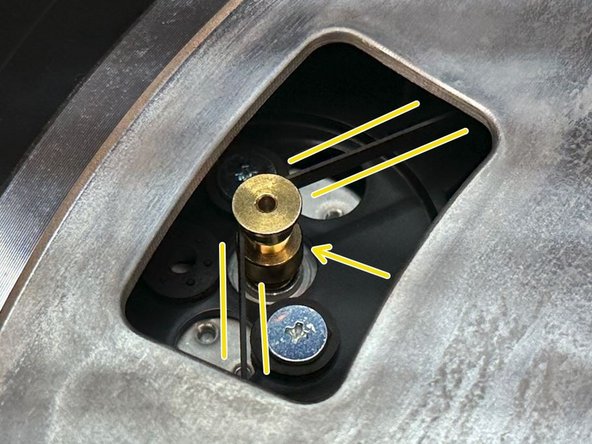
Rotate the platter to show the gold pulley of the motor.
-
Stretch the belt from the platter over the gold pulley of the motor.
-
-
-
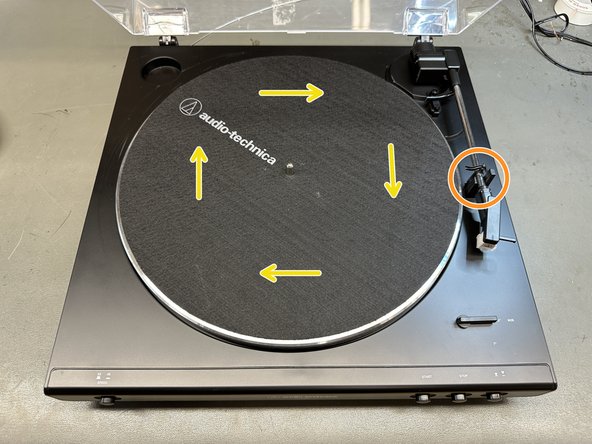
Place the slipmat on top of the platter and press the STOP button.
-
With your right hand, hold the tone arm in place.
-
With your left hand, rotate the platter clockwise about 10 times.
-
-
-
Reconnect the power supply.
-
Connect the 3.5mm to RCA to your speakers.
-
For powered speakers the output switch should be in "LINE", if connecting to an amp/phono input the output should be in "PHONO"
-
-
-
Remove the clear plastic cover from the stylus (if present) by sliding the COVER ONLY directly towards the front of the turntable.
-
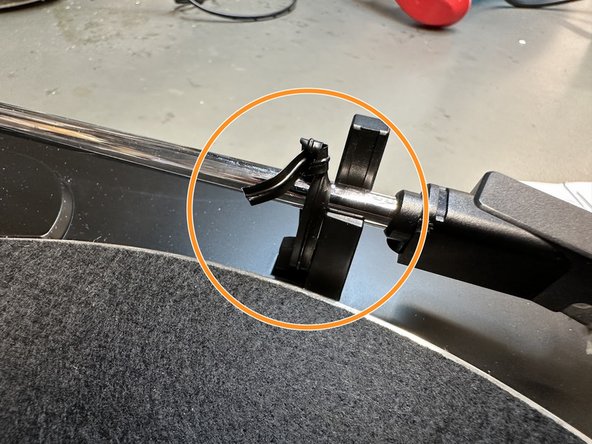
Unsecure the twist tie from the built-in hook (if present).
-
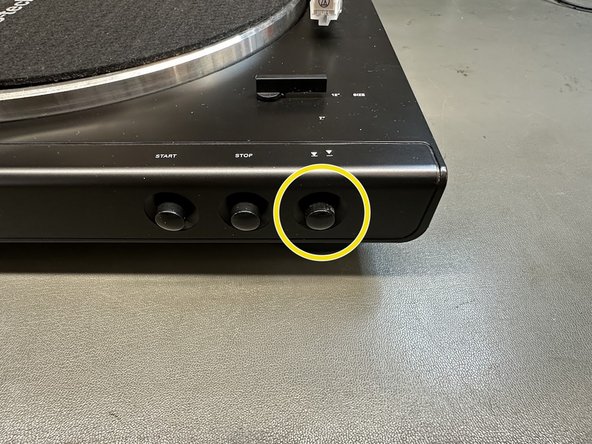
Ensure the tone arm lift button is in the outward position.
-
-








If you have any trouble setting up your turntable and/or a new problem arises, feel free to contact a technician at (330)686-2600 ext.5004 or service@atus.com
另外一个人完成了本指南。

