本指南有最近更改,您可查看未经巡查的最新版本。
简介
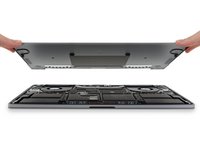
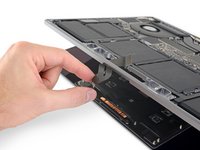
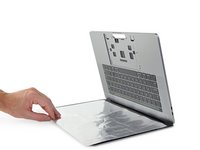
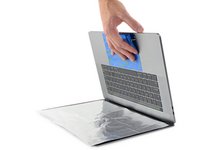
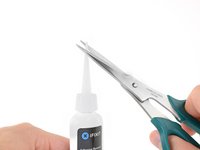
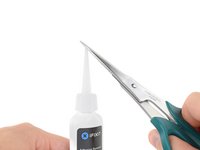
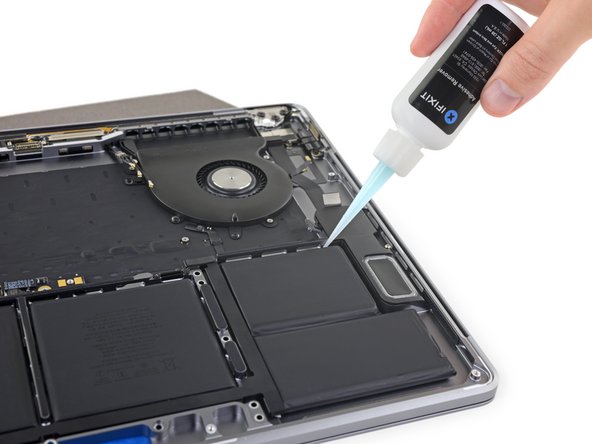
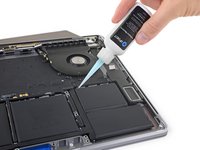
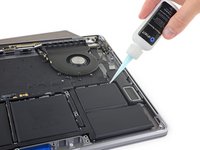
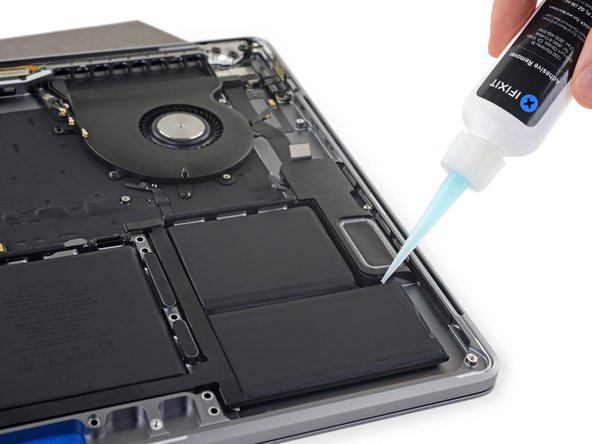
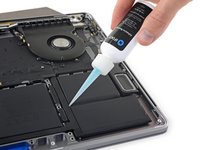
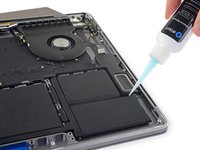
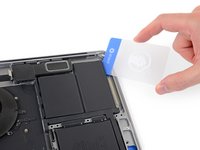
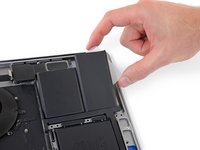
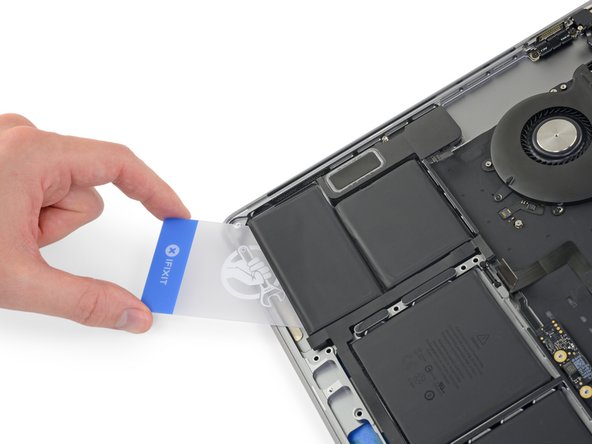
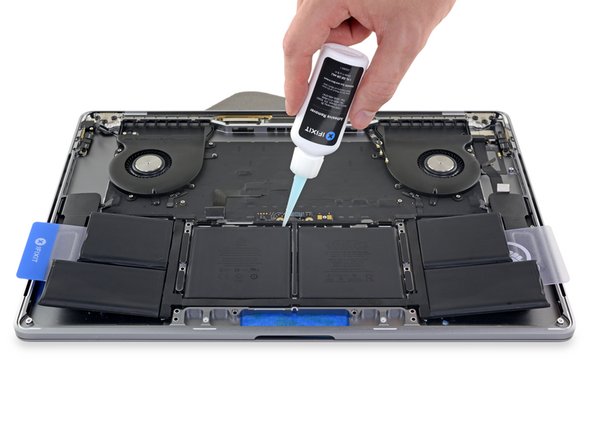
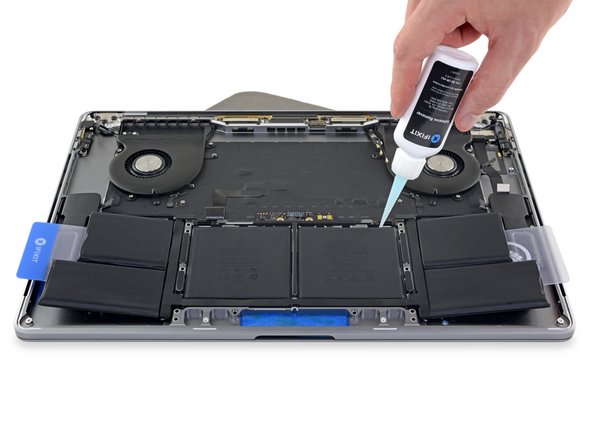
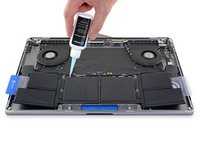
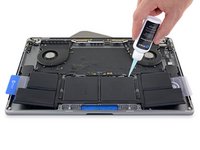
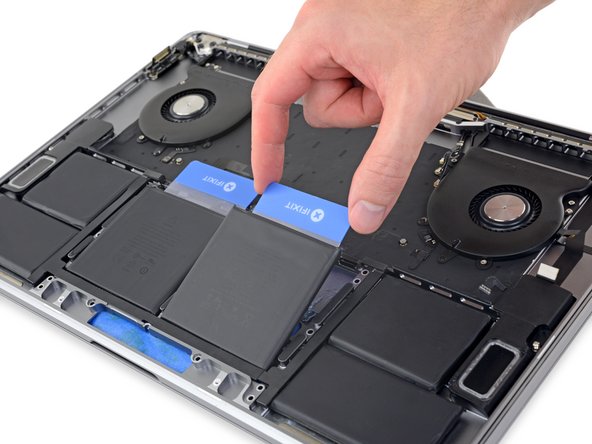
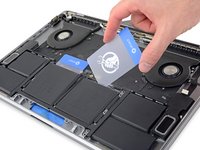
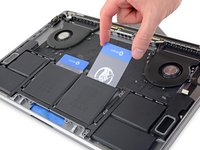
使用本指南可以借助 iFixit 电池更换套装从MacBook Pro中安全地取出内置电池。 套件中的粘合剂去除剂将溶解固定电池的粘合剂,使您可以轻松地将其移除。
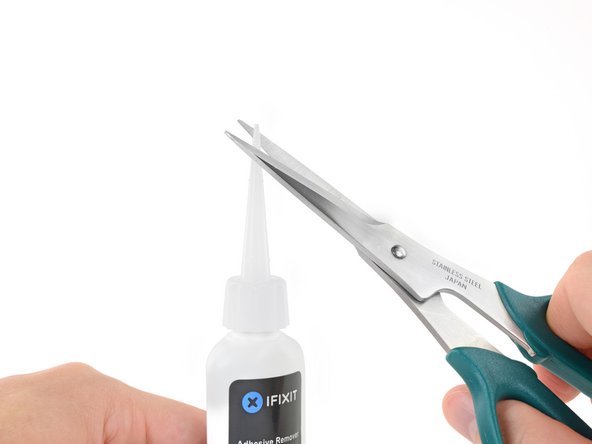
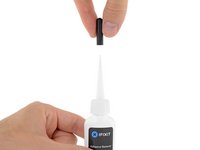
“iFixit粘合剂去除剂是高度易燃的。''请'在通风良好的地方进行此项操作。 在这个过程中不要在明火附近抽烟或工作。
为了你的安全,在开始此指南之前,请先将MacBook Pro的电池电量耗尽。如果意外刺破,带电的锂离子电池可能会造成危险且无法控制的火灾。如果你的电池已经鼓包,请参考此指南
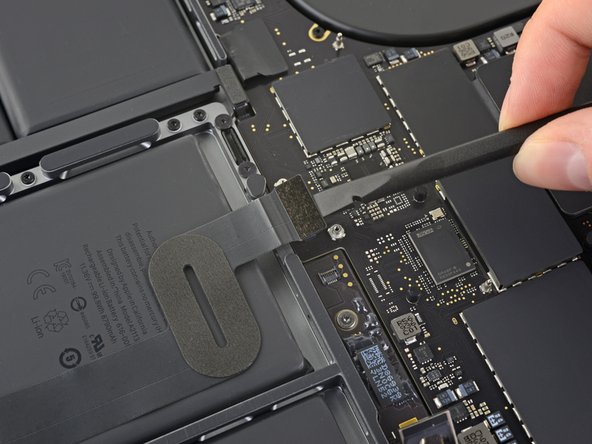
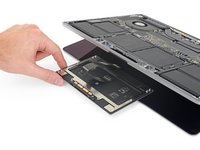
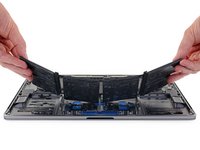
注意:用于溶解电池粘合剂的溶剂会在你的扬声器与塑料扬声器音箱接触时损坏。 所以,本指南指导你在继续使用电池之前取下扬声器。移除扬声器还需要移除其他几个组件,包括主板。
你所需要的
-
-
开机,并打开终端。
-
将以下命令复制粘贴到(或完全键入)终端窗口中:
-
sudo nvram AutoBoot=%00
-
按[回车]。如果出现钥匙提示,请输入管理员密码(开机密码)并再次按[回车]。注意:您的回车键也可能标有「⏎」或 return。
-
sudo nvram AutoBoot=%03
-
-
-
-
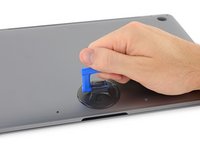
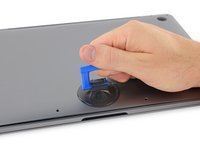
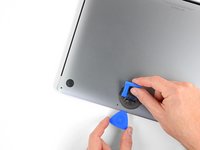
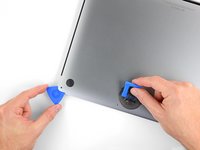
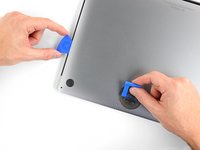
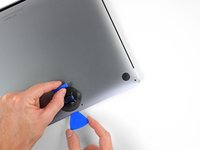
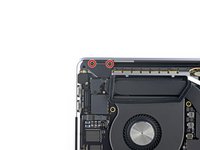
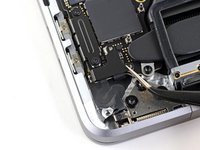
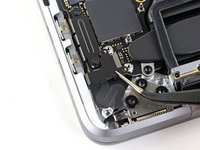
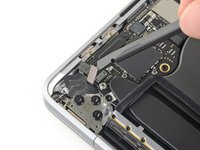
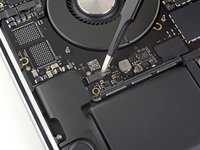
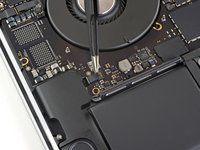
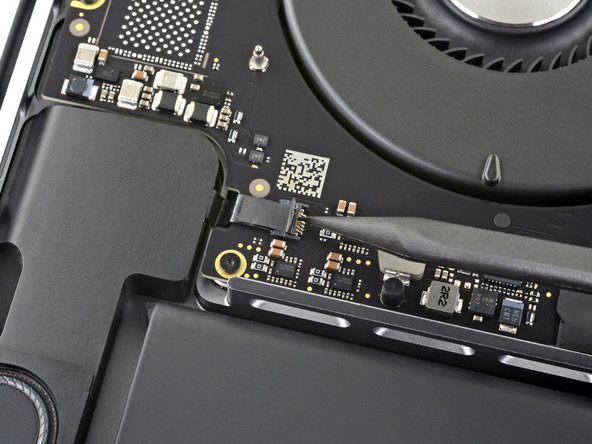
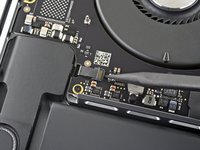
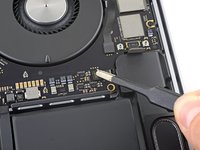
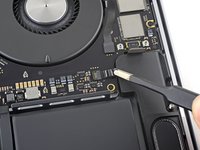
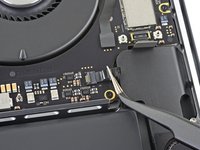
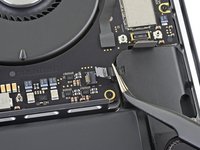
使用 T3 梅花头螺丝刀:
-
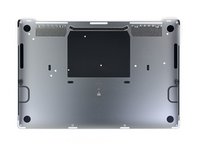
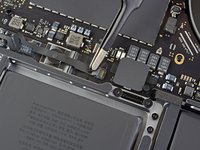
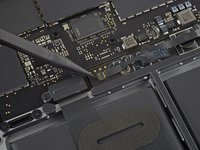
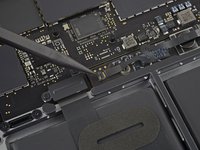
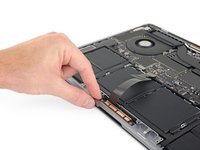
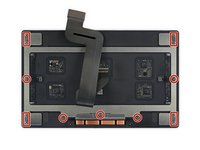
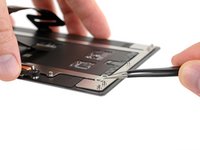
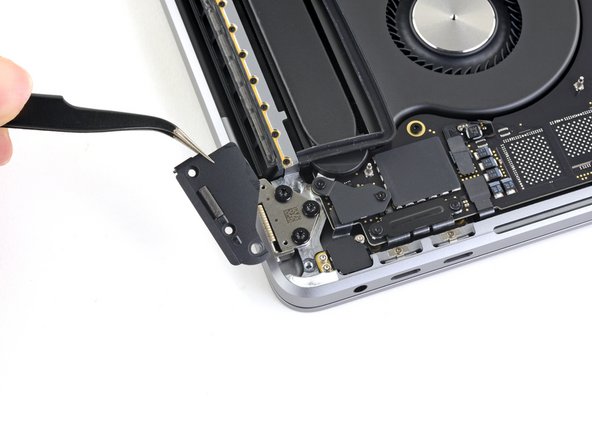
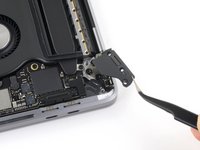
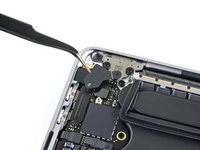
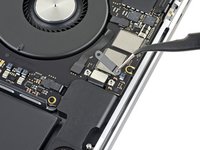
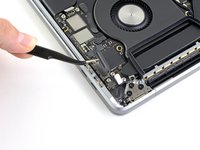
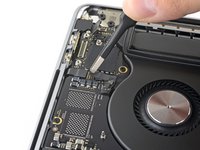
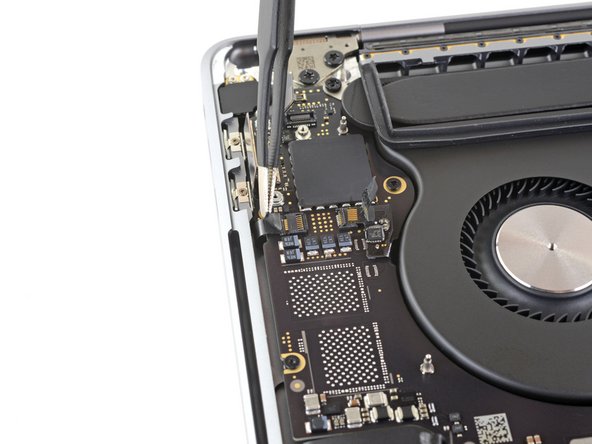
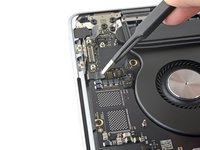
卸下固定左侧 Thunderbolt 柔性线缆盖的两颗 1.3 毫米螺丝。
-
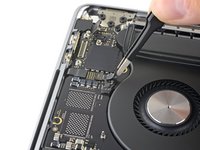
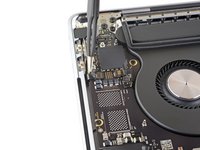
从右侧的 Thunderbolt 电缆盖上再拧下两颗 1.3 毫米螺丝。
-
-
-
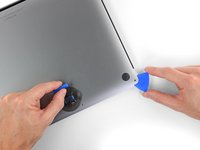
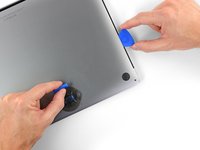
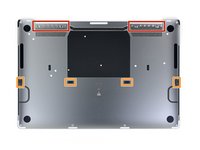
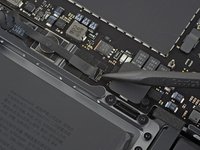
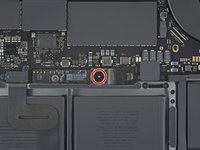
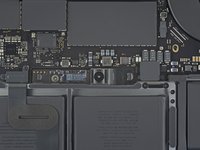
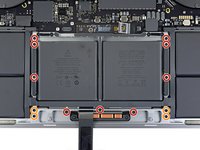
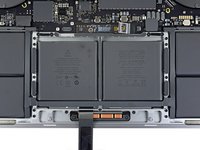
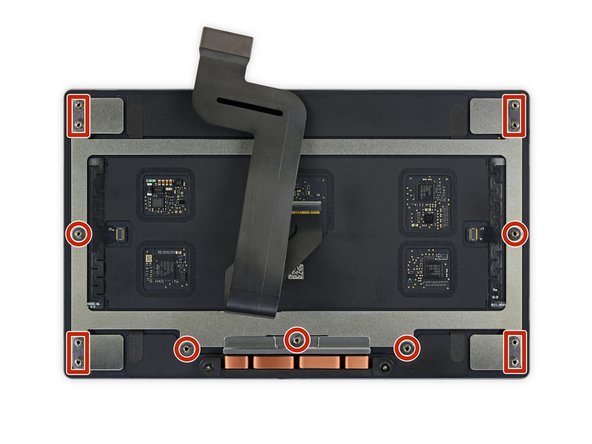
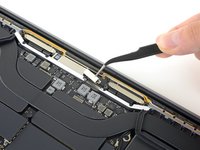
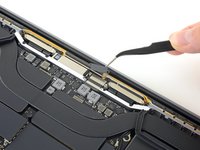
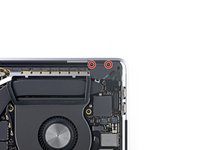
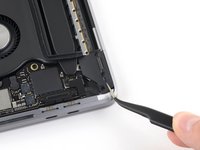
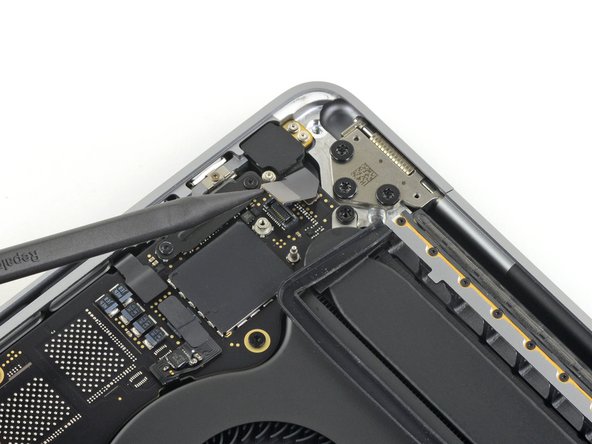
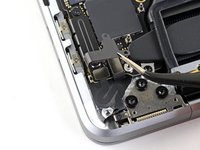
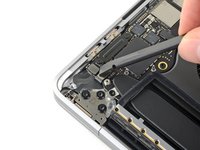
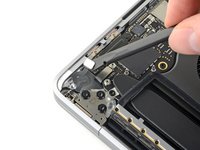
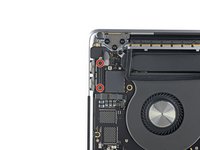
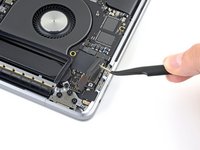
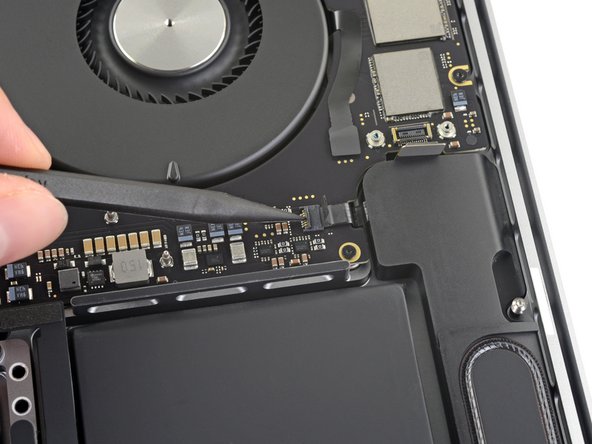
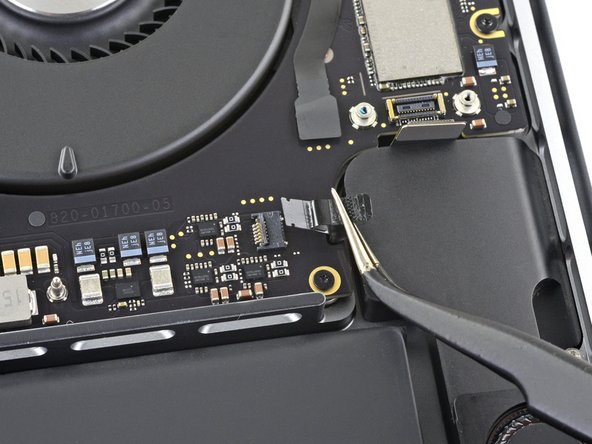
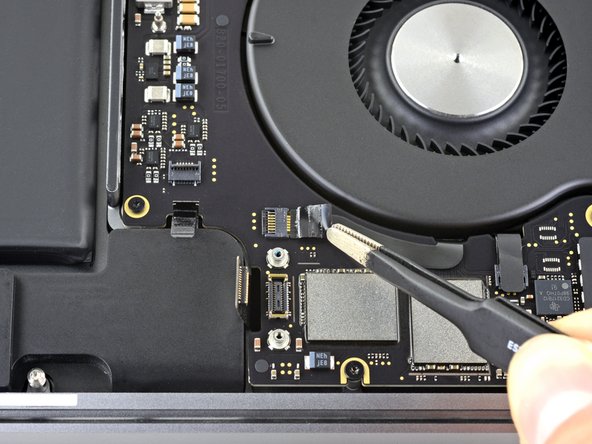
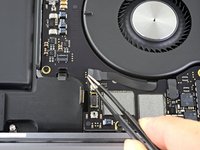
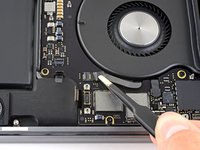
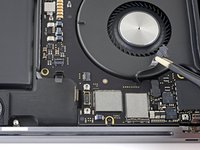
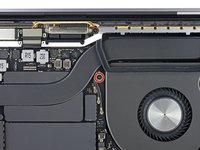
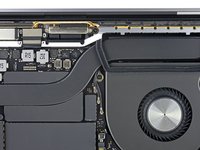
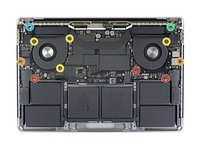
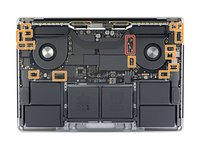
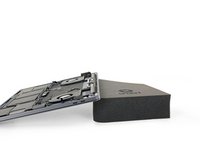
卸下固定主板组件的全部 11 颗螺丝:
-
三颗 3.3 毫米 T3 梅花头螺钉
-
两颗 3.6 毫米 T5 梅花头螺钉
-
四颗 2.9 毫米 T5 梅花头螺钉
-
一颗 4.0 毫米 T8 梅花头螺钉
-
一个 4.0 毫米 T8 梅花头螺钉(大头)
-
-
-
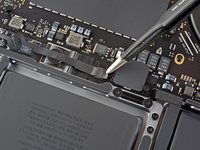
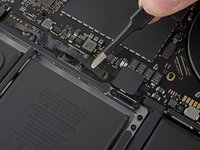
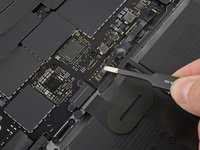
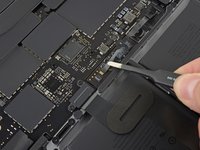
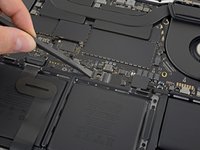
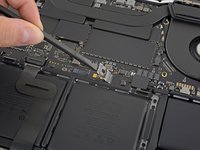
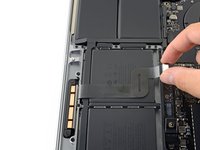
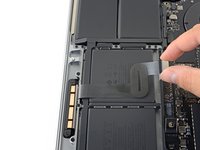
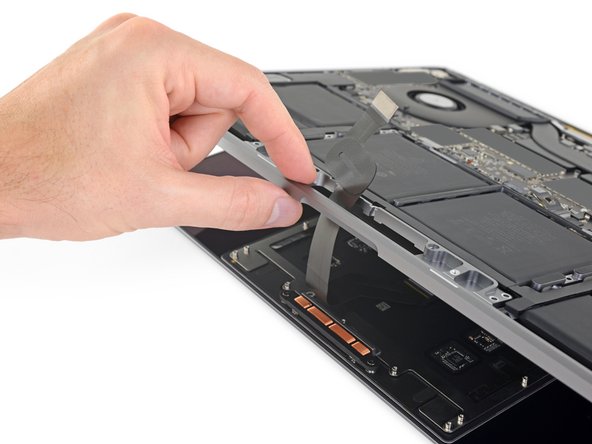
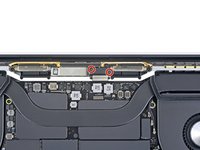
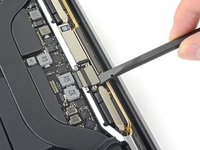
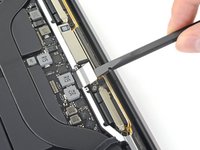
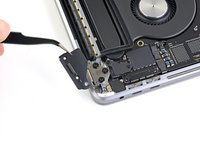
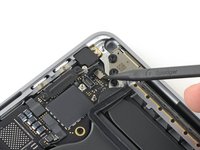
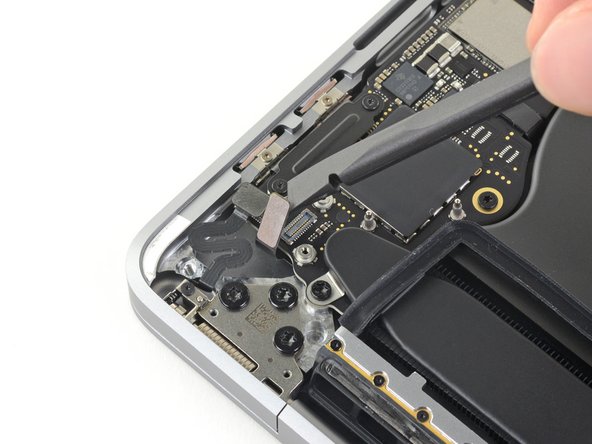
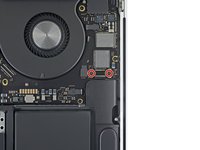
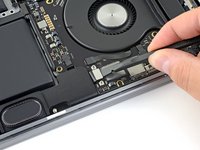
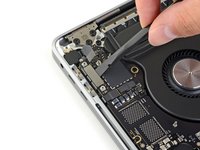
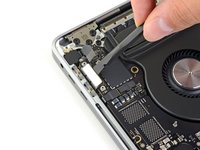
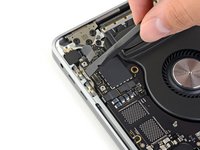
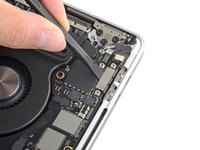
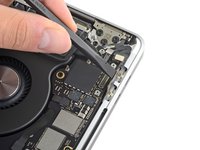
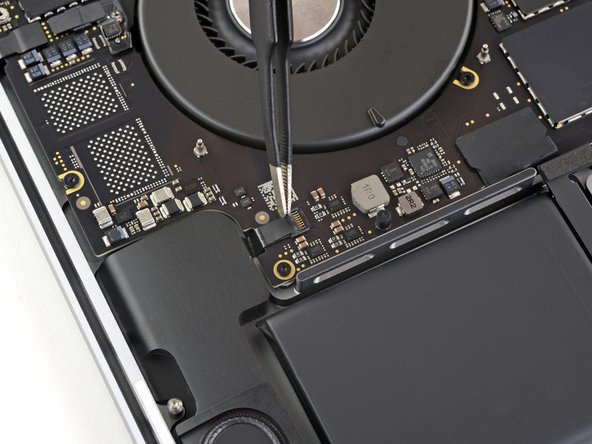
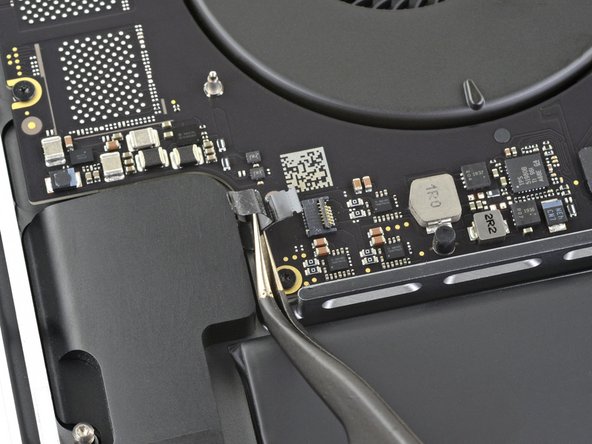
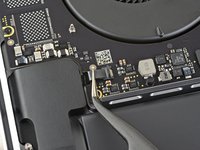
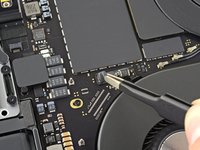
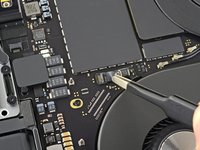
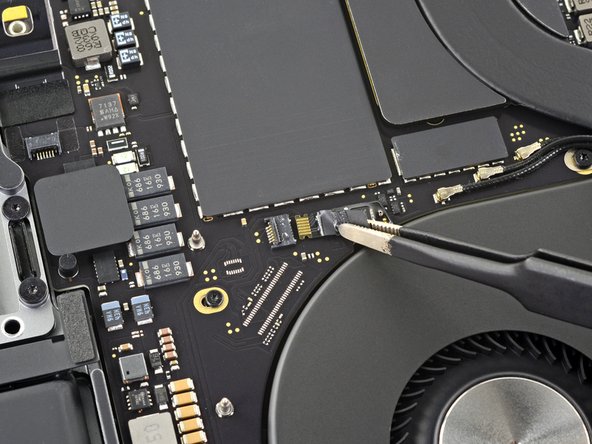
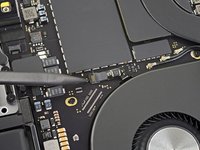
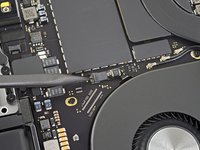
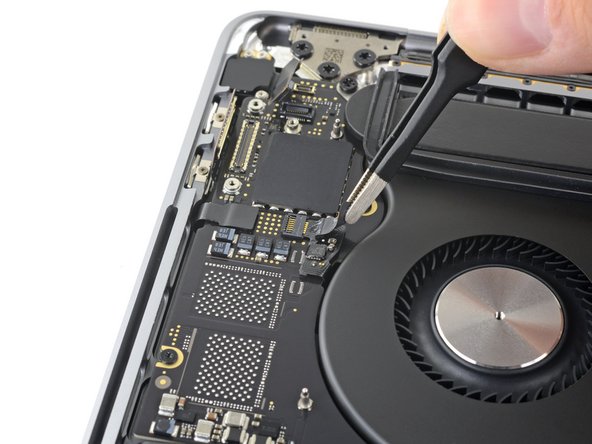
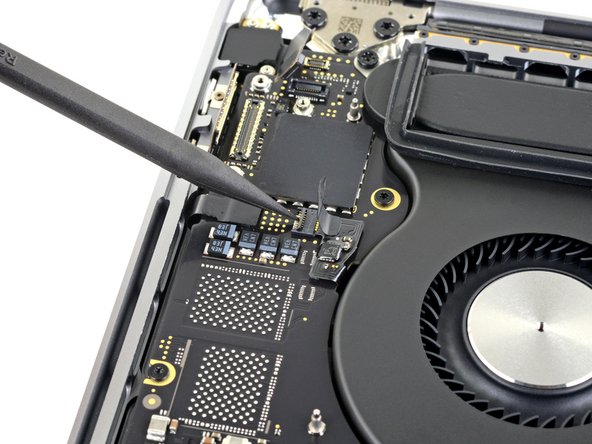
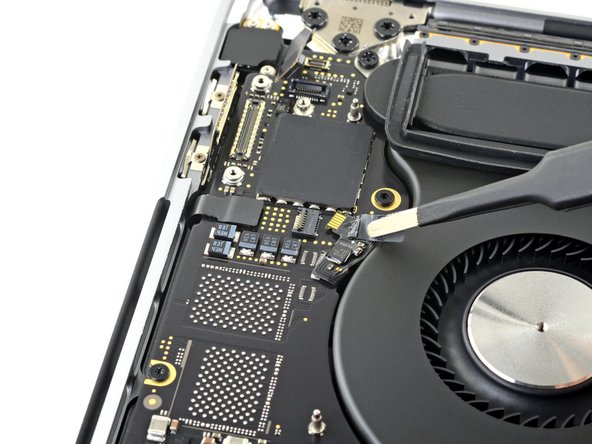
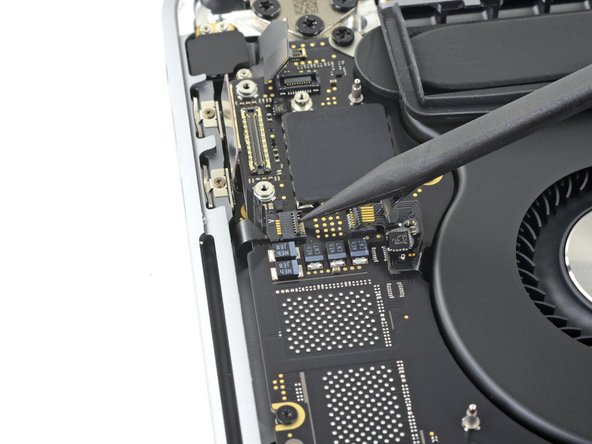
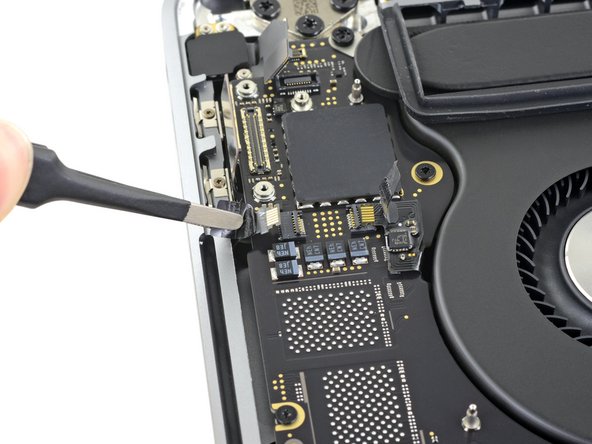
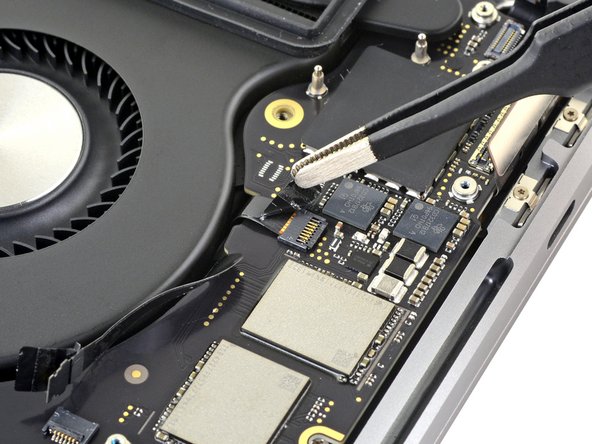
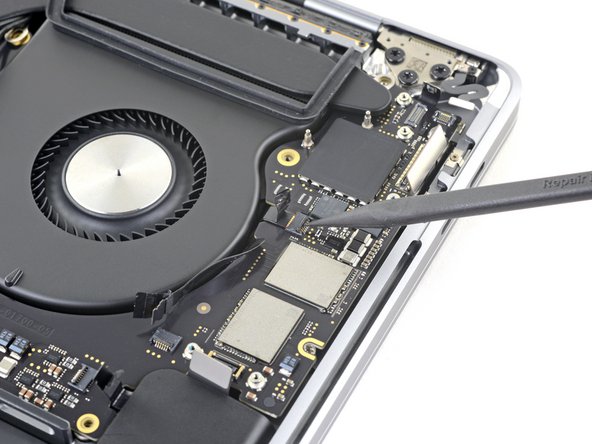
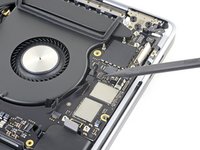
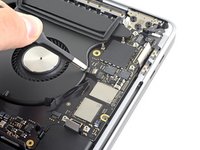
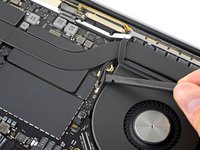
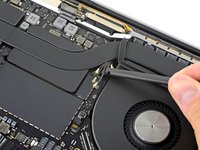
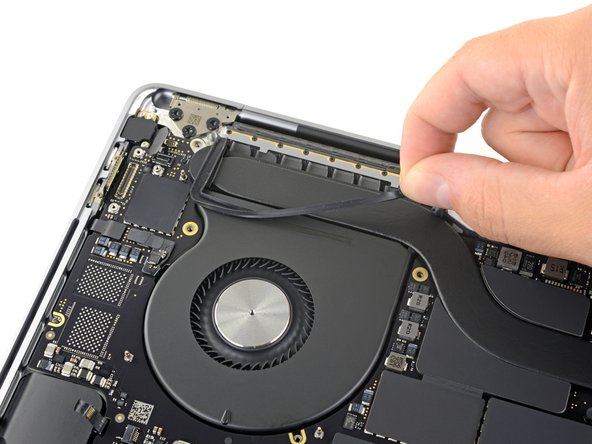
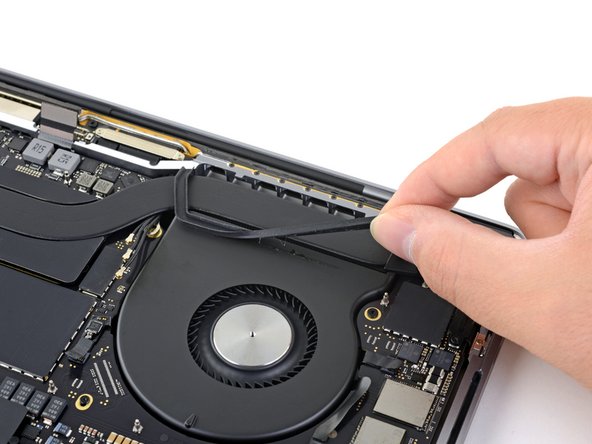
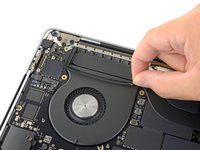
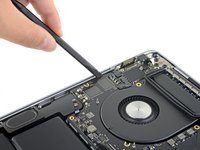
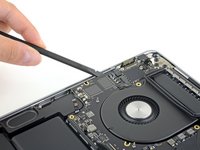
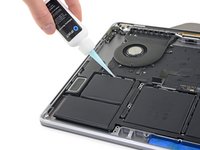
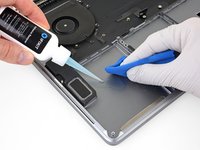
将橡胶减震条从固定风扇的粘合剂上剥离(但不要取下)。
-
必要时,用 iOpener、吹风机或热风枪轻微加热,使粘合剂软化,使减震条更容易分离。
-
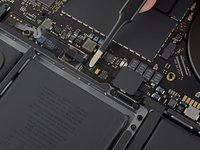
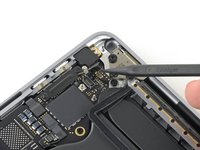
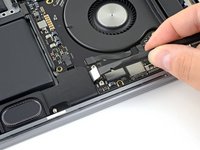
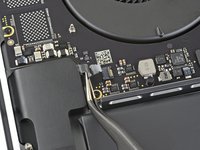
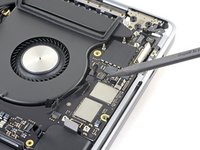
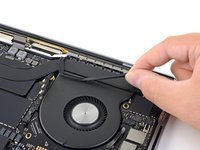
对另一个风扇上的胶条重复上述步骤。
-


63等其他人完成本指南。


46条评论
Amazing. This is truly thorough, and as soon as this battery starts to fail, will come back here. Nice work documenting a whole assembly line.
If I want to replace my fans, it looks like I can follow this guide to step 66 and then just figure it out from there? Is there a guide somewhere on this? Thanks!
You can do as you wrote for replacing only the fan. Ther’s nothing more to know about it.
I see that the MacBook Pro 13 logic board remains in place in iFixit battery replacement guide. Is there any reason why in the MacBook Pro 16 the logic board cannot remain in place while removing and reinstalling the battery?