简介
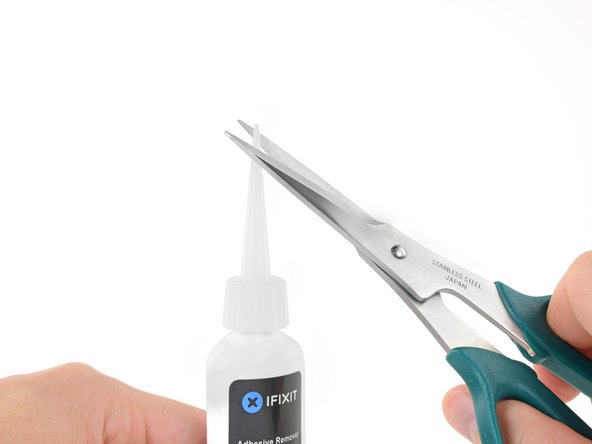
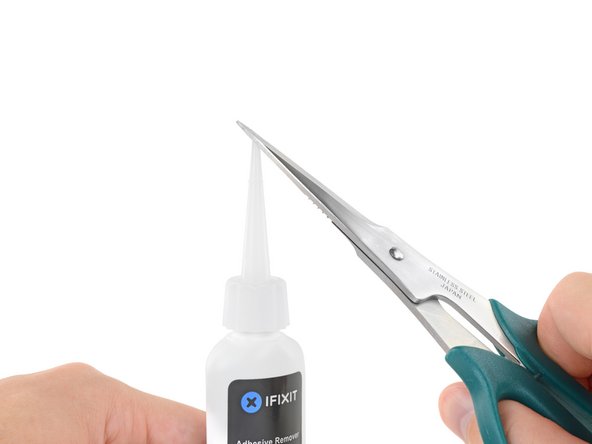
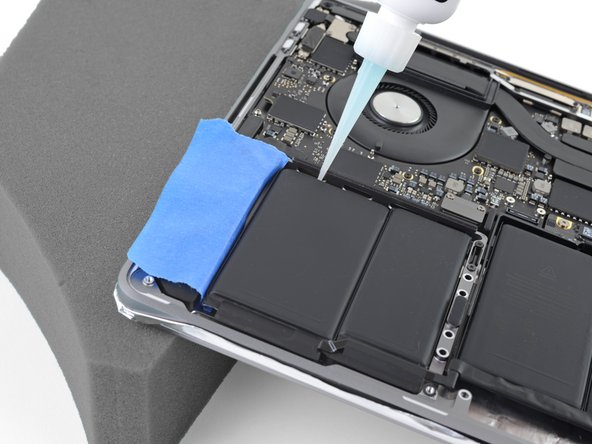
使用本指南可以借助iFixit电池更换套装从 MacBook Pro 中安全地取出内置电池。 套装中的粘合剂去除剂将溶解固定电池的粘合剂,使你可以轻松地将其移除。
“iFixit粘合剂去除剂是高度易燃的。''请'在通风良好的地方进行此项操作。 在这个过程中不要在明火附近抽烟或工作。
为了降低损坏危险,在开始此指南之前,请先将MacBook Pro的电池电量耗尽。如果意外刺破,带电的锂离子电池可能会造成危险且无法控制的火灾。如果你的电池已经鼓包,请参考此指南
注意:用于溶解电池粘合剂的溶剂会在你的扬声器与塑料扬声器音箱接触时损坏。 本指南指导你在继续使用电池之前取下扬声器。
你所需要的
-
-
开机,并打开终端。
-
将以下命令复制粘贴到(或完全键入)终端窗口中:
-
sudo nvram AutoBoot=%00
-
按[回车]。如果出现钥匙提示,请输入管理员密码(开机密码)并再次按[回车]。注意:您的回车键也可能标有「⏎」或 return。
-
sudo nvram AutoBoot=%03
-
-
-
-
准备一个 iOpener 并把它放在触控板带电缆的顶部大约一分钟,以软化粘合剂固定触控板带电缆到电池顶部。
-
如果你没有iOpener,用吹风机加热电缆代替。电缆应该是温暖的,但不要太热触摸。小心不要使电池过热。
-
-
-
为了保护你的显示器,请在显示器和键盘之间放置一块铝箔,并在工作时将其留在那儿。
-
此外,使用一些胶带和/或箔纸密封触控板下方的区域。你也可以选择在触控板区域的正下方铺一层吸水毛巾,以吸收多余的去粘剂。
-
-
-
现在,你的MacBook Pro已做好充分准备,现在该做好准备了。
-
在处理和应用脱胶剂时,请戴上护目镜。(您的套装中包括眼睛保护装置。)
-
不要戴上没有护目镜的隐形眼镜。套装中还包括防护手套。
-
如果你担心可能会引起皮肤刺激,请戴上手套。
-
-
-
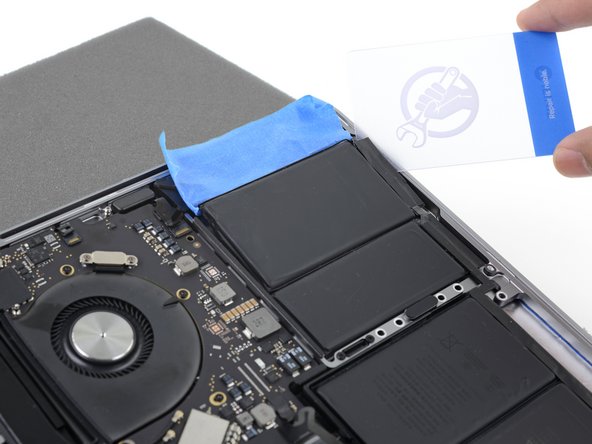
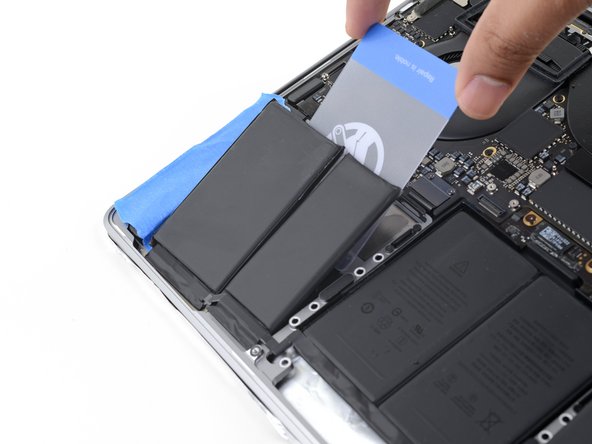
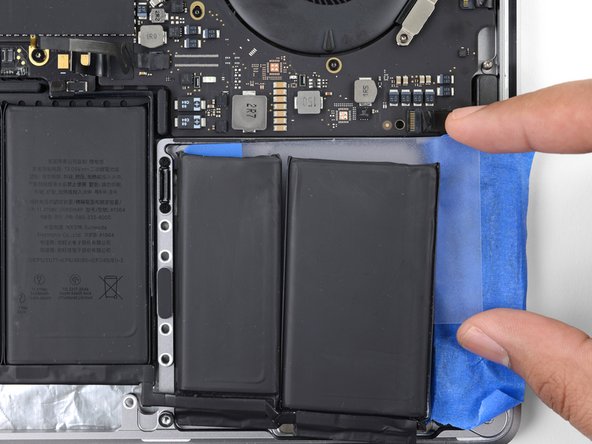
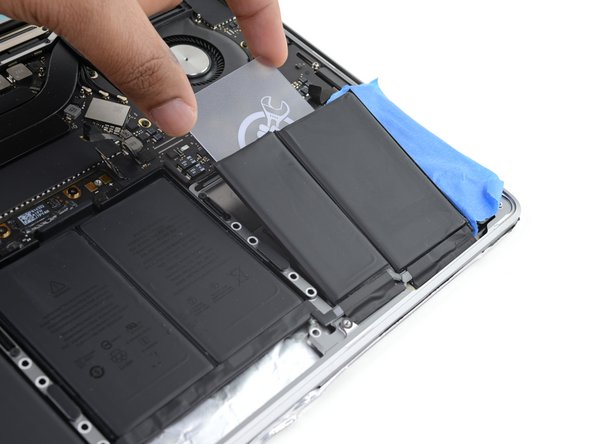
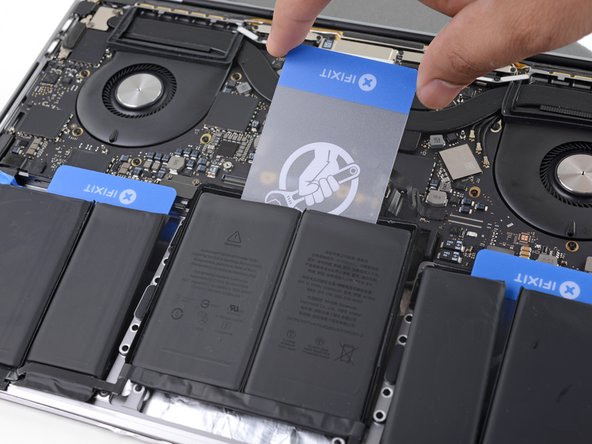
几分钟后,从前边缘开始,将塑料卡的一个角插入最右边的电池下面。
-
左右摆动存储卡,并将其一直滑到电池下方。
-
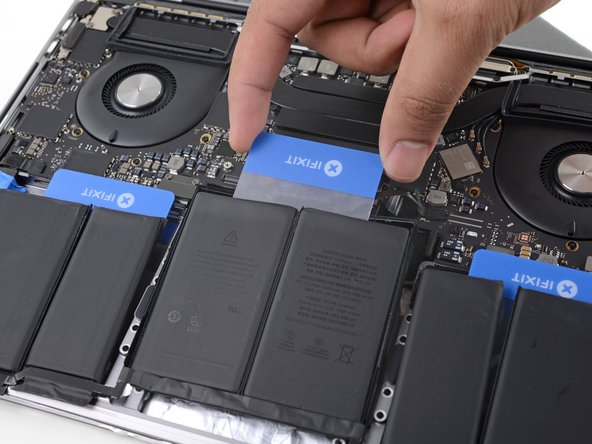
提起以完全分离粘合剂,但请勿尝试卸下电池。
-
将塑料卡暂时留在电池下面,以防止在继续操作时重新粘附。
-
-
-
取出电池。
-
在安装新电池之前,请从MacBook Pro的外壳中清除所有残留的粘合剂。
-
用镊子或戴手套的手指将所有大条胶粘剂剥离。
-
用塑料工具刮掉所有残留的粘合剂块,然后用除胶剂或异丙醇清洁下面的区域。沿一个方向擦拭(不要来回擦拭),直到清洁机箱并准备好装入新电池为止。
-
完成后,小心地从扬声器上取下保护带。
-
-
-
请注意电池数据线,并确保它不会被夹在电池板上。
-
如果你的电池底部预装有胶粘剂,请将其翻转过来并小心地剥离内衬以露出胶粘剂。如果电池没有粘合剂,请使用薄的双面胶带(例如Tesa 61395)将电池固定到位。
-
小心放置电池并将其放置到位。
-
牢牢按住每个电池单元格5-10秒钟,以将其固定到底部外壳。
-
36等其他人完成本指南。
由衷感谢以下译者:
95%
这些译者帮助我们修补全世界! 您也想加入吗?
开始翻译 ›
14条评论
When remounting, putting back the trackpad in a nicely centered position can become a lengthy exercise of patience.
I haven’t find guides or tricks to help; the best I came up with was to
* put back just two corner screws, without tightening them, that is enough to keep it in place and not lose the washers
* flip back your macbook keyboard up
* center the trackpad and fix it in place with adhesive tape
* flip it back belly-up, tighten the two corner screws and add the remaining six.
Thanks; everything went well, except at the end I realized that I somehow damaged the battery connector from step 12/13. What is the part number, please?
Der Akkutausch funktioniert auch mit dem Heißluftfön bei max. 100° Celsius…
Einfach die Akku-Sektionen dazu eine Minute etwas erwärmen und dann mit der Karte den Klebstoff lösen!
Der Einbau des Trackpads ist etwas fummelig da es beim Zentrieren keine Arretierung oder ähnliches gibt, dazu am besten einige Schrauben etwas anziehen und dann systematisch festziehen! Ich legte das aufgeklappte MacBook über einen Überhang damit ich von oben das Trackpad immer justieren konnte und mit der anderen Hand schraubte ich von unten die Schrauben fest ;-)
I fixed it! My original battery had swollen badly and had been a fire hazard.
This was my first time fixing a phone / laptop. Instructions were quite clear and easy to follow. I didn't run into any problem.
Very proud of myself at the moment ☺️


