简介
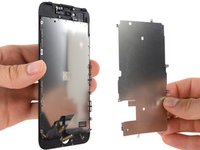
本指南的下列步骤介绍了如何拆卸或更换iPhone 7的显示组件背部的LCD保护片。
遵循本指南步骤更换 iPhone 7 显示屏后的 LCD 屏蔽板。
你所需要的
-
在这个步骤中使用的工具:Clampy - Anti-Clamp$24.95
-
接下来的三个步骤演示了如何使用反向钳,一个旨在简化打开过程的工具。 如果你不使用 反向钳,请跳过这两个步骤以使用替代方法。
-
将蓝色手柄拉向铰链以解锁反向钳。
-
将手机塞进反向钳的两臂之间。
-
将吸盘放在屏幕上主页按钮的正上方——一个在前面,一个在后面。
-
向下推吸盘以将吸力施加到所需区域。
-
-
-
加热 iOpener并将其穿过反向钳。
-
折叠 iOpener,使其位于 iPhone 的底部边缘。
-
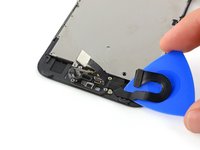
等待一分钟,让粘合剂有机会释放并出现开口间隙。
-
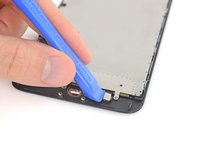
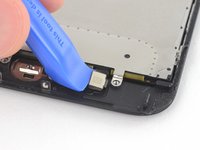
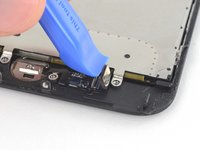
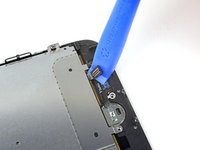
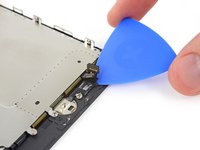
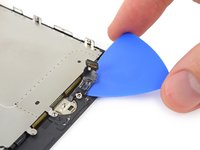
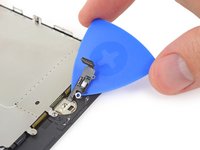
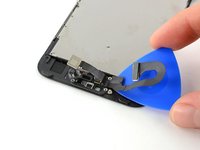
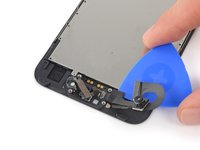
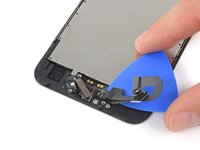
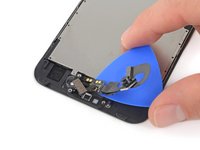
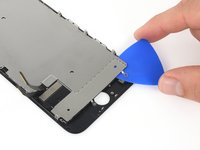
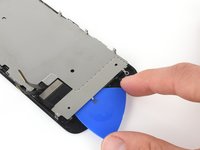
将撬片插入间隙中。
-
跳过接下来的三个步骤。
-
-
-
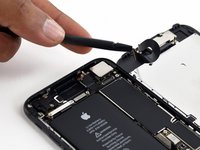
在这个步骤中使用的工具:Tri-point Y000 Screwdriver$5.99
-
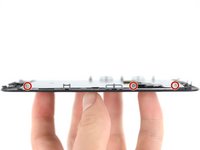
从下侧连接器支架上拆下以下长度的四颗三点式 Y000 螺丝 :
-
三个1.2mm螺丝
-
一个2.4 mm螺丝
-
维修过程中,使用磁性垫来记住每颗螺丝所对应的位置,避免重新安装的过程中螺丝安装错位损伤您的手机。
-
-
-
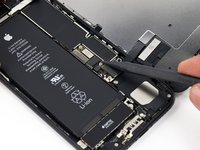
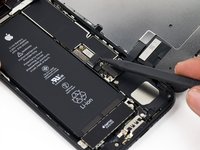
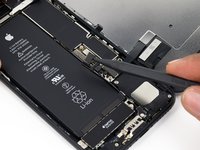
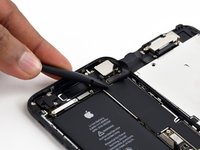
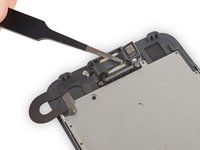
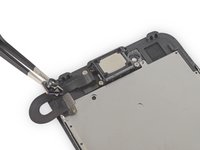
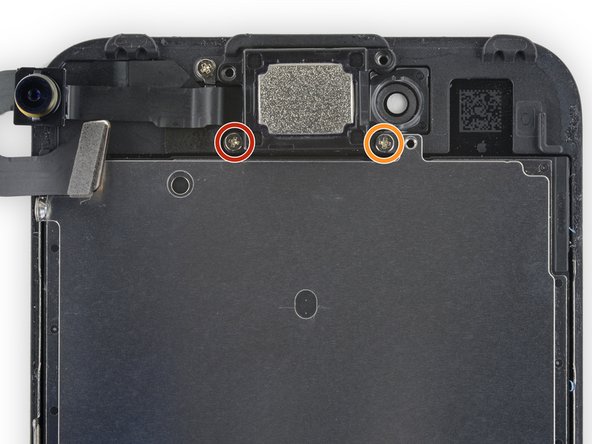
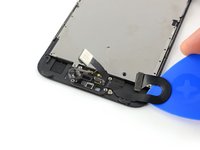
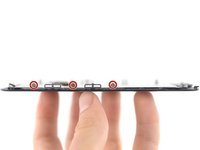
卸下四颗固定Home/Touch ID传感器支架的Y000螺丝。
-
一颗1.1mm螺丝。
-
三颗1.3mm螺丝。
-
重新组装时,请注意不要拧得太紧,否则Home 键可能不起作用。
-


参考下列步骤的相反顺序以重新组装你的设备。
参考下列步骤的相反顺序以重新组装你的设备。
98等其他人完成本指南。


6条评论
Awesome Guide! Very easy to follow!!! Thanks!
Use a good tri-point screwdriver for this repair. Some of the screws are very tight!
Absolutely true. The cheap Y000 driver that came with a repair kit was stripped to uselessness by the time I got to the shield screws.
I had a lot of trouble getting the home button cable connector back after replacing the screen and shield. I wound up disconnecting the shield to give the screen side of that connection a little more play and enable the connection to be made.
Incidentally, if you want to take off just the shield itself and not the outer cables, you can skip 19-35, except the outer orange screws in 19 and the outer orange screws in 26. It might make getting under the shield adhesive harder, but in the case I described above, it was quite useful!