跳转到主内容
已存档的指南
本指南只作为历史记录保留。请使用指南的最新版本来进行维修。

你所需要的

这个拆解是不是维修指南。 要维修你的的iPhone 6,请使用我们的维修手册

  1. iPhone 6 Teardown, iPhone 6 Teardown: 步骤 1 中的图像 1,3 iPhone 6 Teardown, iPhone 6 Teardown: 步骤 1 中的图像 2,3 iPhone 6 Teardown, iPhone 6 Teardown: 步骤 1 中的图像 3,3
    • Unboxing the iPhone 6: yup, it's a phone.

  2. iPhone 6 Teardown: 步骤 2 中的图像 1,1
    • After removing the familiar two Pentalobe screws we use a suction cup to carefully lift up the screen to give us enough space to run a plastic tool down the edges to release the screen clips

    • Unlike the 5s, The 6 Touch ID cable is now routed up the back of the screen, so we don't have to worry about accidentally ripping the touch ID cable.

  3. iPhone 6 Teardown: 步骤 3 中的图像 1,2 iPhone 6 Teardown: 步骤 3 中的图像 2,2
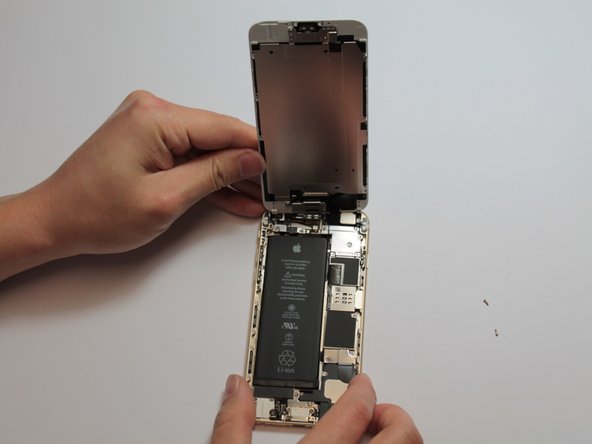
    • The screen connectors are covered by a metal plate, similar to the previous models.

    • This plate is held by 5 screws this time.

    • There are 5 connectors under this plate: LCD/Touch Sensor/Front Camera, Rear Camera and TouchID.

  4. iPhone 6 Teardown: 步骤 4 中的图像 1,2 iPhone 6 Teardown: 步骤 4 中的图像 2,2
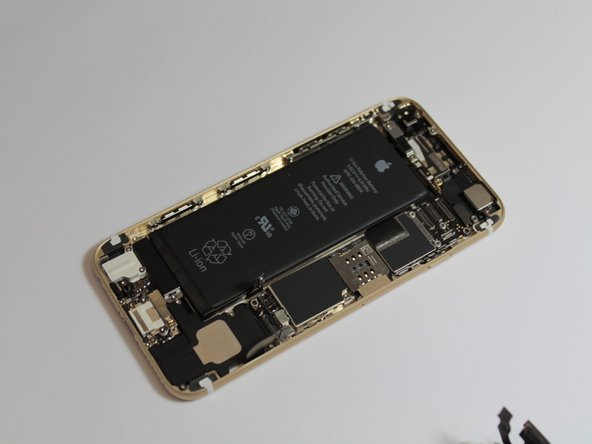
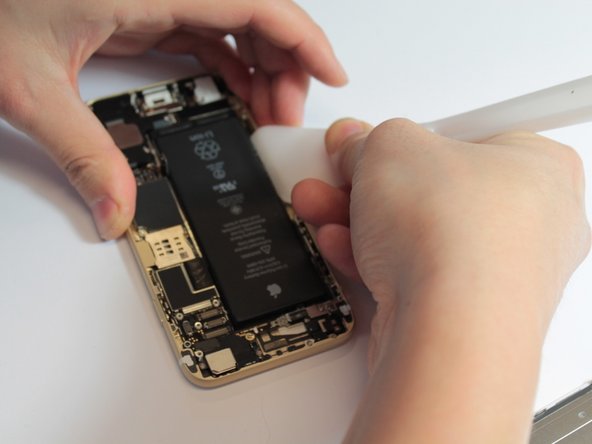
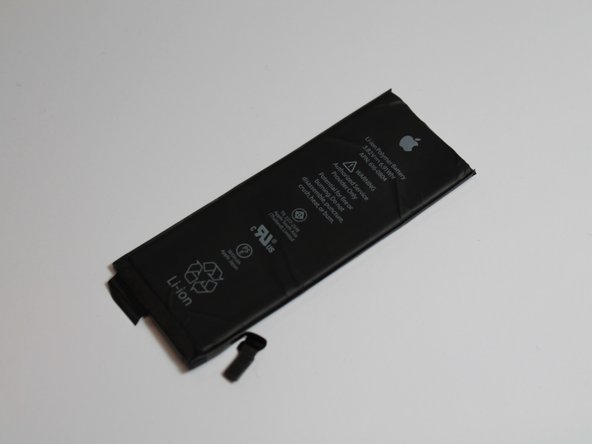
    • The battery is very well stuck in. With a bit of heat and a little deformation of the battery, we were able to get it out. (There's probably a pull tab to remove the battery, but we didn't find it.)

    • The battery is rated at 3.82V, 6.91Whr.

  5. iPhone 6 Teardown: 步骤 5 中的图像 1,1
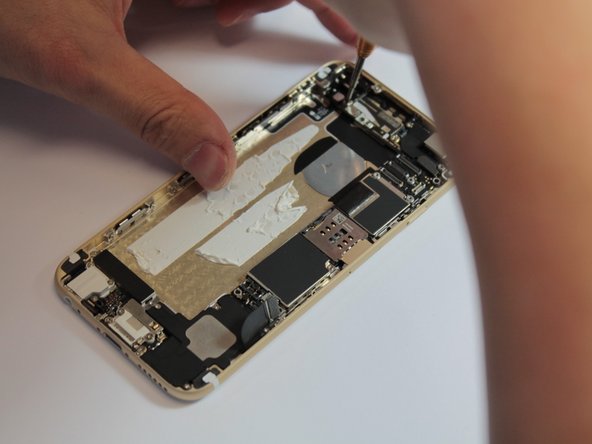
    • Removing the logic board requires the removal of many screws.

    • Fortunately for DIYers, Apple have placed the chips away from most of the screws so there is less risk of tool slip damage.

  6. iPhone 6 Teardown: 步骤 6 中的图像 1,1
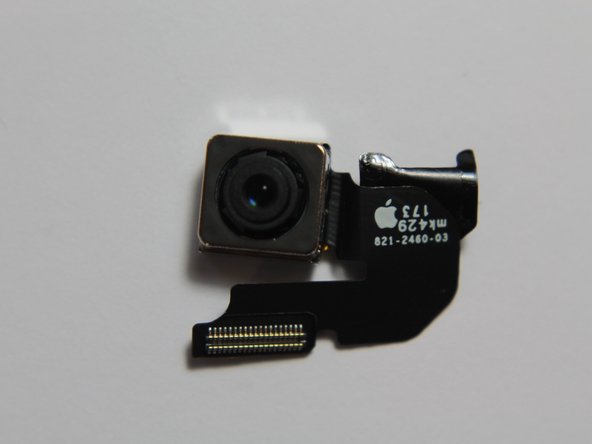
    • The iPhone 6 rear camera: not as big as its optically stabilized brother.

  7. iPhone 6 Teardown: 步骤 7 中的图像 1,1
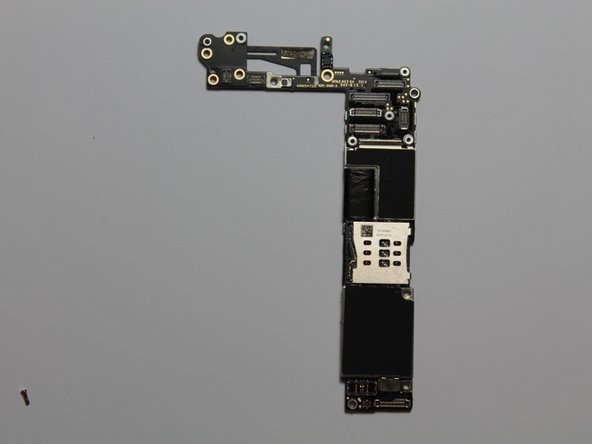
    • The iPhone 6 logic board.

  8. iPhone 6 Teardown: 步骤 8 中的图像 1,1
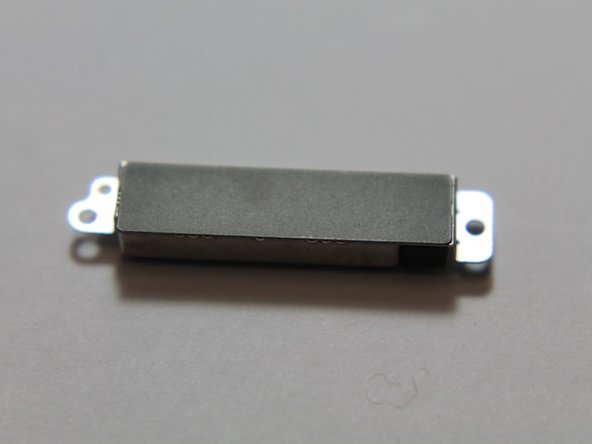
    • The vibration motor is now inside a metal case!

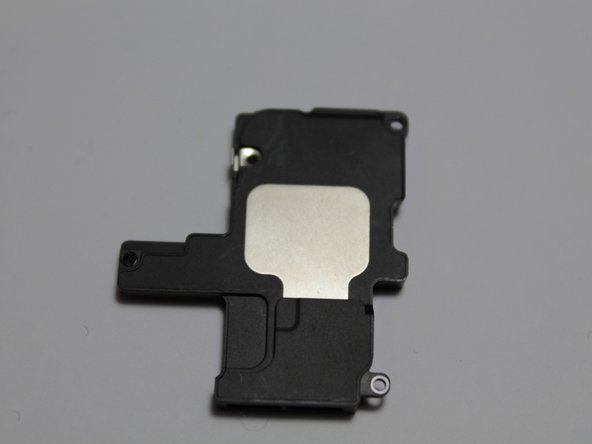
  9. iPhone 6 Teardown: 步骤 9 中的图像 1,1
    • The loudspeaker.

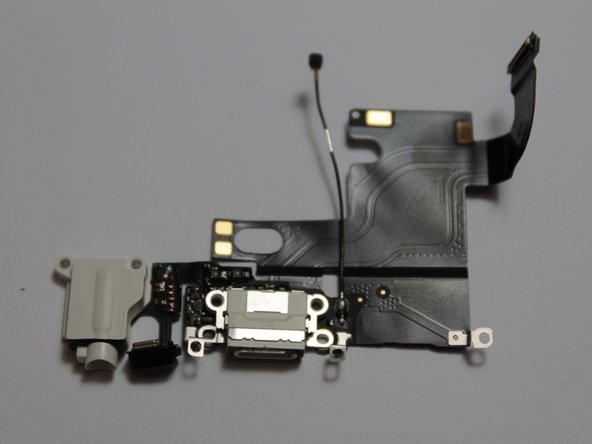
  10. iPhone 6 Teardown: 步骤 10 中的图像 1,1
    • The Lightning port.

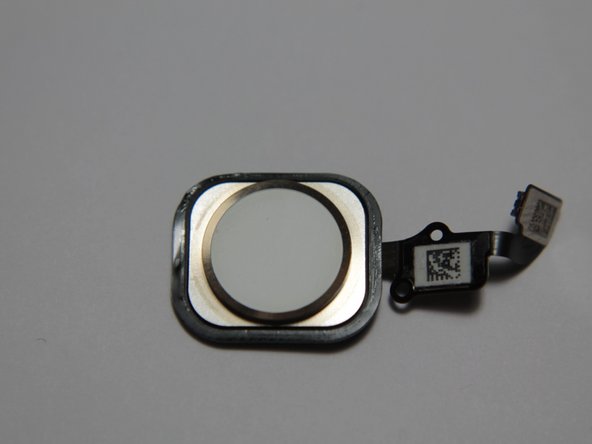
  11. iPhone 6 Teardown: 步骤 11 中的图像 1,1
    • The Touch ID sensor.

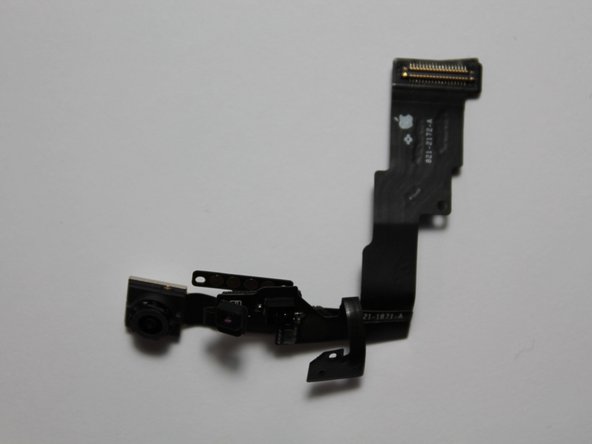
  12. iPhone 6 Teardown: 步骤 12 中的图像 1,1
    • The front camera and proximity sensor flex cable.

  13. iPhone 6 Teardown: 步骤 13 中的图像 1,3 iPhone 6 Teardown: 步骤 13 中的图像 2,3 iPhone 6 Teardown: 步骤 13 中的图像 3,3
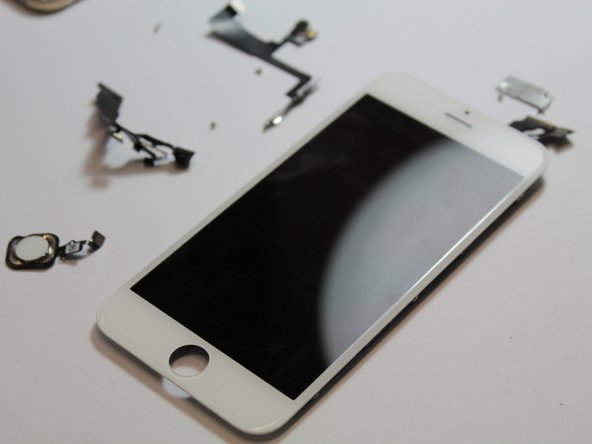
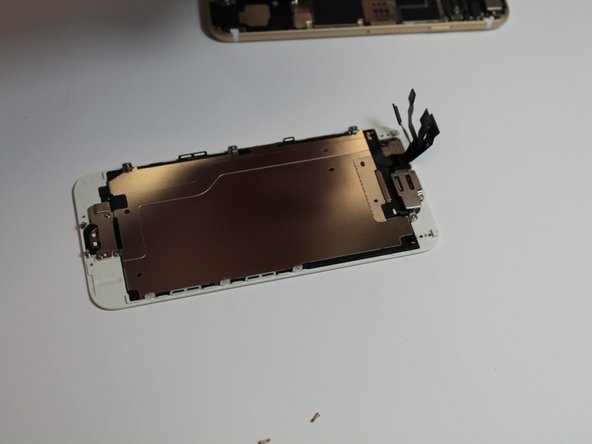
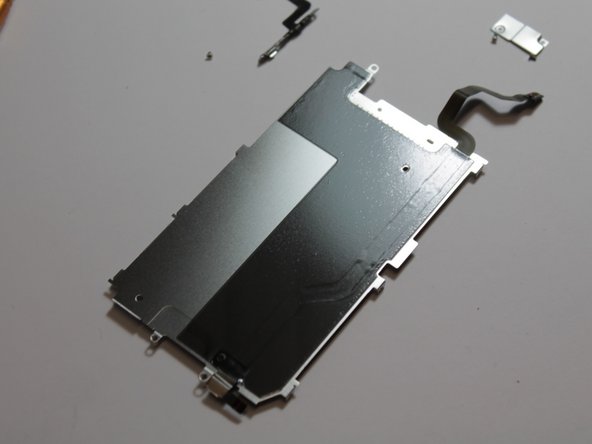
    • The iPhone 6 display assembly. It's thinner than the iPhone 5s/5c/5 screen.

    • The Touch ID Cable runs from the home switch to the top of the screen, adding a 4th connector at the top.

  14. iPhone 6 Teardown: 步骤 14 中的图像 1,3 iPhone 6 Teardown: 步骤 14 中的图像 2,3 iPhone 6 Teardown: 步骤 14 中的图像 3,3
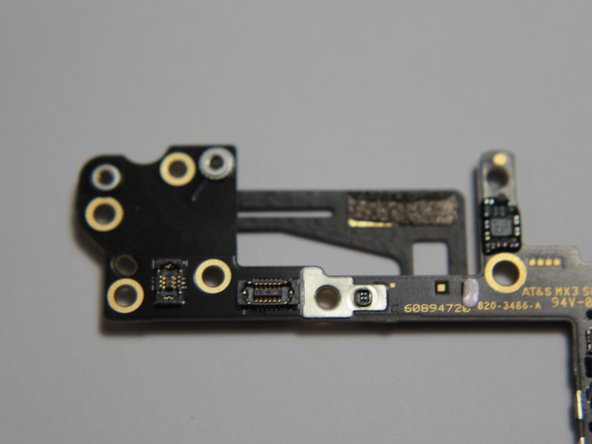
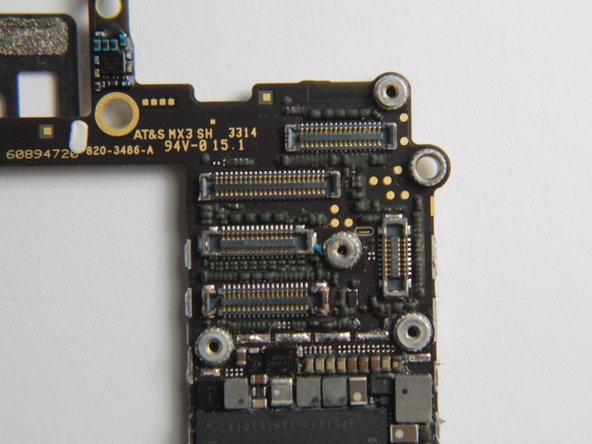
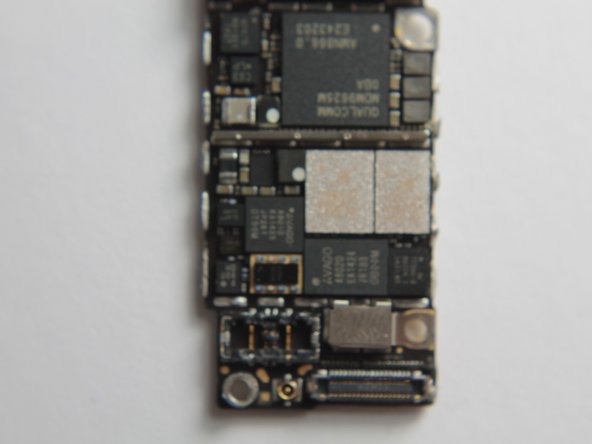
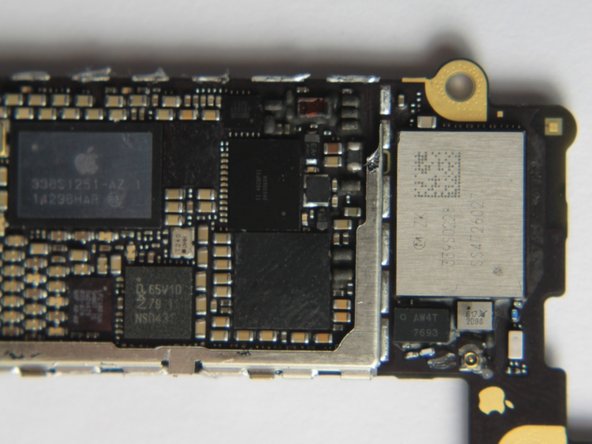
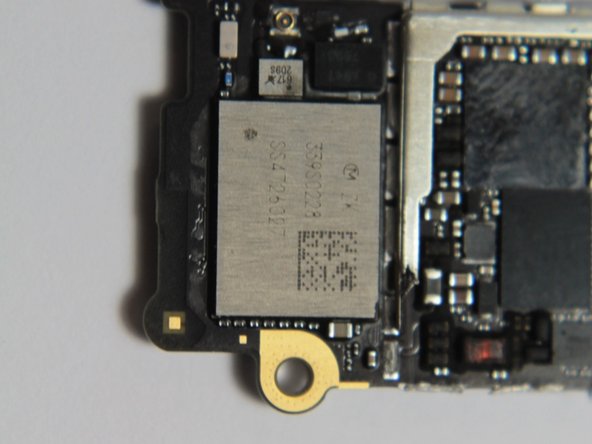
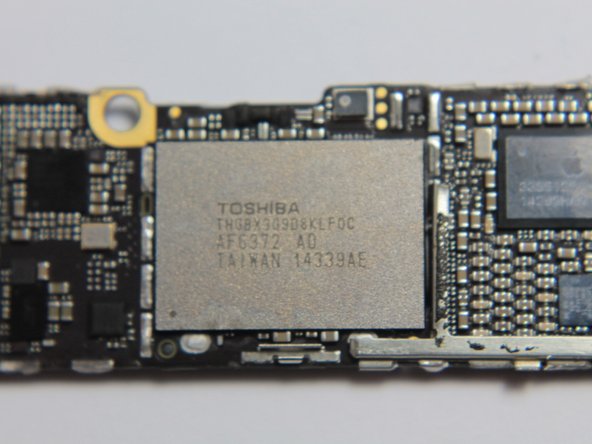
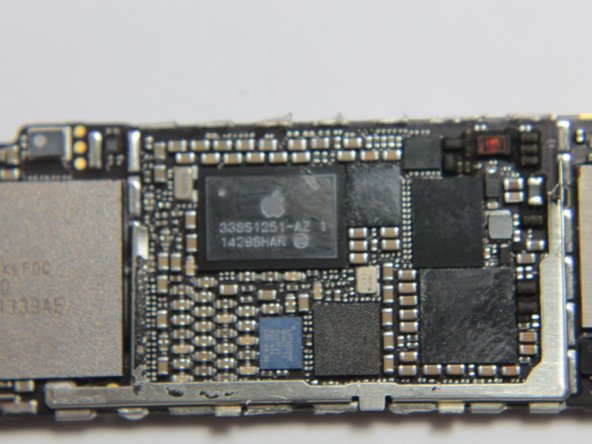
    • After the usual painful desoldering of the shielding, we have the logic board in all its naked glory.

    • Analysis to follow with iFixit's full teardown.

  15. iPhone 6 Teardown: 步骤 15 中的图像 1,3 iPhone 6 Teardown: 步骤 15 中的图像 2,3 iPhone 6 Teardown: 步骤 15 中的图像 3,3
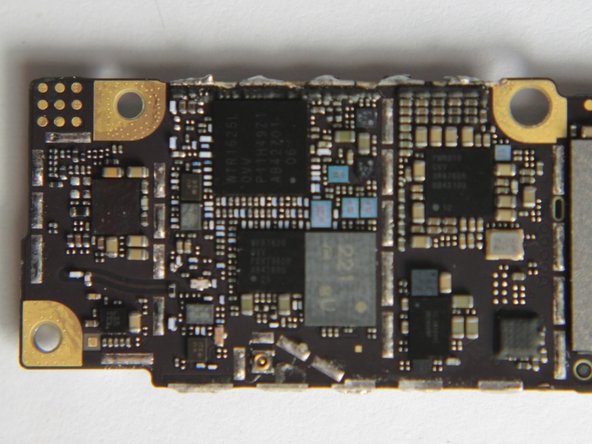
    • More chip pics!

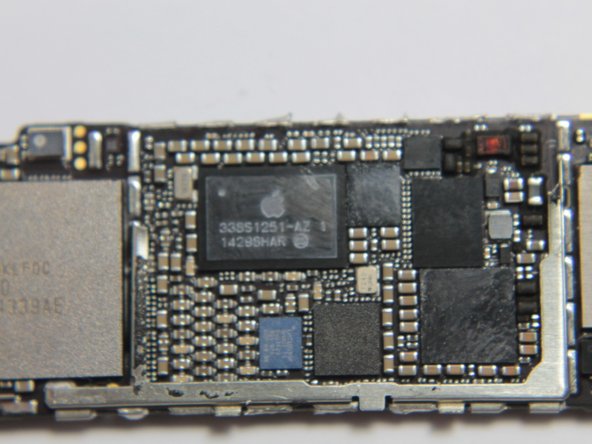
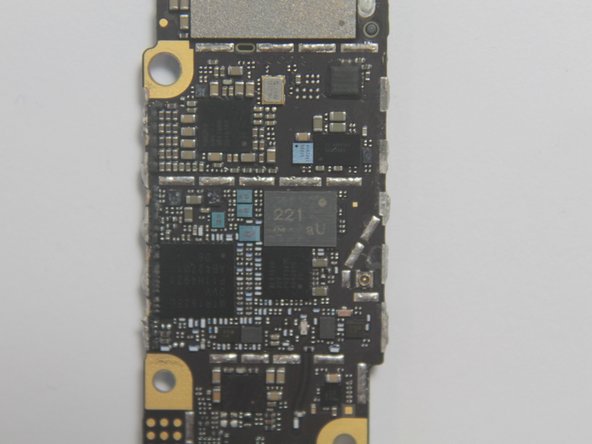
  16. iPhone 6 Teardown: 步骤 16 中的图像 1,3 iPhone 6 Teardown: 步骤 16 中的图像 2,3 iPhone 6 Teardown: 步骤 16 中的图像 3,3
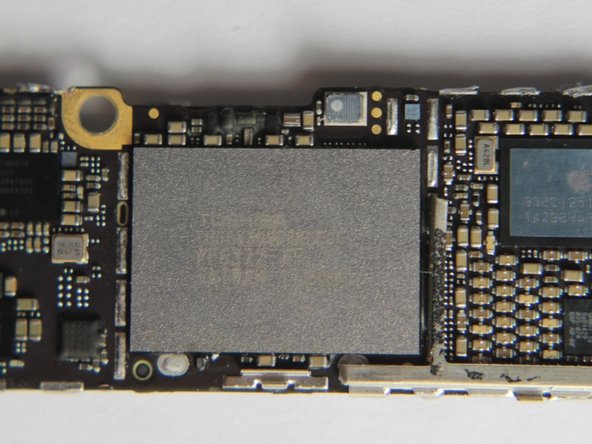
    • Even more ICs.

  17. iPhone 6 Teardown: 步骤 17 中的图像 1,2 iPhone 6 Teardown: 步骤 17 中的图像 2,2
    • And that's all she wrote! We'll be back soon with a complete teardown and analysis from iFixit with higher resolution photos.

Patrick Lee

于09/19/13注册

2,605 声望

撰写一个指南

团队

iExperts iExperts 的会员

Business

1 名成员

创作了1篇指南

一条评论

I have 2 small pieces that fell out and I have no idea where they go. One has this code on it 1-00095A 344. And the other looks like a toggle switch, it is black. Can you help.

linda.lloyd - 回复

添加评论

浏览统计数据:

过去 24 小时: 0

过去 7 天: 1

过去 30 天: 4

总计 87,133