跳转到主内容

你所需要的

这个拆解是不是维修指南。 要维修你的的Sega Genesis II,请使用我们的维修手册

  1. Sega Genesis II Controller Teardown, Disassembling the handle: 步骤 1 中的图像 1,1
    • Flip the controller upside down.

    • Using a Phillips #00 screwdriver, remove the five screws holding the controller back cover in place.

  2. Sega Genesis II Controller Teardown: 步骤 2 中的图像 1,1
    • Then remove the back cover of the controller, which gives you access to the motherboard of the controller.

    • Carefully put back the 5 screws from step 1 as well as the back cover of the controller

  3. Sega Genesis II Controller Teardown, Disassembling the motherboard: 步骤 3 中的图像 1,2 Sega Genesis II Controller Teardown, Disassembling the motherboard: 步骤 3 中的图像 2,2
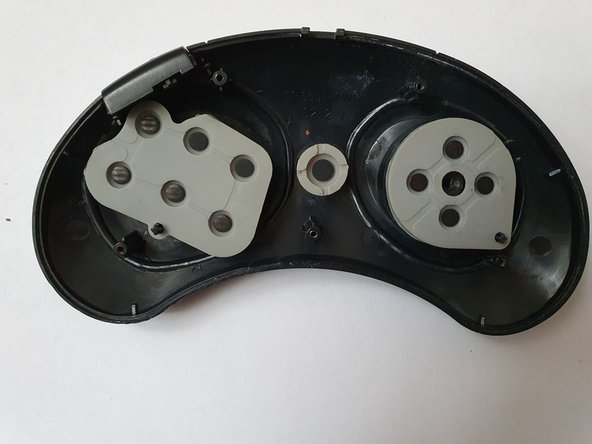
    • Remove the motherboard from the controller body, after releasing the rubber part that holds the cable in the controller body

    • This gives you access to the button contact pads

  4. Sega Genesis II Controller Teardown, Dismantling the buttons: 步骤 4 中的图像 1,1
    • Remove the contact pads

    • Then remove the 8 plastic buttons

  5. Sega Genesis II Controller Teardown, Dismantling the Directional Pad: 步骤 5 中的图像 1,3 Sega Genesis II Controller Teardown, Dismantling the Directional Pad: 步骤 5 中的图像 2,3 Sega Genesis II Controller Teardown, Dismantling the Directional Pad: 步骤 5 中的图像 3,3
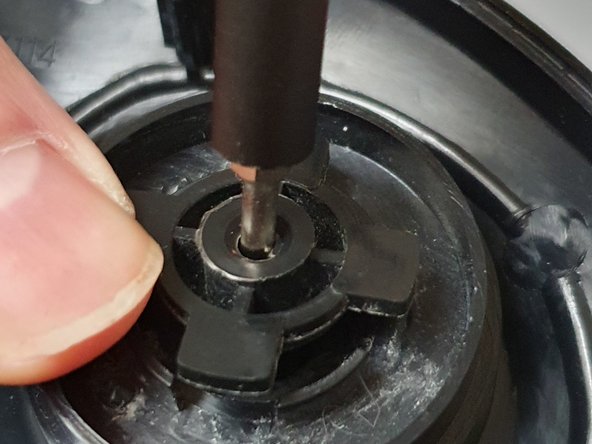
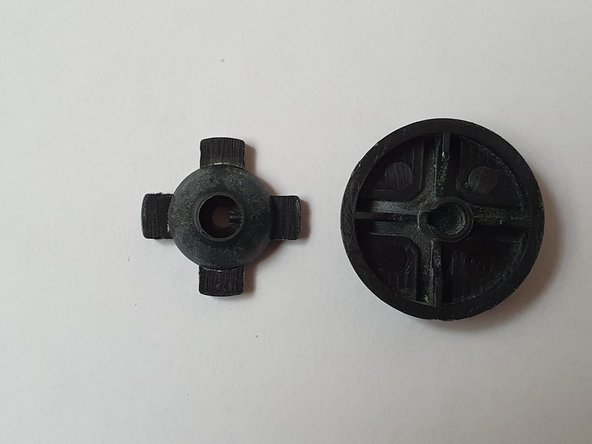
    • In order to disassemble the directional cross, it is necessary to levergentlypreferably with a plastic Spudger, under the 4 retaining tabs.

    • Then, push in the central hole with a fine tool (here a screwdriver), in order to undo the assembly

    • For reassembly, be careful to put the corrector in front of the slot of the outer part!

tayola

于07/21/22注册

8,685 声望

创作了46篇指南

团队

Kid fixers Kid fixers 的会员

Community

160 名成员

创作了296篇指南

0条评论

添加评论

浏览统计数据:

过去 24 小时: 4

过去 7 天: 14

过去 30 天: 48

总计 906