你所需要的
-
-
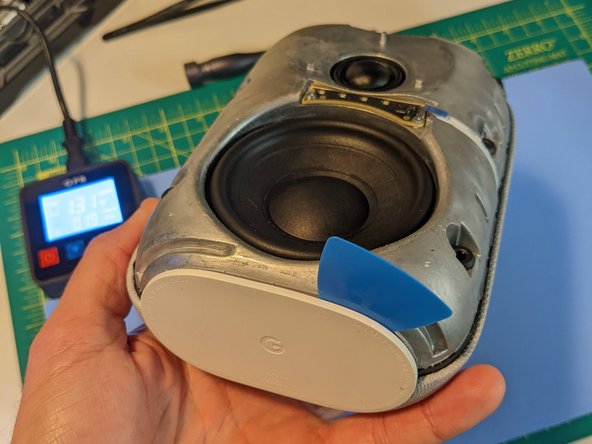
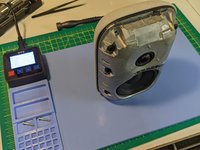
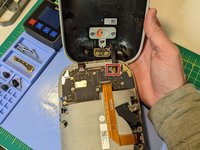
The front cover of the device is made of recycled plastic and is press-fit onto the body. It's connected to the body by a flex cable, which can be disconnected easily by hand.
-
To remove the front cover, insert a simple pick into the seam between the front and back housing and gently pry along the seam.
-
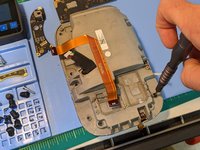
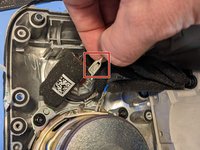
As the front enclosure starts to loosen, it will begin to "pop" off. Carefully flip up the front enclosure to access the flex cable, and disconnect the cable to remove the front enclosure.
-
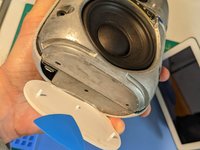
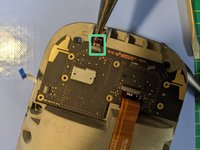
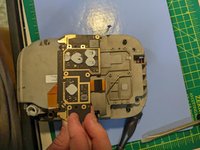
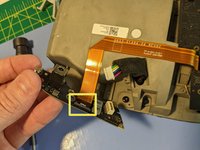
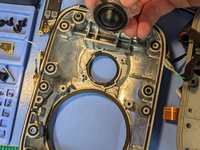
On the underside of the outer front enclosure, you'll find the touch sensors and a small daughter board secured by three Torx Plus (IP) screws.
-
-
在这个步骤中使用的工具:Tweezers$4.99
-
The LED light bar is fastened to the aluminum body with two T6 screws.
-
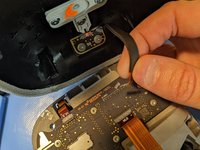
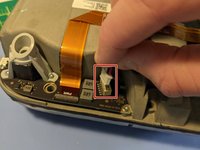
Gently disconnect the flex cable from the light bar using tweezers or pliers. Pull on the plastic tab carefully since the cable is very delicate.
-
Using a standard T6 driver, remove the two screws that secure the LED board to the body, and remove it.
-
-
-
The device has a recycled plastic and rubber foot attached to its bottom. This foot prevents scratches on surfaces like wood, dampens vibrations, and covers the re-flash port. It's held in place by a light seam of adhesive that's easily compromised.
-
Use a controlled heat source to warm the foot and loosen the adhesive.
-
Insert a pick between the foot and device body and gently pry them apart. If the foot is heated adequately, it should be easy to pop off.
-
-
-
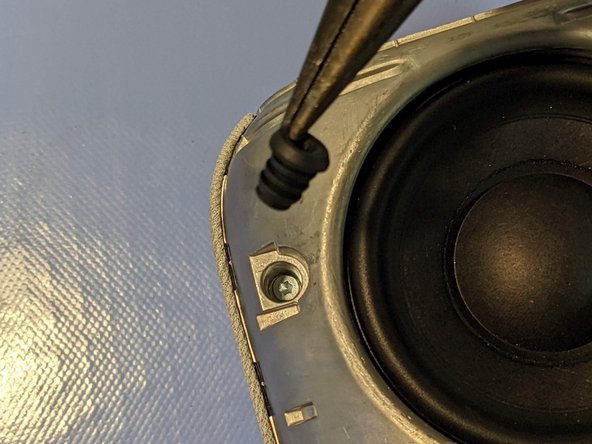
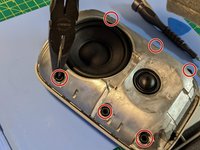
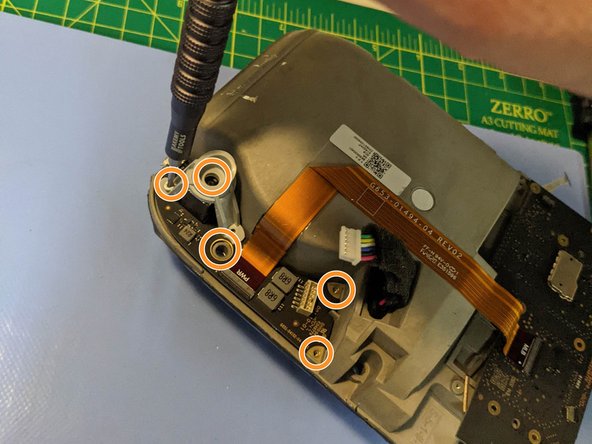
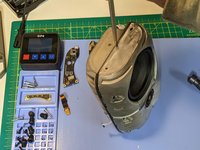
The aluminum body has six rubber plugs that press-fit into it to hold the front enclosure in place. These plugs need to be removed to access the body screws.
-
Use tweezers or pliers to grab onto the rubber plugs, and gently pull them out. They should pop out easily.
-
-
-
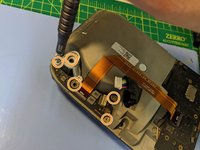
Once you've removed the rubber plugs, you'll see that six T10 screws secure the metal core of the device to the back plastic/fabric enclosure cover.
-
Using a T10 driver, remove the six screws.
-
-
-
-
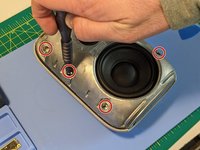
After removing all six T10 screws, you can flip off the back cover. The cover has a small daughterboard for the mute switch connected by a small flex cable. To prevent any strain on the flex cable, rotate the cover up towards the top of the device.
-
Carefully disconnect the flex cable.
-
-
-
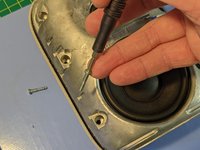
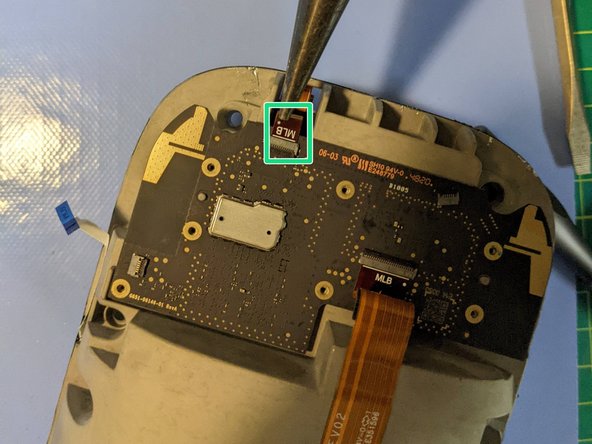
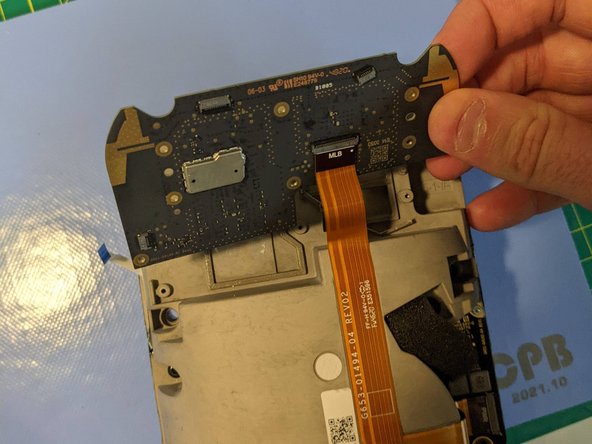
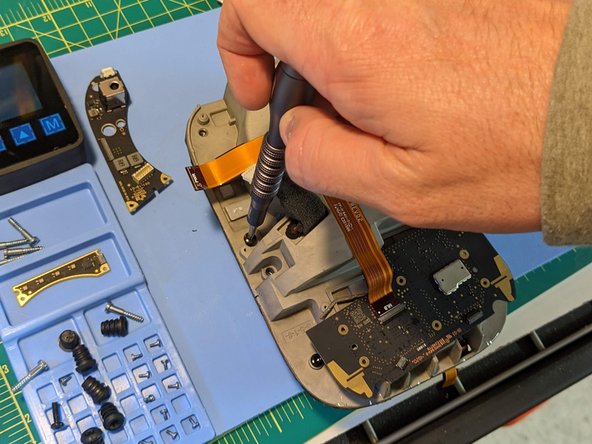
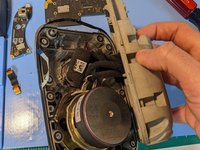
At this point, the inner metal core is still sealed, but you should be able to see the main logic board (MLB). However, it's not necessary to remove the MLB to access the speaker. We're only removing it here because this is a teardown.
-
Gently pull on the plastic pull tabs with your fingers, tweezers, or pliers to disconnect the flex cables from the MLB.
-
-
-
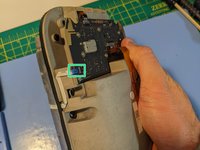
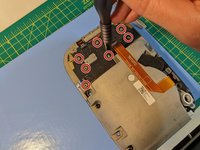
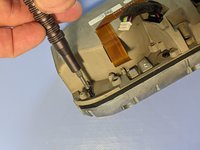
Unfasten the seven T6 screws that attach the MLB to the metal core.
-
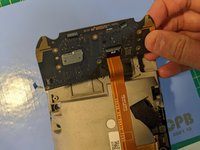
Remove the MLB from the metal core body.
-
-
-
There's a separate daughter board that holds the barrel jack power receptacle, distributes power to the MLB and offers a connection terminal for all of the speaker wires.
-
Disconnect the audio cables from the white connector port.
-
Unscrew the five T5 screws.
-
Once the daughter board is free from the metal core, carefully disconnect the main power flex cable that travels to the MLB.
To flash the hardware with software at the factory and repair depot. The main power connect to the device is a barrel jack, which is cheap, durable and boasts high energy capacity. The downside, however, is that data cannot be transmitted to flash the device through a barrel jack. A micro-USB alone cannot deliver sufficient energy to power the heavy duty speakers. A USB-C could potentially transmit both sufficient power and data; however, USB-C adds more cost to the BOM over the combination of barrel/USB-Micro (and wifi module). To optimize the user experience (and for environmental reasons), Google is moving to an energy-efficient USB-C universal port on all their devices, however, so future re-freshes are unlikely to have this.
-
-
-
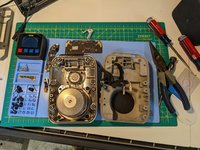
The body is formed by a recycled aluminium half and a recycled magnesium half in a clamshell fashion.
-
Unfasten the six T10 screws that hold the metal core together.
-
-
-
Using a flathead screwdriver, simply insert it into the seam between the two halves and rotate to separate the two metal halves.
-
-
-
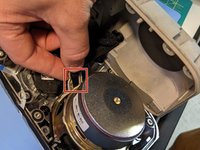
Without straining the cables, reach into the core to remove the four spade electrical wire connectors. (I was able to do this without a tool.)
-
-
-
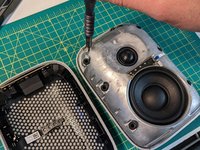
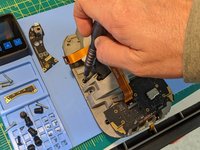
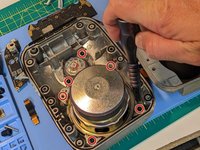
Using a T6 driver, remove the six screws holding the speakers.
-
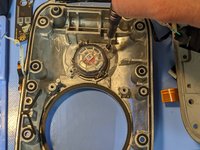
Lift the speakers out of the housing.
-


23条评论
Muchas gracias por la informacion, gracias a este articulo pude arreglar mi dispositivo
Hola que tenia? Que falla encontraste!!
Que tenía tu dispositivo y como lo arreglaste?
Puedes describir qué tenía tu dispositivo y cómo lo arreglaste?
Acabo de abrir el mio porque no enciende, tu reparacion estaba realcionada a lo mismo?
El mío de repente ya no enciende tampoco. Lo conseguisteis solucionar?
Carlos -
Anyone know where the mics are?
There appears to be 3 mic's. Two in the top daughter board attached to the front of the cloth body shell and one in the back daughter board that contains the mute switch.
Although it seems well designed, mine just stopped working out of the blue.
I have two Nest Audios, one of them also stopped working around May. Like stopped DEAD, no power, not able to factory reset. Tested the powercable with the other device, works fine, so it's the Nest Audio itself.
I've read this post as well, where other people seemed to experience the same thing: https://www.googlenestcommunity.com/t5/S...
I came here exactly for that! My 1 out of 3 units died from one day to the next, seems bricked, anyone who has fixed the issue? Since mine is out of warranty 😩
Got the same problem. Any solution?
Carlos -
Looks like I'm late to this, but mine just stopped working too. It seems to have happened at the same time I unpaired a google home mini. The mini works, however the nest audio is bricked. Just flashing 4 lights in a loop but otherwise completely unresponsive.
Help?
Chris -
Has anyone here been able to fix the overnight death of their Google Nest Audio device?
have you managed to find any solution to this?
Sar Al -
Thanks for a great tear down guide. Hi just wondering if there is a tiny battery inside like in a PC that has a bios battery ? In my case my chalk audio nest is unable to connect to wifi. I have tried ALL suggestions found online to no avail. As a last effort my plan is to open up the speaker (as you have done) and disconnect the boards to see if that somehow does an embedded reset that might enables a wifi connection fix. Or perhaps you might have another suggestion when I tear down the unit?
What is the mainchip or SOC?
Cason Shen - 回复