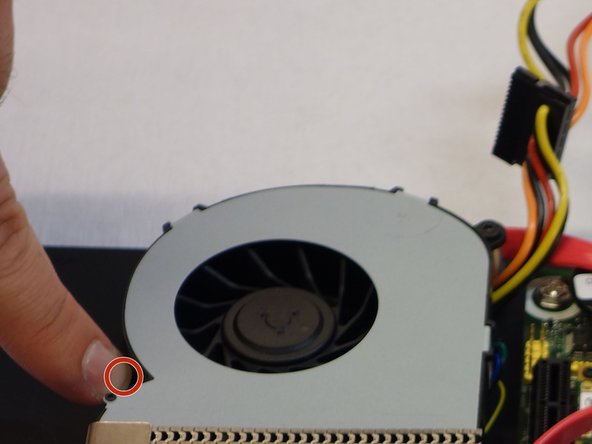
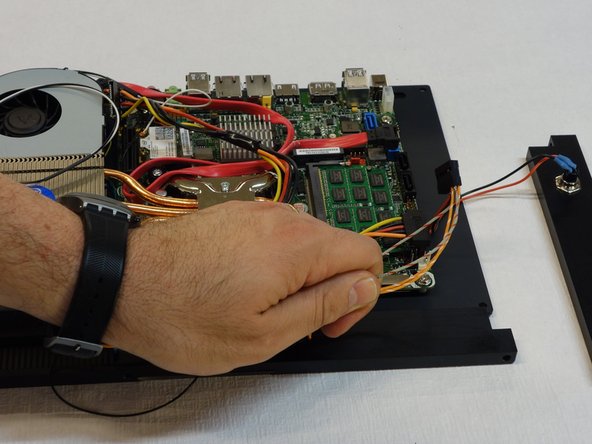
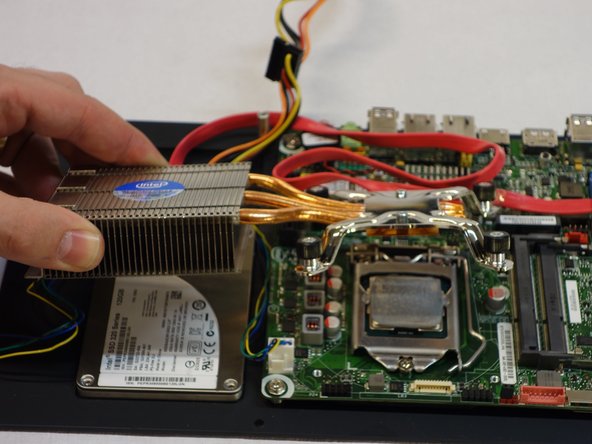
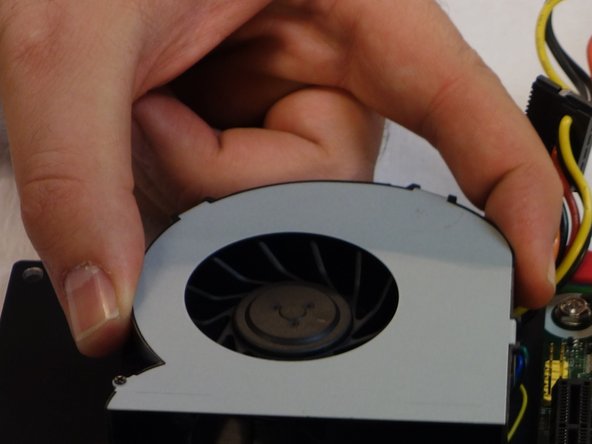
跳转到主内容

why! WDi7SSD Fan replacement

  1. why! WDi7SSD Fan replacement, Fan: 步骤 1 中的图像 1,3 why! WDi7SSD Fan replacement, Fan: 步骤 1 中的图像 2,3 why! WDi7SSD Fan replacement, Fan: 步骤 1 中的图像 3,3
    • Make sure the computer is disconnected from the power source.

    • Turn the computer over.

    • Remove the 6 screws with a 2mm Allen key.

    • Carefully remove the left and right rear panels.

  2. why! WDi7SSD Fan replacement: 步骤 2 中的图像 1,1
    • Now open the bottom of the case, to which all the components are attached.

  3. why! WDi7SSD Fan replacement: 步骤 3 中的图像 1,2 why! WDi7SSD Fan replacement: 步骤 3 中的图像 2,2
    • Remove the two Phillips PH2 screws holding the fan.

  4. why! WDi7SSD Fan replacement: 步骤 4 中的图像 1,2 why! WDi7SSD Fan replacement: 步骤 4 中的图像 2,2
    • Disconnect the cable connecting the front part (with the LEDs) to the power source.

    • Remove the part with the cable.

  5. why! WDi7SSD Fan replacement: 步骤 5 中的图像 1,3 why! WDi7SSD Fan replacement: 步骤 5 中的图像 2,3 why! WDi7SSD Fan replacement: 步骤 5 中的图像 3,3
    • Remove the four screws on the heat sink with a Phillips PH2 screwdriver.

    • Remove the heat sink and lay it to the side.

  6. why! WDi7SSD Fan replacement: 步骤 6 中的图像 1,2 why! WDi7SSD Fan replacement: 步骤 6 中的图像 2,2
    • Carefully remove the fan together with its case.

    • Carefully remove the plug connecting the fan to the power source.

结论

In order to reassemble your device, follow the steps of this guide in reverse order.

由衷感谢以下译者:

de en

100%

这些译者帮助我们修补全世界! 您也想加入吗?
开始翻译 ›

Felice Suglia

于06/15/13注册

30,908 声望

创作了264篇指南

0条评论

添加评论

浏览统计数据:

过去 24 小时: 0

过去 7 天: 0

过去 30 天: 3

总计 184