简介
视频观看地址:
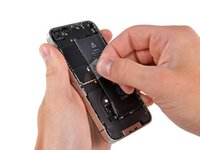
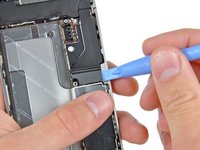
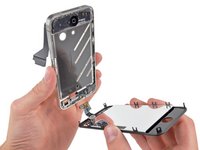
使用本指南可以更换iPhone的总成。换过屏幕总成后手机会有一个全新的前面板、数控模块、LCD。出厂时LCD和屏幕是黏在一起的,这两部分要分离是一定会有损坏的。
在更换完屏幕总成后,为保护iPhone新换屏幕不被划伤请安装 :屏保。
你所需要的
视频概述
-
-
-
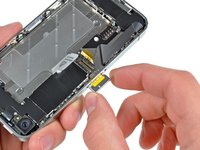
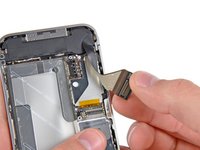
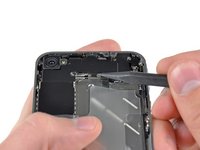
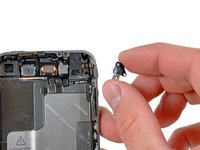
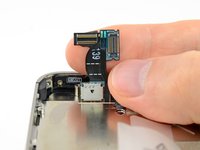
更换屏幕时也许需要把屏幕背光的的塑料贴片一起更换。如果这样 ,在安装新的屏幕前需要从靠近HOME键的拉手处将塑料贴片从屏幕的背光板上取下来。
-
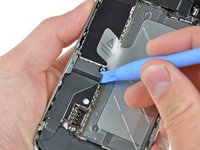
在组装完成后,用酒精擦拭触摸屏的表面使机器正常工作。这些酒精有助于可能导致显示问题的静电弥散。
-
在安装好屏幕后,为了避免新屏幕产生划痕可以贴张膜。
-


请倒序重组你的设备。
1711等其他人完成本指南。

附加文件

81指南评论
Done! Boy, it took me 1.5 but done. Anyway don't forget guys it's quality that counts so don't hurry up, take your time & get light (lots of light above you). Get a coke and it will work it. I reassembled everything, turned it on and home button working yeah. Ouch, my screen was no more sensitive. I killed the digitizer cable. Lucky me I had another broken iPhone which i took the LCD and put it on my phone. (about 1.5 again to reassemble everything back)
Tip 1: I did the whole thing with [关联产品丢失或禁用: IF145-047] and I had everything I needed.
Tip 2: Print Home_Button_Screw_Template.pdf (you'll need it) Find a magnet pad to put under your A4 paper. This will help hold the screws.
Tip 3: Use a suction cup at step 28. It found it in my [关联产品丢失或禁用: IF145-047]
Tip 4: I killed my digitizer cable at step 29 & 30. So please pay double attention there.
Tip 5: Get yourself a beer when finished :)
Only do tip 5 AND AGAIN ONLY do if your 21 or older
i did it success but the sensor dosnt work what the problem
Great guide, but I can't seem to get the back panel on afterwords. All of the plastic tabs seem to line up correctly but it won't slide down into place. Any advise?
I had the same problem.
Rear panel did not seem to slide back in to place.
After googling I found this tip:
Back panel will not slide back on?
If everything looks fine and aligned then you might just need to use a bit more force.
Worked for me :)