简介
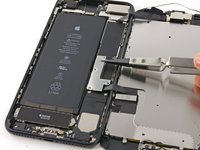
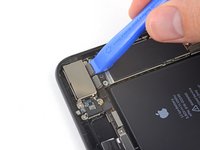
参阅本指南来移除或更换 iPhone 7 Plus 的后置双摄像头。后置摄像头总成包含两部分:一个广角摄像头和一个长焦摄像头。
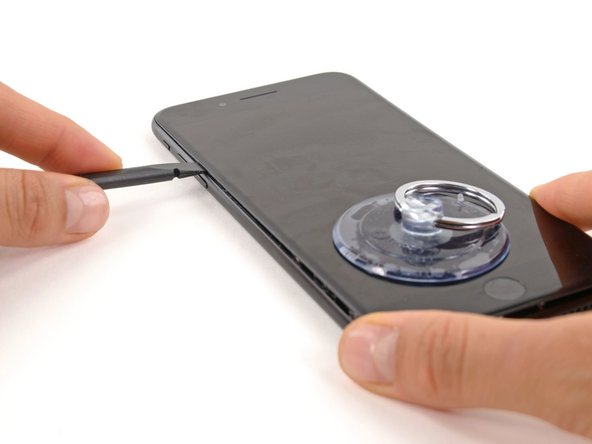
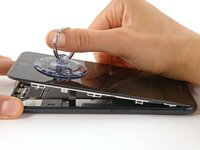
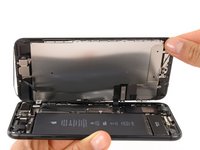
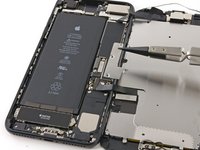
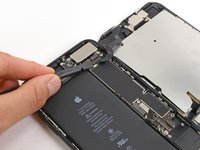
备注:本指南要求完全断开显示屏排线连接以及完全移除显示屏总成来更换后置摄像头——然而也可以在显示屏仍然连接的状态下更换摄像头。只要屏幕不会被损坏,有经验的人员可以跳过移除屏幕的步骤来节省时间。
你所需要的


若想重新组装您的设备,请按照本指南倒序操作。
若想重新组装您的设备,请按照本指南倒序操作。
61等其他人完成本指南。


12条评论
Has anybody done the replacement of the cameras glass? I need to do it on mine because it cracked but I want to know if I have to add any type of adhesive and if so which kind/brand?
Its super easy to do.. I have a guide complete but it has no pictures :(
You can follow this guide.. its kind of the same procedure, all you have to do is take out the old and put the new one in. if it does not stick properly, like it being loose, you can then apply a little bit of super glue or any adhesive.. the phone will not be waterproof/ water resistant tho.
i would not recommend superglue (cyanoacrylate). i’ve seen it fogging up nearby surfaces while hardening. could be bad on the lens.
Hello. Does anyone know how to replace the rear camera’s flashlight. My iphone 7 plus rear camera and flashlight need to be replaced. Not only the camera itself. I didn’t find the flashlight sparepart itself in this website :(
Hi. Are there any replacement for rear camera and flashlight component for iphone 7 plus. Because my rear camera and flashlight is not working. And I didn’t find any component in Ifixit. Please help.