简介
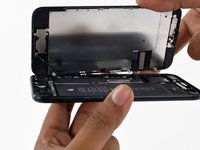
使用此指南更换iPhone 7的主板。
注意:每部iPhone的主板和Touch ID指纹传感器在出厂时都是配对的,所以更换主板将禁用Touch ID,"除非 "你同时安装一个已与新逻的辑板正确配对的Home键
你所需要的
视频概述
-
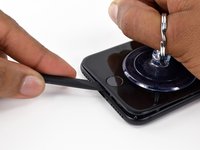
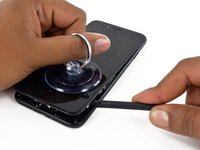
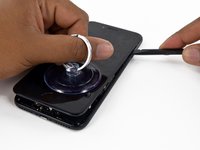
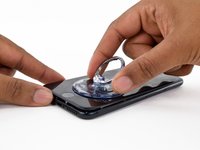
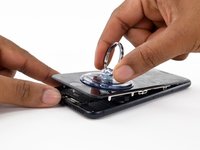
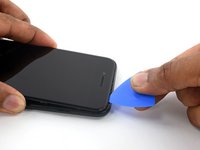
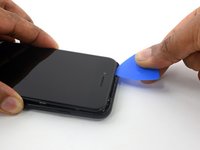
在这个步骤中使用的工具:Tri-point Y000 Screwdriver$5.99
-
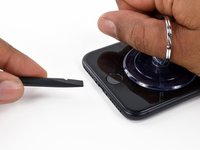
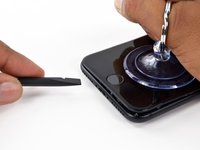
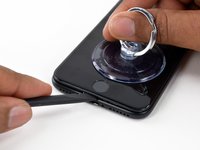
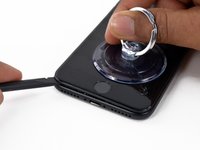
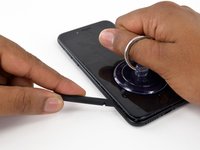
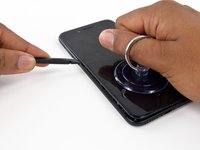
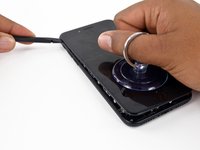
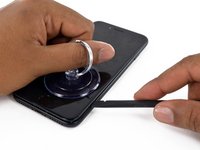
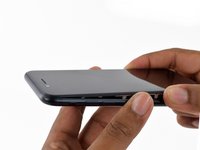
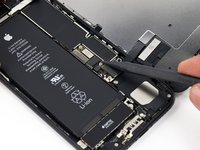
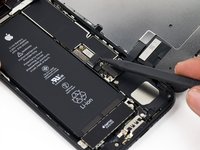
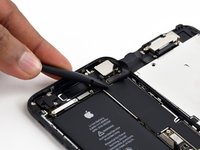
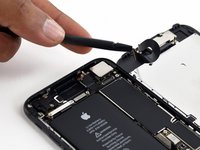
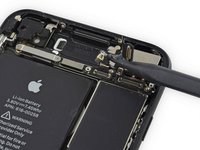
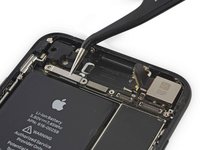
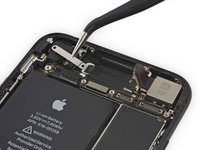
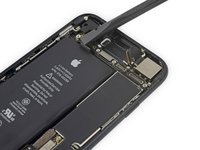
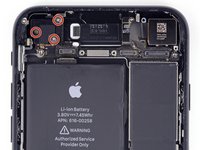
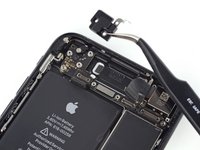
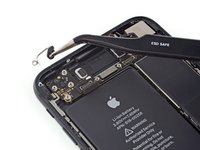
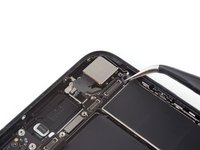
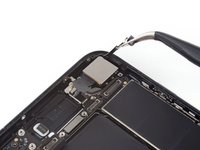
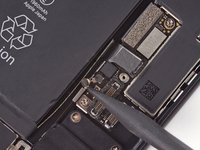
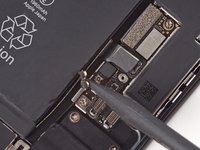
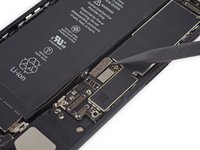
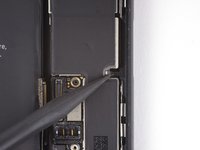
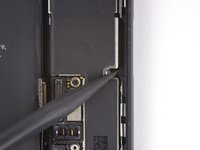
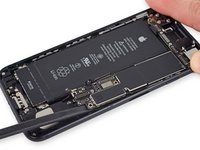
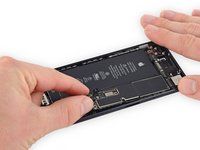
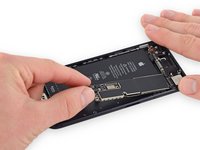
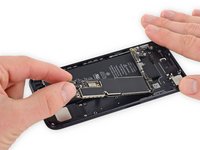
从下侧连接器支架上拆下以下长度的四颗三点式 Y000 螺丝 :
-
三个1.2mm螺丝
-
一个2.4 mm螺丝
-
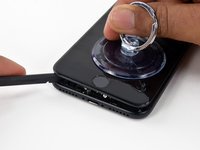
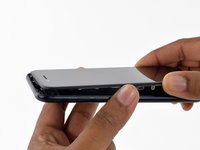
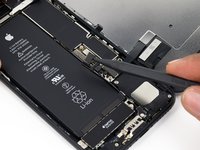
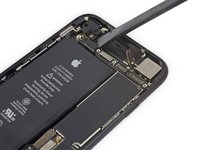
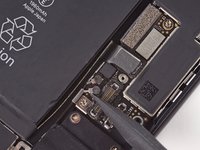
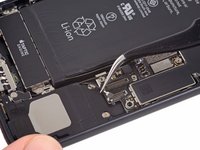
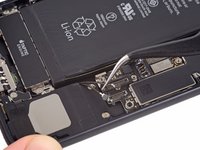
维修过程中,使用磁性垫来记住每颗螺丝所对应的位置,避免重新安装的过程中螺丝安装错位损伤您的手机。
-
-


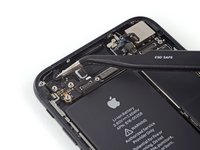


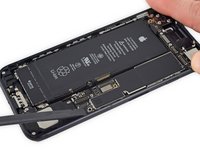


将您的设备,遵循这些指示,逆向重组。
166等其他人完成本指南。


13指南评论
I had an accident where my iphone has got some damage (cracked screen, metal frame slightly bent).. I can see a lot of iCloud locked devices for sale, some of them for a cheap price. Would replacing the logic board and home button give me a non-damaged working phone? Or what parts would need to be moved for this? Sure I can buy a brand new phone but I like a bit of a challenge :)
the logic board holds the OS, so yes if you were to replace the mother board of the iPhone it should work like a new phone but without touch id
I have the same idea and i found to buy this one
https://www.aliexpress.com/item/For-iPho...
You think it will work?
Hi,
I’ve got a problem with my iphone7. I just took some videos under the water using my iphone. But later it’s finger id has gone and it’s fully damaged. Now the phone is not working. Is there any option to repair this ….?
Hi Muhammed, sounds like some water got inside your phone. Check out our iPhone liquid damage guide for some basic troubleshooting you can do on your own. When you have the phone open check connectors and pins on the board for any corrosion. If the damage is serious enough that cleaning won’t fix it, you can take your phone to a local repair shop for more extensive repairs.