简介
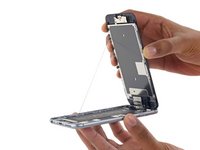
依照在这个指南中的步骤来更换iPhone6s的逻辑主板。
重要提示:每个iPhone的逻辑主板和Touch ID指纹芯片已经在工厂内被配对,所以更换逻辑主板将会使Touch ID无法工作“除非”你能刚换一个已经与你要更换的逻辑主板配对好的home键。
你也可以将这篇维修指南当作更换 logic board EMI shield stickers的参考。
你所需要的
-
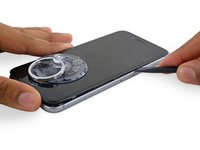
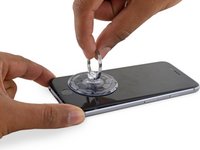
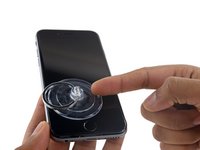
在这个步骤中使用的工具:Magnetic Project Mat$19.95
-
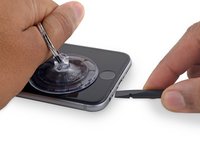
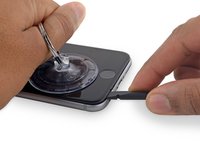
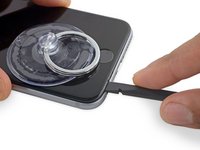
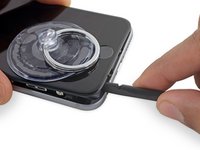
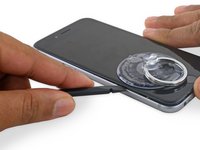
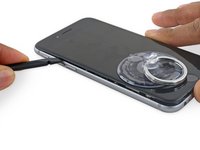
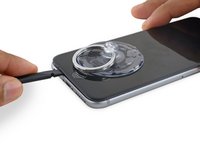
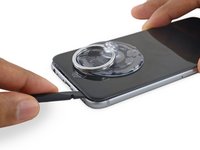
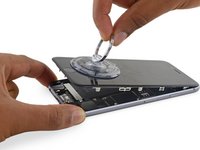
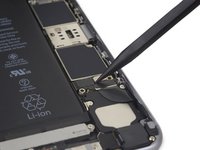
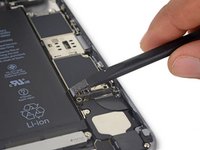
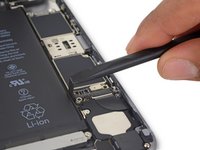
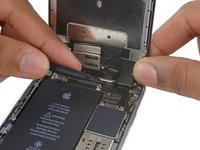
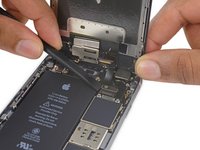
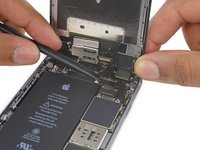
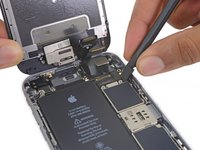
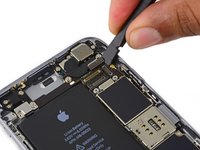
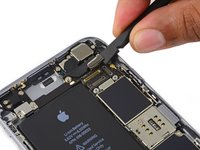
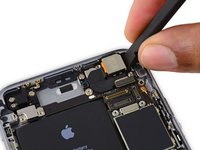
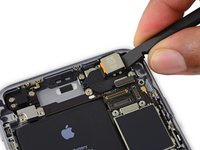
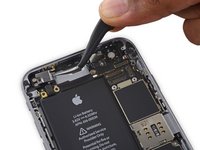
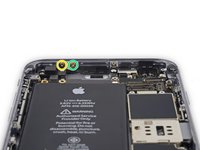
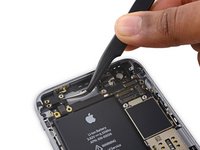
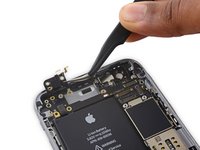
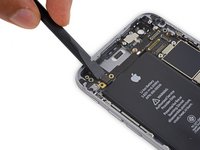
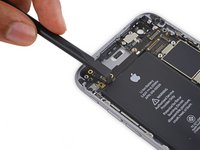
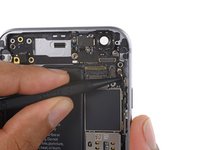
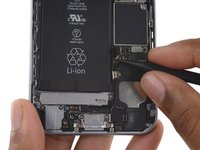
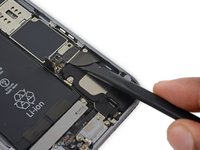
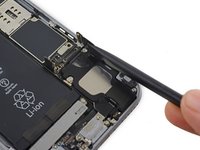
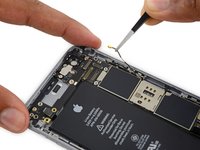
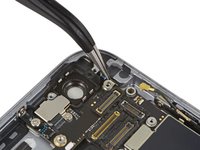
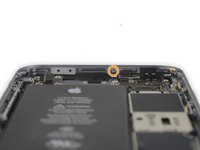
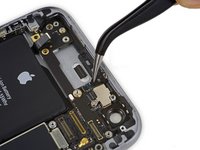
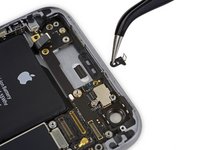
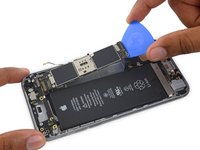
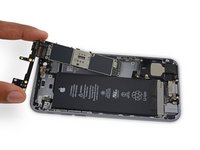
卸下电池排线固定架上的2颗十字 #00 螺丝。
-
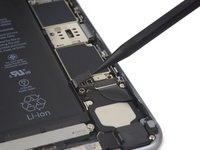
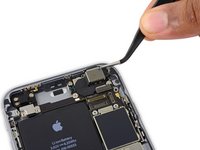
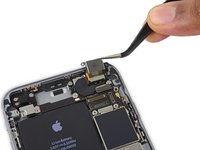
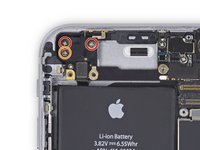
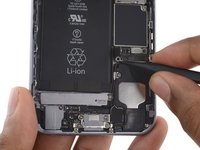
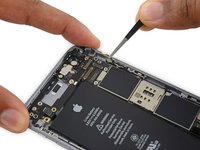
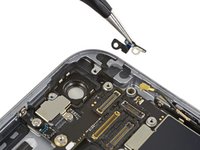
1颗2.9 mm螺丝
-
1颗2.2 mm螺丝
-
-


如要组装的话, 请按逆序操作一下步骤。
如要组装的话, 请按逆序操作一下步骤。
230等其他人完成本指南。


33条评论
So all the logic boards come with the components installs? Like the High band PAD, power amplifier avago, power amplifier Skyworks, power amplifier TriQuint, LTE modem Qualcomm, and lastly the Apps processor Apple SoC stacked on Elpida RAM. Here I thought you had to buy them.
I'm also assuming that some don't. I would like to know that alternative.
Yup! The SSD is a flash memory chip hidden underneath an EMI shield on the logic board. You can see it in our teardown.
Um, no, actually the NAND/ssd/flash/storage chip is the big Toshiba one in the middle, it’s the one next to the line of capacitors, and is not under the shields. there are shields on either side of it. Look at the teardown page you linked to yourself and you will confirm what I’ve said.
great guide worked perfectly, had some minor water damaged internals with a completely good logic board, replaced it in a 16g pos basically have a brand new 128g 6s
miniperf93 - 回复