当前版本的文档还未经巡查,您可以查看最新的已查核版本。
-
-
Before installing new adhesive, thoroughly clean the display assembly and the frame of all residue.
-
Use tweezers to pull up sections of tape residue.
-
Use an opening tool or a spudger to scrape residue off. You can use high concentration (over 90%) isopropyl alcohol to soften the adhesive.
-
Remove the residue by wiping in one direction to prevent smearing.
-
Do not scrape with a metal tool, or you will scratch the display assembly's surface.
-
-
-
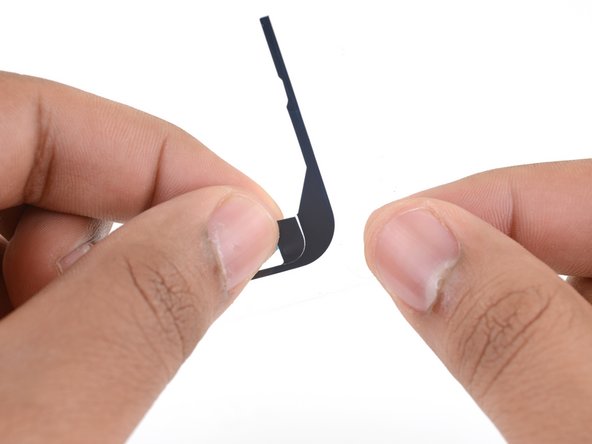
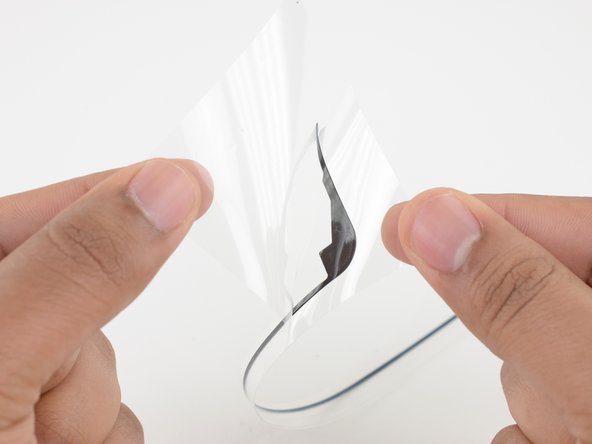
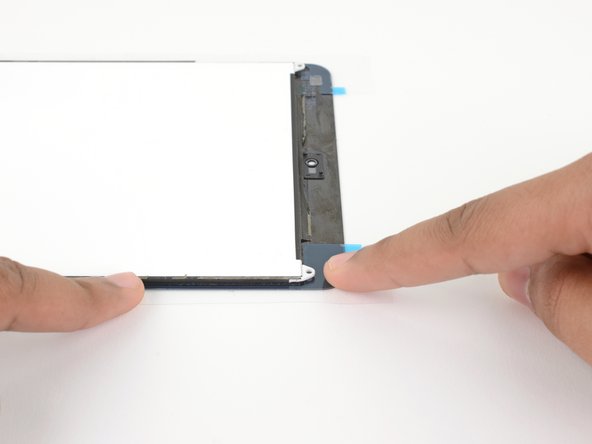
Each adhesive strip is encased in four layers of plastic—three on top and one on the bottom.
-
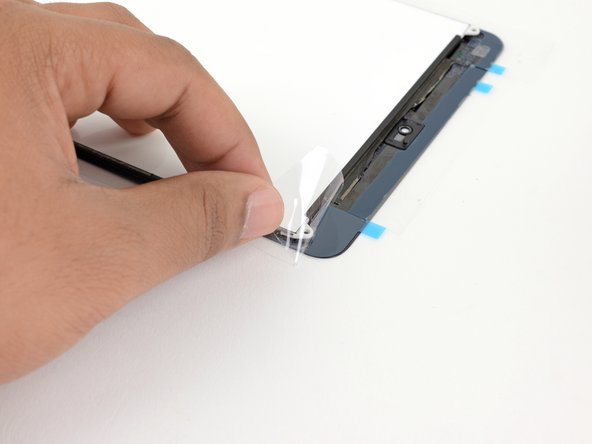
Peel and remove the topmost plastic cling layer from the left adhesive strip.
-
Peel and remove the bottom plastic liner from the strip.
-
The top of the adhesive strip should still be covered by a colored plastic layer as well as a clear plastic stiffening layer.
-
The bottom of the adhesive strip should now be exposed and sticky.
-
-
-
-
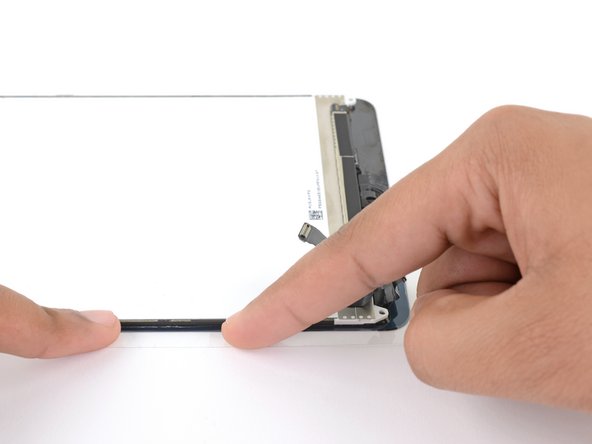
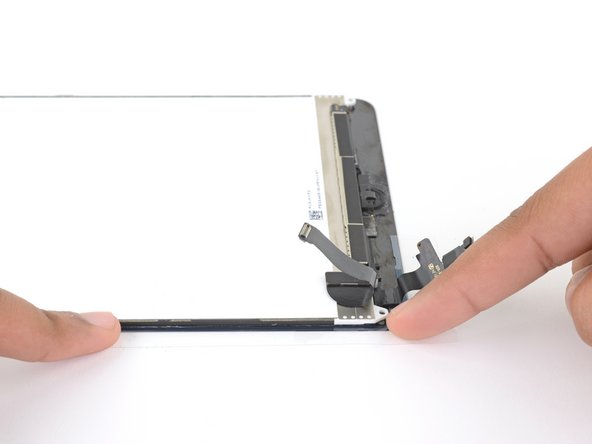
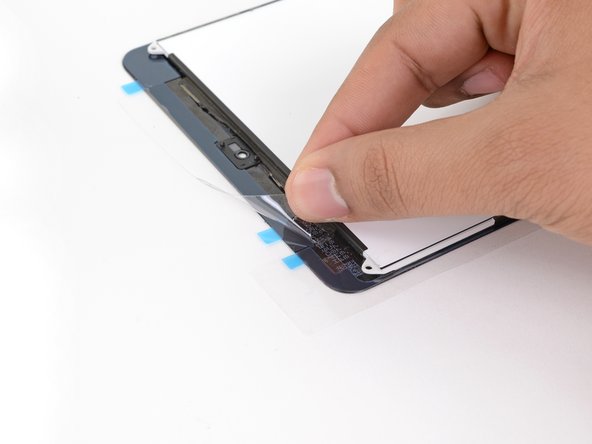
Align the left adhesive strip to the left edge of the display assembly.
-
Beginning from one corner, lay the adhesive strip onto the display assembly and press the strip into place.
-
If necessary, use a spudger to press down the narrow parts of the adhesive strip.
-
-
Repeat the process with the right adhesive strip.
-
Peel and remove the topmost cling layer from the strip.
-
Peel and remove the bottom liner layer from the strip.
-
Align the adhesive strip to the right edge of the display assembly.
-
Starting from one corner, lay the adhesive strip onto the display assembly and press in place.
-
-
Repeat the process for the top adhesive strip.
-
Peel and remove the topmost cling layer from the strip.
-
Peel and remove the bottom liner from the strip.
-
Align the strip to the top of the display assembly such that the straight adhesive line bridges the gap between the left and right strips.
-
Press the strip in place.
-
-
Repeat the process for the bottom adhesive strip.
-
Peel and remove the topmost cling layer from the strip.
-
Peel and remove the bottom liner from the strip.
-
Align the strip to the bottom of the display assembly such that the straight adhesive line bridges the gap between the left and right strips.
-
Press the strip in place.
-
-
-
-
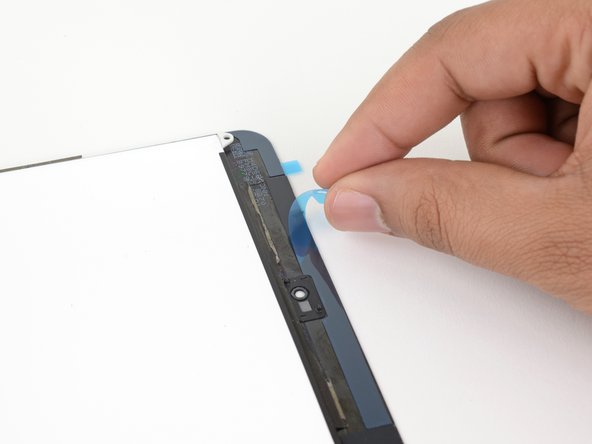
Peel and remove the four colored plastic liners to expose the adhesive.
-
Close the device and place something heavy, such as a stack of large books, on top for thirty minutes to help the new adhesive bond.
-
Alternatively, you can use screen vice clamps around the perimeter of your device to set the new adhesive.
嵌入本指南
选择一个尺寸并复制下面的代码,将本指南作为一个小插件嵌入到你的网站/论坛中。
预览


