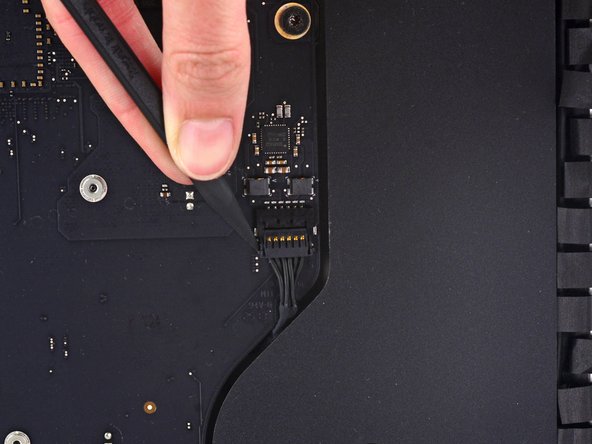
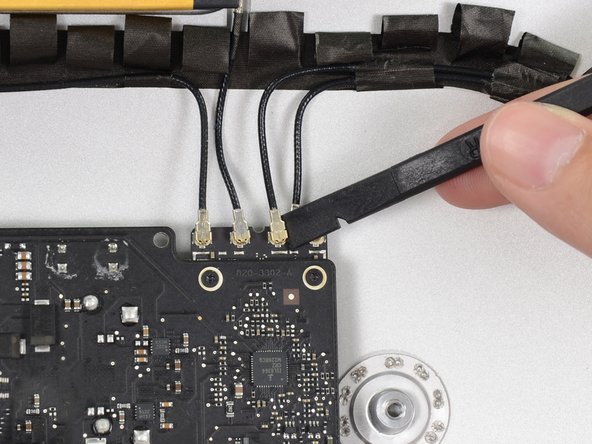
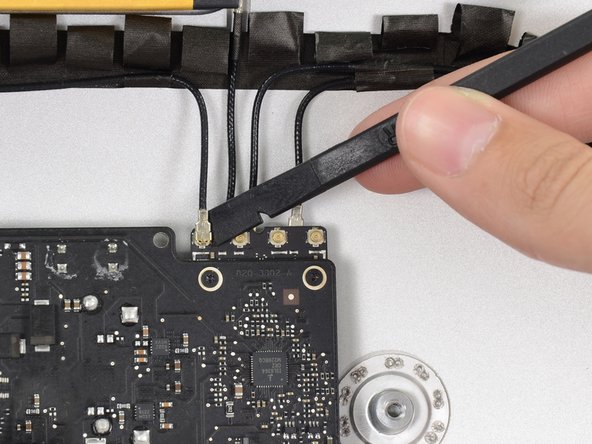
Use a spudger to loosen the right speaker cable's connector from its socket on the logic board.
It is useful to push downward on both short sides of the connector to walk it out of its socket. Be careful with the corners of the connectors, as they can be easily broken off.
Pull the connector downwards to remove it from its socket.
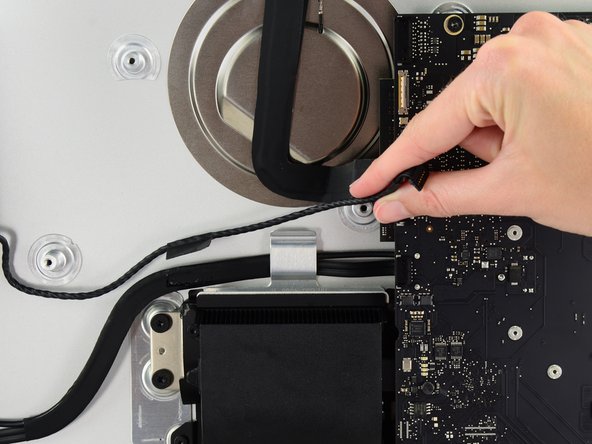
The next few steps bring your hands close to the exposed face of the power supply. Do not touch the face of the power supply or any of the exposed solder. Touching it risks a high voltage shock from the many large capacitors attached to the board.
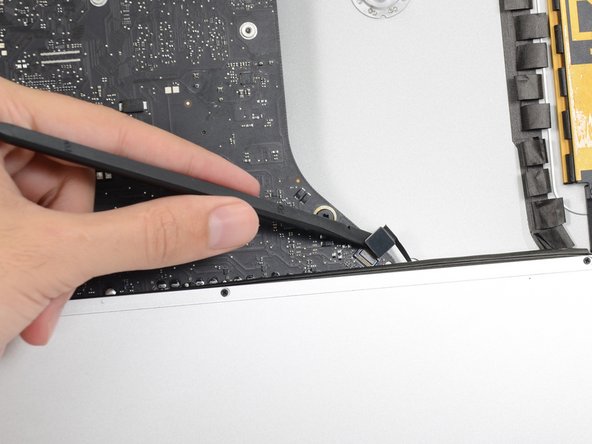
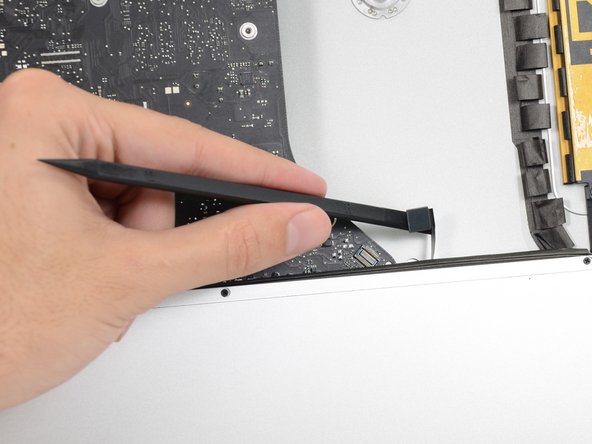
Use the tip of a spudger to push each side of the power button cable connector and gently walk it out of its socket.
When working on the power supply, be very careful not to touch the capacitor leads or any exposed solder joints on the back of the power supply. Only handle the board by the edges.
When installing the logic board, take care to align the exterior I/O ports correctly. The logic board can sit crooked even when secured with all its screws.
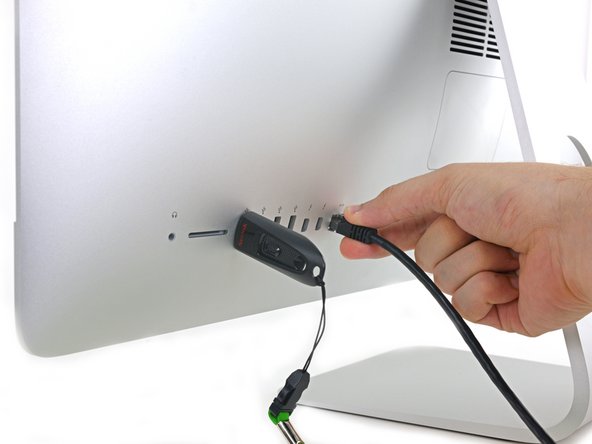
Use a USB flash drive and/or ethernet cable to ensure the logic board is seated correctly while you screw it in.
This question never been asked: what's the diameter and a length of this screw holding the PSIe SSD on motherboard? Is it there if there no SSD in the config?