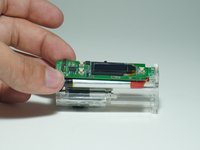
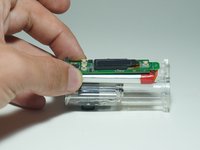
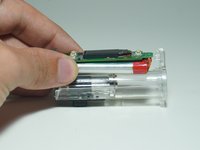
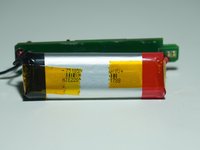
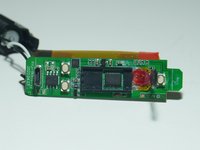
跳转到主内容

Yocan UNI Pro Disassembly

  1. Yocan UNI Pro Disassembly, Outer Screws: 步骤 1 中的图像 1,3 Yocan UNI Pro Disassembly, Outer Screws: 步骤 1 中的图像 2,3 Yocan UNI Pro Disassembly, Outer Screws: 步骤 1 中的图像 3,3
    • Remove 2 Phillips head screws. There is one on each side of the device

  2. Yocan UNI Pro Disassembly, Housing Removal: 步骤 2 中的图像 1,3 Yocan UNI Pro Disassembly, Housing Removal: 步骤 2 中的图像 2,3 Yocan UNI Pro Disassembly, Housing Removal: 步骤 2 中的图像 3,3
    • Flip the device over and pull the cover upwards

  3. Yocan UNI Pro Disassembly, Aperture Removal: 步骤 3 中的图像 1,3 Yocan UNI Pro Disassembly, Aperture Removal: 步骤 3 中的图像 2,3 Yocan UNI Pro Disassembly, Aperture Removal: 步骤 3 中的图像 3,3
    • Remove the aperture adjustment holder

  4. Yocan UNI Pro Disassembly, O-Ring: 步骤 4 中的图像 1,2 Yocan UNI Pro Disassembly, O-Ring: 步骤 4 中的图像 2,2
    • Remove O-Ring

  5. Yocan UNI Pro Disassembly, Buttons and Shutter Pieces: 步骤 5 中的图像 1,2 Yocan UNI Pro Disassembly, Buttons and Shutter Pieces: 步骤 5 中的图像 2,2
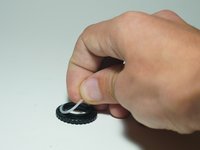
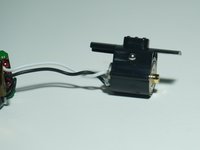
    • Remove buttons and aperture/shutter pieces

    • They should just fall out. If not, they can be removed with your fingers

  6. Yocan UNI Pro Disassembly, Inner Plasic: 步骤 6 中的图像 1,2 Yocan UNI Pro Disassembly, Inner Plasic: 步骤 6 中的图像 2,2
    • Grip the bottom and top of the device and pull up slightly

    • The next step will fully remove it

  7. Yocan UNI Pro Disassembly, Full Electronics Removal: 步骤 7 中的图像 1,3 Yocan UNI Pro Disassembly, Full Electronics Removal: 步骤 7 中的图像 2,3 Yocan UNI Pro Disassembly, Full Electronics Removal: 步骤 7 中的图像 3,3
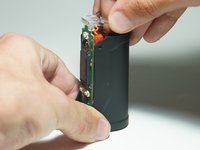
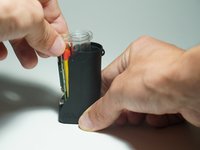
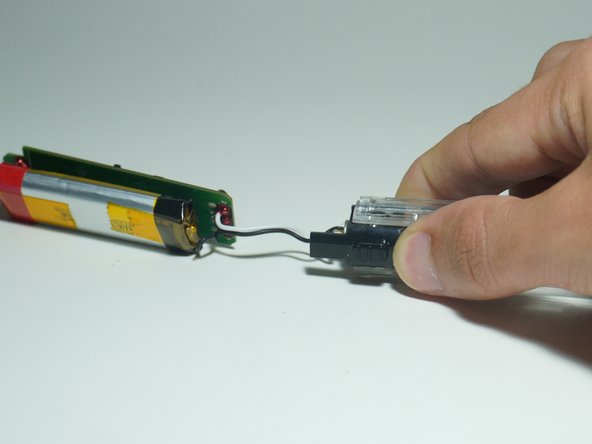
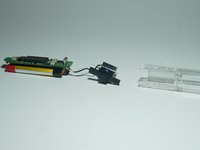
    • Pull the clear plastic out and away to the left

    • Pull up at an angle

  8. Yocan UNI Pro Disassembly, Kapton Tape Removal: 步骤 8 中的图像 1,3 Yocan UNI Pro Disassembly, Kapton Tape Removal: 步骤 8 中的图像 2,3 Yocan UNI Pro Disassembly, Kapton Tape Removal: 步骤 8 中的图像 3,3
    • Peel the Kapton Tape off of the battery and clear plastic

  9. Yocan UNI Pro Disassembly, PCB Slide Out: 步骤 9 中的图像 1,2 Yocan UNI Pro Disassembly, PCB Slide Out: 步骤 9 中的图像 2,2
    • Slide the circuit board back so that it is not under the plastic lip

  10. Yocan UNI Pro Disassembly, Battery Adhesive Removal: 步骤 10 中的图像 1,3 Yocan UNI Pro Disassembly, Battery Adhesive Removal: 步骤 10 中的图像 2,3 Yocan UNI Pro Disassembly, Battery Adhesive Removal: 步骤 10 中的图像 3,3
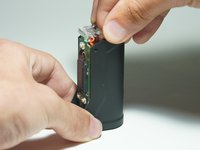
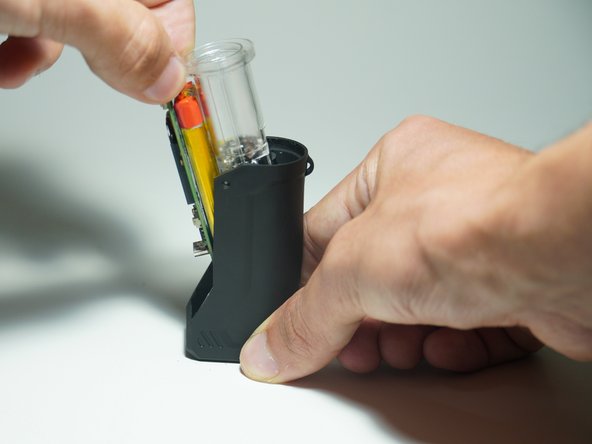
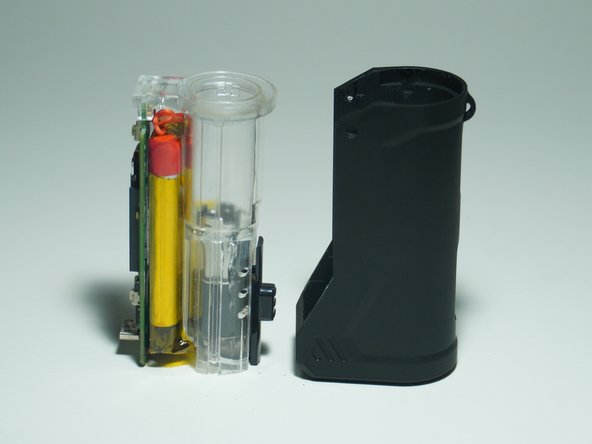
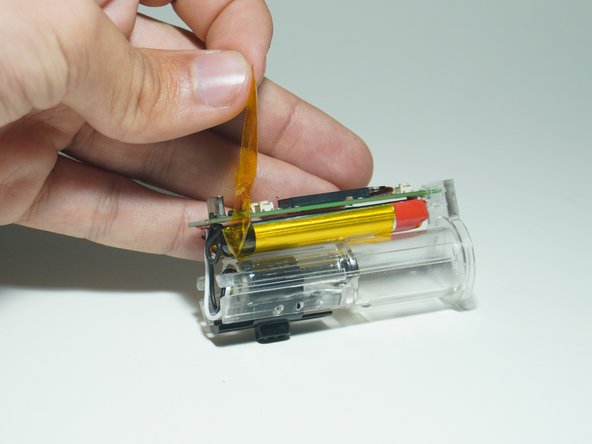
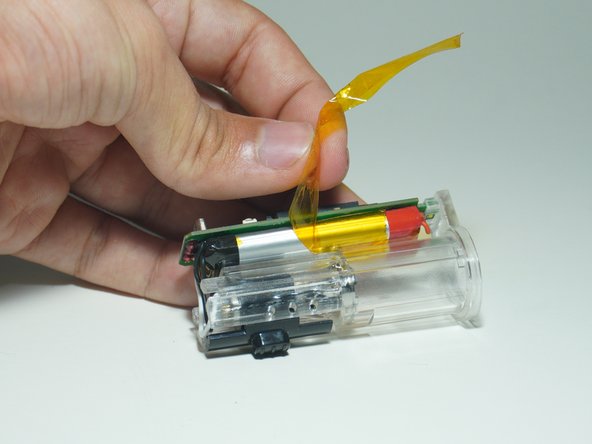
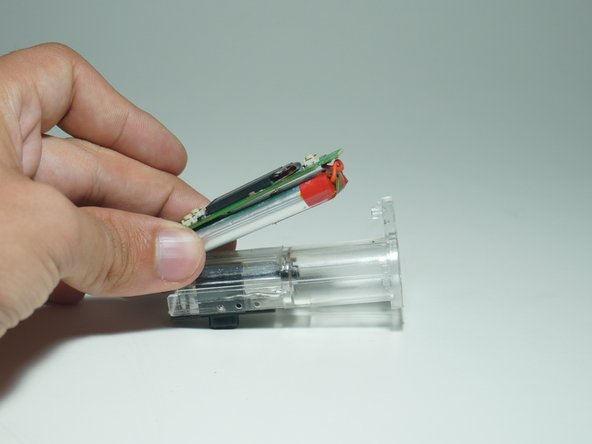
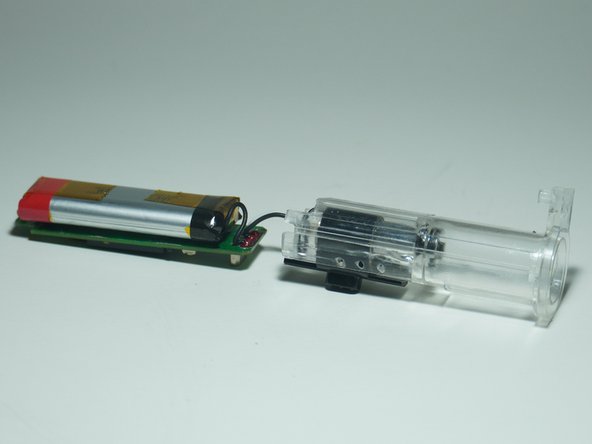
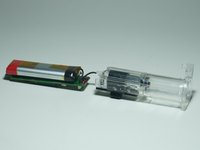
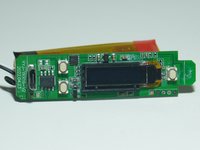
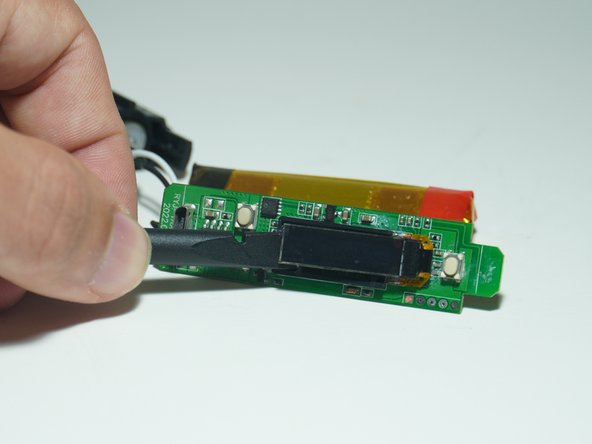
    • Slowly peel the battery and circuit board away from the plastic housing

    • There is some adhesive under the battery so be careful

  11. Yocan UNI Pro Disassembly, Height Adjustment Module: 步骤 11 中的图像 1,3 Yocan UNI Pro Disassembly, Height Adjustment Module: 步骤 11 中的图像 2,3 Yocan UNI Pro Disassembly, Height Adjustment Module: 步骤 11 中的图像 3,3
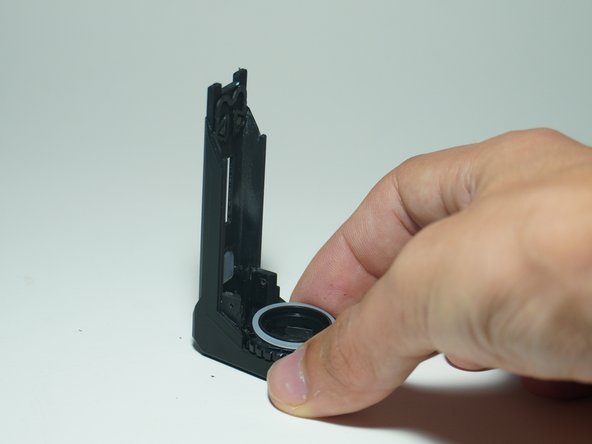
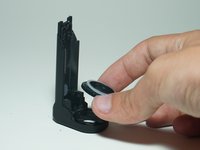
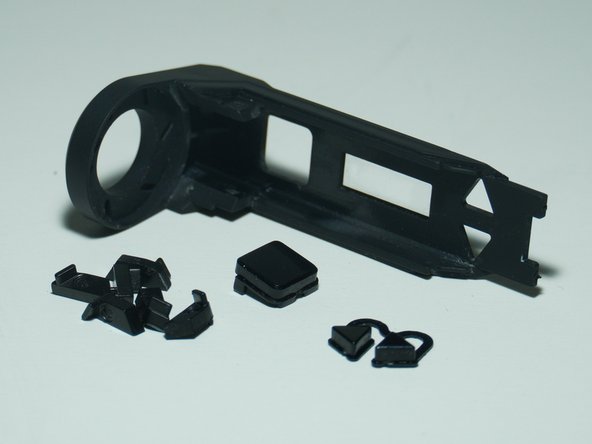
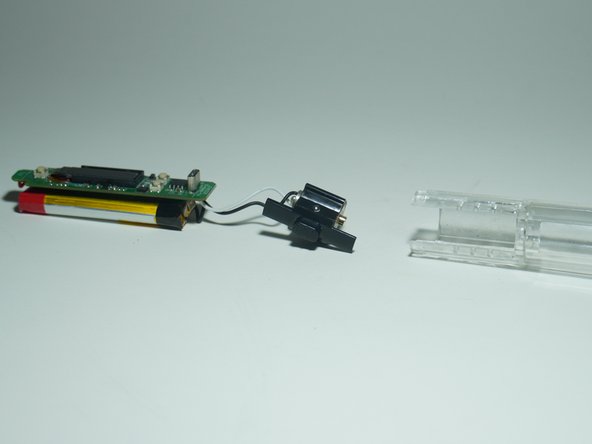
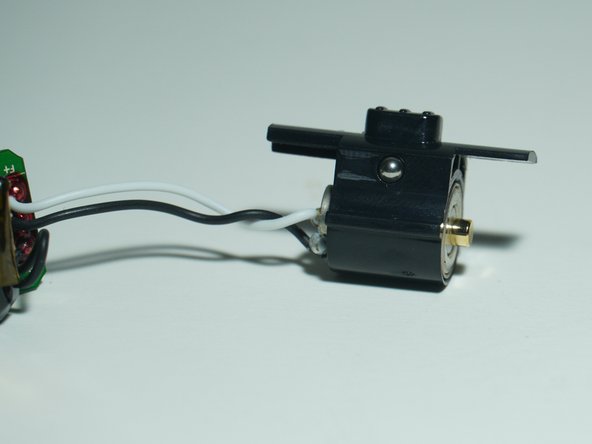
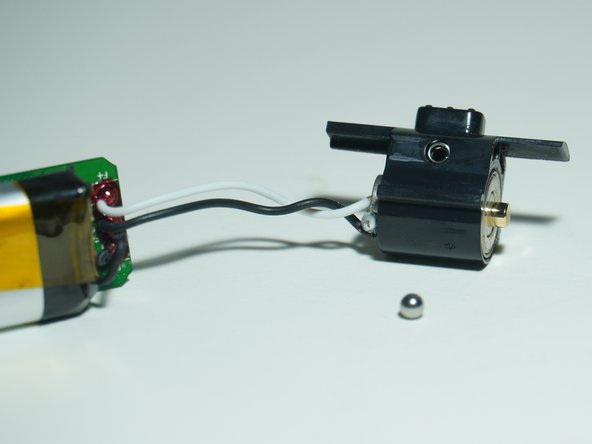
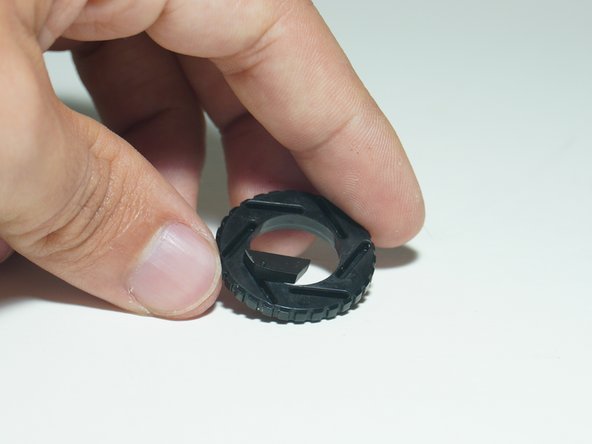
    • Grip the plastic case and use your thumb to remove the height adjustment module

    • It should slide out all the way

    • The ball bearings in the next step might fall out right away so be careful that they don't roll away!

  12. Yocan UNI Pro Disassembly, Ball Bearings: 步骤 12 中的图像 1,3 Yocan UNI Pro Disassembly, Ball Bearings: 步骤 12 中的图像 2,3 Yocan UNI Pro Disassembly, Ball Bearings: 步骤 12 中的图像 3,3
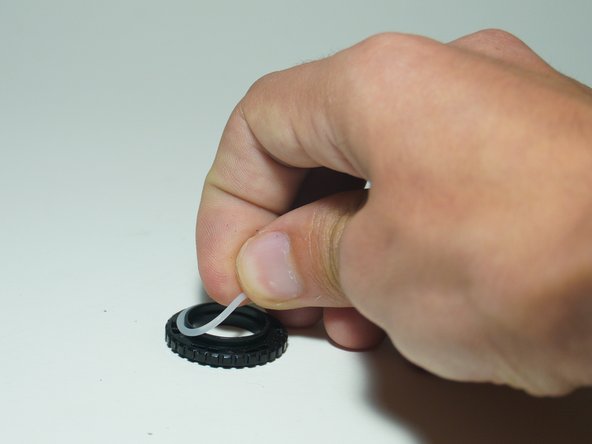
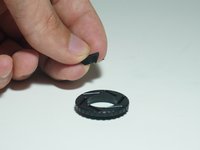
    • There are two ball bearings that make the height adjustment module work and lock into position.

    • There is one on each side and they easily fall out so be careful

  13. Yocan UNI Pro Disassembly, Motherboard and Battery Closeup: 步骤 13 中的图像 1,2 Yocan UNI Pro Disassembly, Motherboard and Battery Closeup: 步骤 13 中的图像 2,2
    • Just some pretty pictures

  14. Yocan UNI Pro Disassembly, Screen Removal: 步骤 14 中的图像 1,3 Yocan UNI Pro Disassembly, Screen Removal: 步骤 14 中的图像 2,3 Yocan UNI Pro Disassembly, Screen Removal: 步骤 14 中的图像 3,3
    • Use a spudger to carefully remove the screen

    • It is held down with adhesive

    • There is no way to remove the screen completely unless you get rid of the red strain relief material and desolder it from the board

  15. Yocan UNI Pro Disassembly, Shutter Reassembly: 步骤 15 中的图像 1,3 Yocan UNI Pro Disassembly, Shutter Reassembly: 步骤 15 中的图像 2,3 Yocan UNI Pro Disassembly, Shutter Reassembly: 步骤 15 中的图像 3,3
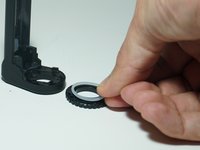
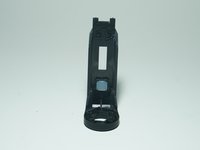
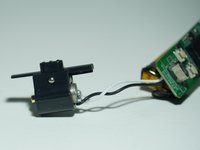
    • For reassembly, place the slots on the small shutter pieces into the circular holder

结论

To reassemble your device, follow these instructions in reverse order.

3等其他人完成本指南。

ShellingRook27

于08/21/19注册

1,790 声望

创作了7篇指南

团队

Repair For You Repair For You 的会员

Business

1 名成员

创作了11篇指南

4条评论

I got a cartridge stuck in mine... avoid the 2 gram DOZOs, they're so poorly made that just putting it in you can't get it out normally!

Joe Drew - 回复

I somehow managed to get a single hair under the casing and over the screen on my Yocan Uni Pro. With the help of this guide, I was able to disassemble, clean, and re-assemble my vape quickly and easily - I'm especially grateful for the pictures showing how to disassemble/reassemble the shutter pieces. Thank you so much for this awesome guide!

Amy Kaufman - 回复

Thank you! Needed to clean my device and man oh man was I struggling with the shutter reassembly! Thanks so much for the time and effort for this guide, seriously helpful!

BingBong - 回复

While reassembling my 2.0 I accidentally touched the front metal shield to the “C1” on the circuit board and shorted it. Whole battery is cooked. Oops. Don’t make my mistake.

Will - 回复

添加评论

浏览统计数据:

过去 24 小时: 7

过去 7 天: 77

过去 30 天: 344

总计 4,167