简介
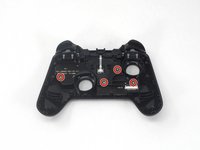
The ABXY buttons are important because they are the primary method of controlling inputs to a game or menu. These buttons are easy to take out after taking off the front cover, so they are popular to customize and modify. If you are experiencing ABXY buttons that stick or are unresponsive, it may be time to clean or replace them.
In replacing the ABXY buttons, you will need a Phillips #1 screwdriver, an opening pick, and a pair of tweezers.
If the ABXY buttons (A, B, X, Y, D-Pad, +, –, HOME, and Screenshot buttons) on your YCCTEAM YCC-SW4001 have debris under them, are broken, or are not functioning properly, you can follow this guide to clean or replace them.
你所需要的
-
-
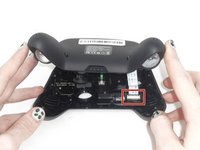
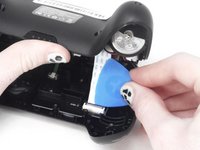
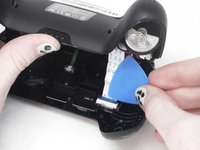
Use a Phillips screwdriver to remove the eight 9.15 mm screws that secure the rear case.
 询问修复机器人
-
-
-
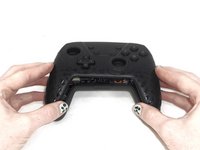
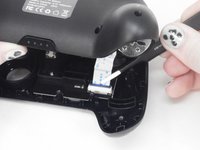
On some models there are two more Phillips head screws on the sides that need to be removed before the front and back panels can be separated.
-
-
-
-
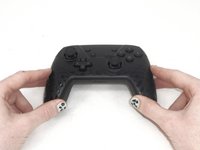
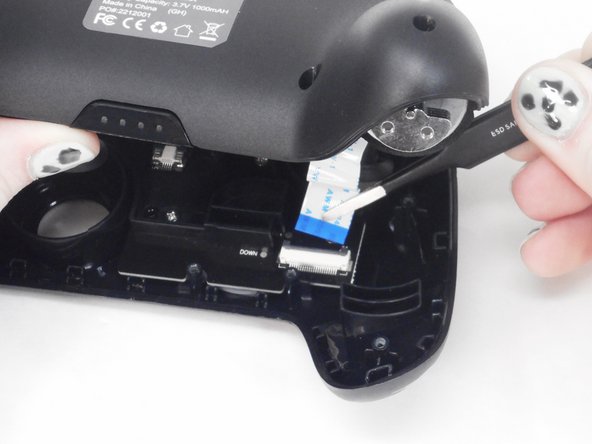
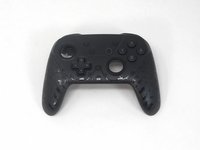
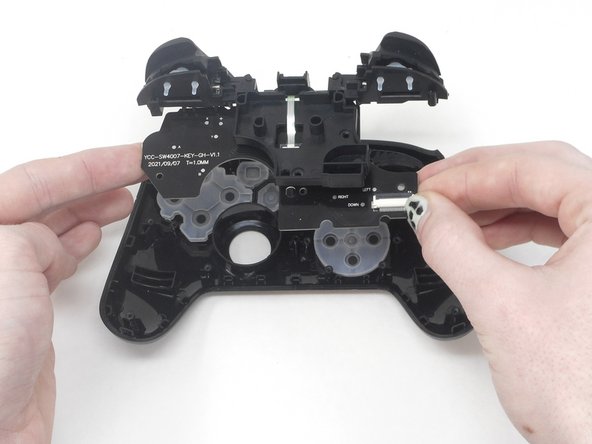
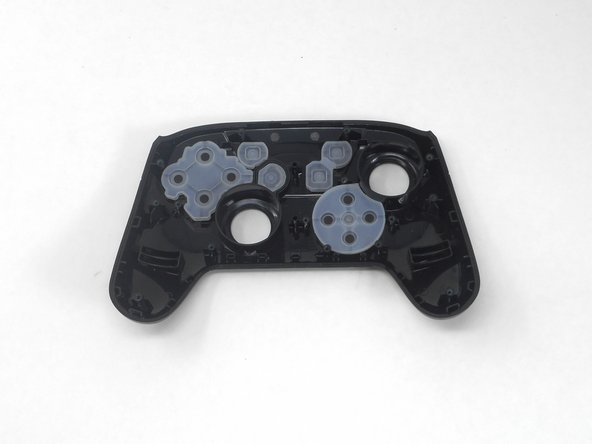
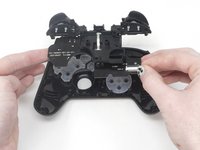
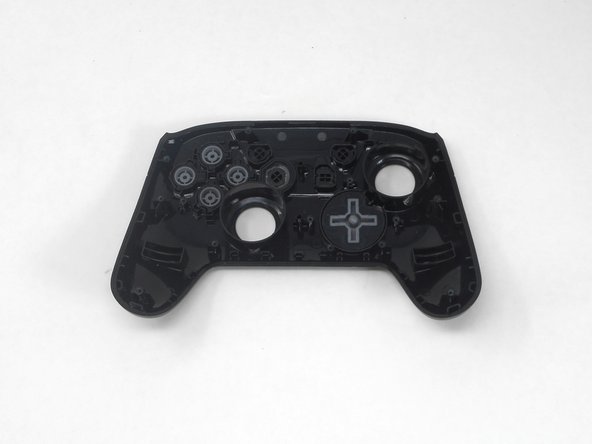
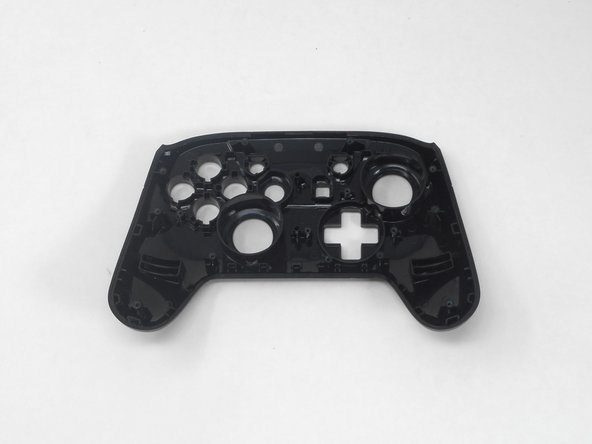
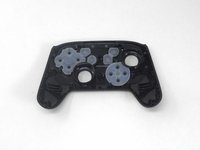
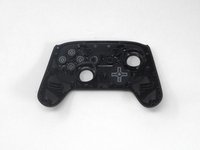
Isolate the front cover.
-
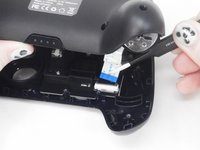
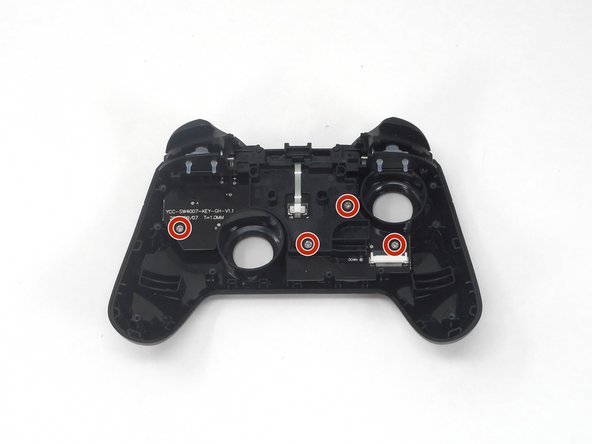
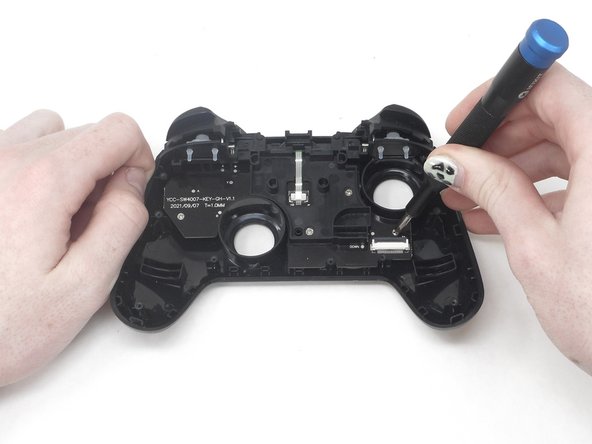
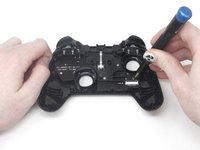
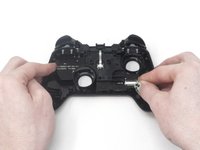
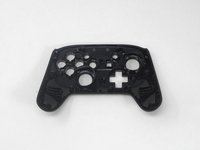
Flip over the front cover and remove the four 5.77 mm screws from the back of the front cover using the Phillips #1 Screwdriver.
-


To reassemble your device, follow these instructions in reverse order.
另外一个人完成了本指南。
团队

University of Memphis, Team 1-1, Sneed Spring 2024 University of Memphis, Team 1-1, Sneed Spring 2024 的会员
UM-SNEED-S24S1G1
3 名成员
创作了6篇指南