简介
按照本指南更换 Xbox One X 型号 1787 上的电源。如果其他故障排除方法无法解决与主机电源相关的问题,你可以这样做。
在开始本指南之前,请关闭控制台并拔下所有电缆。维修控制台时,请遵循一般的静电放电 (ESD) 安全程序。
你所需要的
-
-
-
使用 T10 Torx 螺丝刀卸下将上部金属外壳固定到下部塑料外壳的六颗 47.7 毫米螺丝。
-
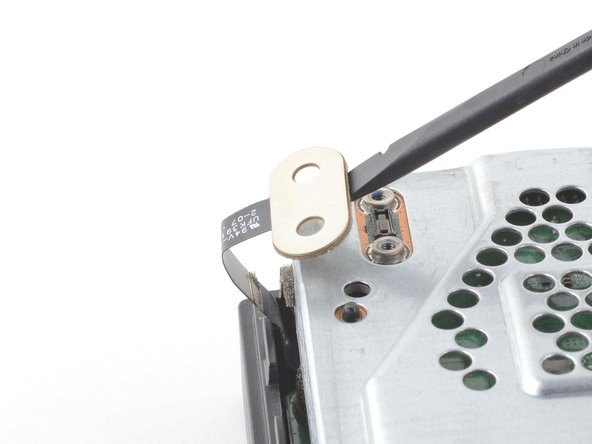
使用 T8 Torx 螺丝刀卸下将压接连接器固定到上部金属外壳的两颗 7.5 毫米螺丝。
-
-
-
将控制台翻转过来。
-
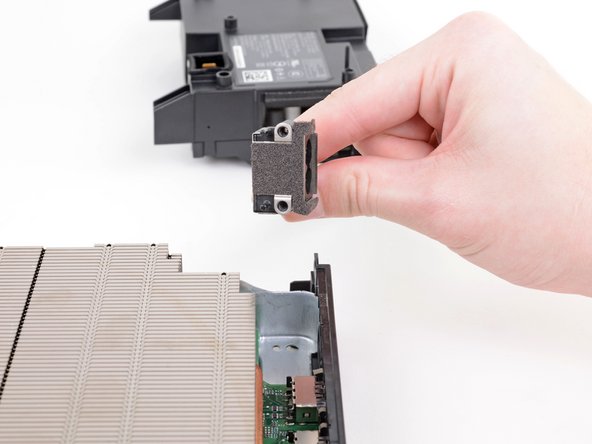
使用 T10 Torx 螺丝刀卸下将电源和风扇固定到上部金属外壳的以下螺丝:
-
两个 11.4 毫米螺丝
-
两个 11.4 毫米螺丝
-
一颗 11.4 毫米螺丝
-


要重新组装你的设备,请以逆序按照这些说明进行操作。
将你的电子垃圾送到 R2 或 e-Stewards 认证的回收商。
维修没有按计划进行?尝试一些 基本疑难解答,或向我们的 [链接|https://www.ifixit.com/Answers/Device/Xb...|Xbox One X 论坛]寻求帮助。
要重新组装你的设备,请以逆序按照这些说明进行操作。
将你的电子垃圾送到 R2 或 e-Stewards 认证的回收商。
维修没有按计划进行?尝试一些 基本疑难解答,或向我们的 [链接|https://www.ifixit.com/Answers/Device/Xb...|Xbox One X 论坛]寻求帮助。
36等其他人完成本指南。


8条评论
easy to follow
Hi all,
Did anyone have any struggles with step 7, disconnecting the ribbon cable? my cable was extremely tight, and take a lot of effort to get the cable out. I’m yet to take delivery of the new power module, but am a little concerned about the ribbon cable being damaged hence the difficulty to get out, or the potential to damage when inserting the ribbon cable back in… any suggestions welcome!
Hi,
The ribbon cable in step 7 uses a ZIF connector and should be easy to remove from the connector slot. The cable may bend slightly when you pull it out and reinsert it, but avoid bending it as much as possible.