简介
If your Xbox One controller has LT/RT issues (or needs manual adjustment), the issue may be due to the magnets. Use this guide to take the controller apart and re-secure the magnets.
Guide warnings
- TO AVOID MELTING THE PLASTIC FRAME WHEN INSTALLING HEATSHRINK TUBING, ADJUST THE LIGHTER/TORCH TO THE LOWEST RELIABLE IGNITION POINT.
- If you use a butane torch, test the setting you are going to use on something you do not mind damaging BEFORE working on the controller. Use ABS to practice.
- Holding the flame once the heatshrink seals may damage the controller frame.
- This is a final solution. Be prepared to write the controller off if this does not fix the problem or makes it worse.
- This fix is specific to Model 1537/1697 controllers.
- This procedure WILL VOID ANY PRESENT WARRANTY. Make sure the warranty is expired if you care about preserving it!
- My controller is 17 months old. It is long out of warranty.
Guide notes
- This guide does not apply to Model 1708 controllers. The procedure to fix the problem is different as heat shrink tubing is not required. However, it can be used as a starting point.
- If you misalign the magnets, you may need a controller frame. Use caution when applying glue. Use of an alignment mark is HIGHLY RECOMMENDED.
你所需要的
-
-
Remove the batteries from your controller (if installed).
-
Remove the screw under the battery cover label. To do this, puncture the label where it is marked and use a TR8 driver or bit to remove the screw. TIP: This acrew us generally going to be found in the center of the label - feel around with your nail if need be to find it.
-
Remove the side trim from the controller, along with the 4 TR8 screws. Set the trim and screws aside somewhere safe.
-
-
在这个步骤中使用的工具:iFixit Opening Tool$4.99
-
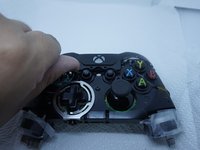
With the screws removed from the back, flip the controller to the front. Remove the front plastic cover.
-
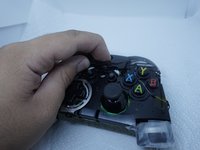
With the front plastic cover removed, remove the back shell. A plastic pry tool can be used if it is easier.
-
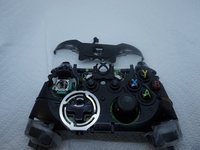
Remove the shell once the battery tabs are released.
-
-
-
在这个步骤中使用的工具:iFixit Opening Tool$4.99
-
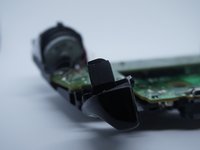
Remove the power button cover from the controller. If the LB/RB assembly is separate, remove this next. A plastic pry tool can also be used.
-
Remove the wireless sync button. Place this on a bright surface to avoid misplacement.
-
-
在这个步骤中使用的工具:Precision Utility Knife$4.99
-
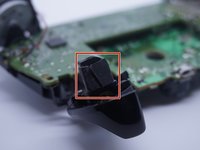
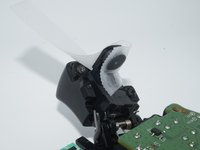
Before cutting the heatshrink, make TWO alignment marks (non-crossing).
-
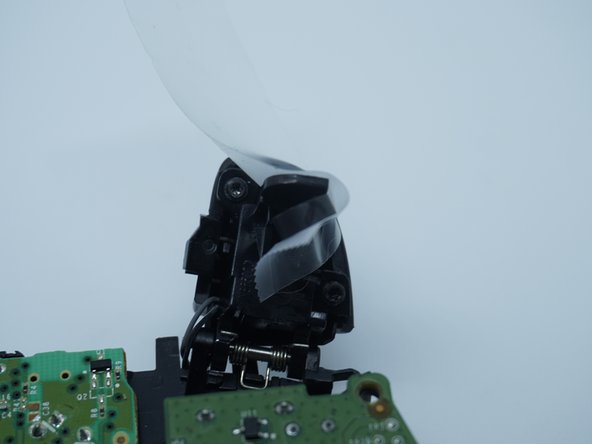
After making alignment marks, cut the heatshrink off using a utility knife.
-
Using the old heatshrink as a reference, cut two new pieces.
-
-
-
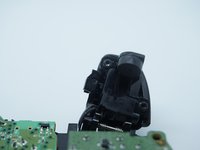
After cutting the heatshrink tubing, do a test alignment before applying glue.
-
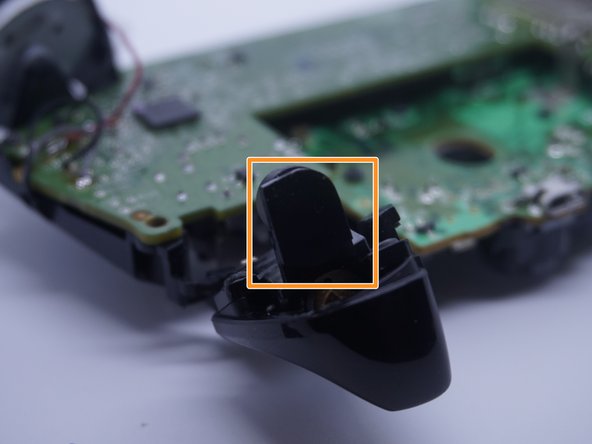
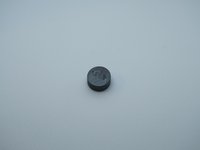
These controllers use double sided tape from the factory. Note the dimple side and clean the magnet and frame. Goo Gone can be used on difficult residue.
-
Once the parts are reasonably clean, do a test alignment and apply tape for final installation.
-
-
-
After verifying the alignment is correct, apply glue to the controller. It is best to let it cure for 24 hours if possible.
-
-
在这个步骤中使用的工具:Heat Shrink Tubing Assortment$7.99
-
Once the glue cures, add new heatshrink tubing.
-


9等其他人完成本指南。

5指南评论
Do you know any specs on the magnet itself? I have a controller that is missing a magnet, and can’t find any information on the strength of the magnet. Without that there’s no way to get a replacement.
same here cant find it any were
found some on eBay
check on aliexpress they have then in stock
Ma gachette RT reste enfoncé c quoi le problème.
Merci d'avance