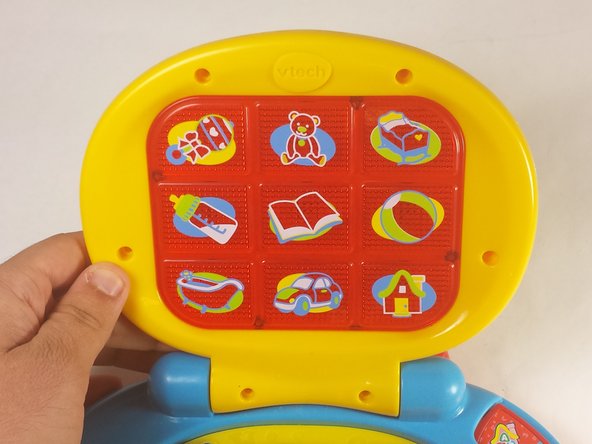
跳转到主内容

VTech Baby's Learning Laptop LEDs Replacement

你所需要的

  1. VTech Baby's Learning Laptop LEDs Replacement, LEDs: 步骤 1 中的图像 1,1
    • To remove the battery door, loosen the screw shown using a Phillips #2 screwdriver.

    • A coin can also be used to loosen the screw.

  2. VTech Baby's Learning Laptop LEDs Replacement: 步骤 2 中的图像 1,1
    • Remove the battery door.

    • Take out the batteries.

  3. VTech Baby's Learning Laptop LEDs Replacement: 步骤 3 中的图像 1,2 VTech Baby's Learning Laptop LEDs Replacement: 步骤 3 中的图像 2,2
    • Using a Phillips #0 screwdriver, unscrew the six 7.3mm screws holding the screen together.

  4. VTech Baby's Learning Laptop LEDs Replacement: 步骤 4 中的图像 1,3 VTech Baby's Learning Laptop LEDs Replacement: 步骤 4 中的图像 2,3 VTech Baby's Learning Laptop LEDs Replacement: 步骤 4 中的图像 3,3
    • With the lid closed, position the device such that the handle is pointing towards you.

    • Using your fingers, gently pry open the cover from the hinge.

    • Attempting to remove the cover while the lid is still open may cause unwanted damage to the device.

  5. VTech Baby's Learning Laptop LEDs Replacement: 步骤 5 中的图像 1,1
    • Remove two 6.0mm screws from the LED array using a Phillips #0 screwdriver.

  6. VTech Baby's Learning Laptop LEDs Replacement: 步骤 6 中的图像 1,1
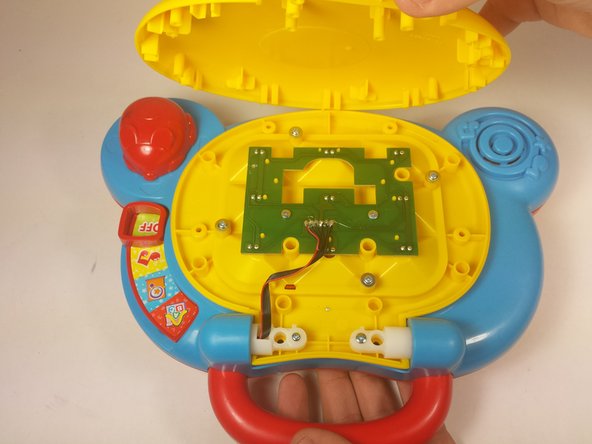
    • Pickup the array by the opening in the center of the board.

    • Remove the faulty LEDs by desoldering each from the board. You may refer to this soldering guide if necessary.

    • Movement of the array will be limited as it is still attached to the main device board.

结论

To reassemble your device, follow these instructions in reverse order.

团队

USF Tampa, Team 12-2, Blackwell Fall 2015 USF Tampa, Team 12-2, Blackwell Fall 2015 的会员

USFT-BLACKWELL-F15S12G2

4 名成员

创作了14篇指南

0条评论

添加评论

浏览统计数据:

过去 24 小时: 0

过去 7 天: 0

过去 30 天: 3

总计 906