跳转到主内容
加入维修社区 - 创建账户

Trio Stealth-10 Screen/Digitizer Replacement

你所需要的

    1. Trio Stealth-10 Screen/Digitizer Replacement, Back Panel: 步骤 1 中的图像 1,1
      • To remove the back panel, you will need to use a plastic opening tool and slowly separate the back panel from the device.

      询问修复机器人

      添加评论

    1. Trio Stealth-10 Screen/Digitizer Replacement, Battery: 步骤 2 中的图像 1,1
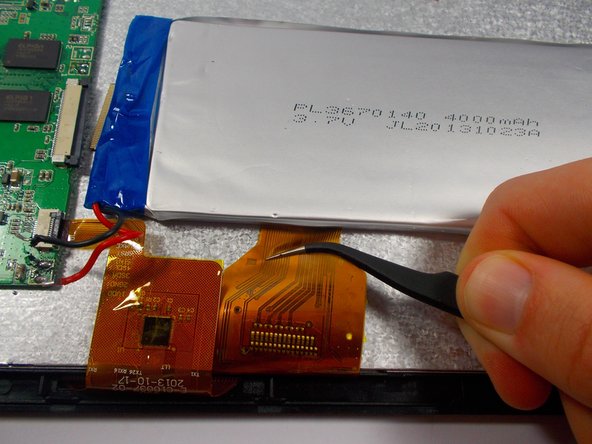
      • This step will require soldering. If you are unfamiliar with soldering then we recommend that you get help from another person or use the soldering guide made by Ifixit to help.

      • Solder the connections off for the battery.

      询问修复机器人

      添加评论

    2. Trio Stealth-10 Screen/Digitizer Replacement: 步骤 3 中的图像 1,2 Trio Stealth-10 Screen/Digitizer Replacement: 步骤 3 中的图像 2,2
      在这个步骤中使用的工具:
      Tweezers
      $4.99
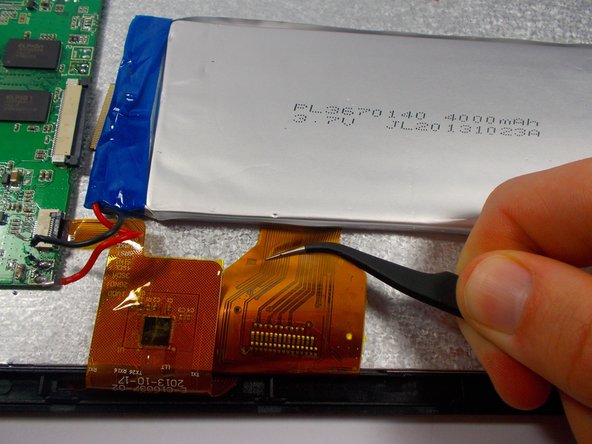
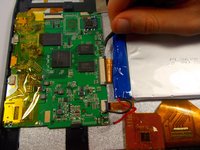
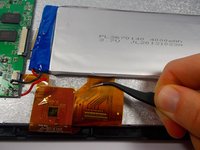
      • Disconnect the screen/digitizer connection. Use tweezers and pull each grey end of the connection until there is a small gap between the grey and white on the connector to the motherboard. The connection should be easily removable.

      • Pull the cable away and clear from under the battery to avoid damage to the connection.

      询问修复机器人

      添加评论

    3. Trio Stealth-10 Screen/Digitizer Replacement: 步骤 4 中的图像 1,1
      • Pry battery up from adhesive. Use a type of adhesive remover. Nail polish remover works well.

      询问修复机器人

      添加评论

    1. Trio Stealth-10 Screen/Digitizer Replacement, Speaker: 步骤 5 中的图像 1,1
      • This next step will require you to solder a couple of wires off the motherboard. We recommend you get someone to help you if you are unfamiliar with soldering or use Ifixit's Soldering guide to help you.

      • Next you must solder off the wires that connect the speaker to the motherboard.

      询问修复机器人

      添加评论

    2. Trio Stealth-10 Screen/Digitizer Replacement: 步骤 6 中的图像 1,1
      • Next you will need to remove the two screws attached to the speaker. If you have a 54 bit Driver Kit use the Philips Head 0 (or PH 0) head to remove the two 4mm screws.

      询问修复机器人

      添加评论

    1. Trio Stealth-10 Screen/Digitizer Replacement, Front-Facing/ Rear-Facing Camera: 步骤 7 中的图像 1,1
      • Next use your PH 0 to remove the two 4mm screws to detach the camera support fixture.

      询问修复机器人

      添加评论

    2. Trio Stealth-10 Screen/Digitizer Replacement: 步骤 8 中的图像 1,1
      • Disconnect the camera from the mother board. Use a spudger and lift the grey latch until it is facing up then pull out the connection for the cameras.

      询问修复机器人

      添加评论

    3. Trio Stealth-10 Screen/Digitizer Replacement: 步骤 9 中的图像 1,1
      • Remove the first layer of tape above camera cable connection slowly.

      询问修复机器人

      添加评论

    4. Trio Stealth-10 Screen/Digitizer Replacement: 步骤 10 中的图像 1,1
      • Remove the second layer of tape above camera cable connection gently and remove the cameras from the device.

      询问修复机器人

      添加评论

    1. Trio Stealth-10 Screen/Digitizer Replacement, Motherboard: 步骤 11 中的图像 1,1
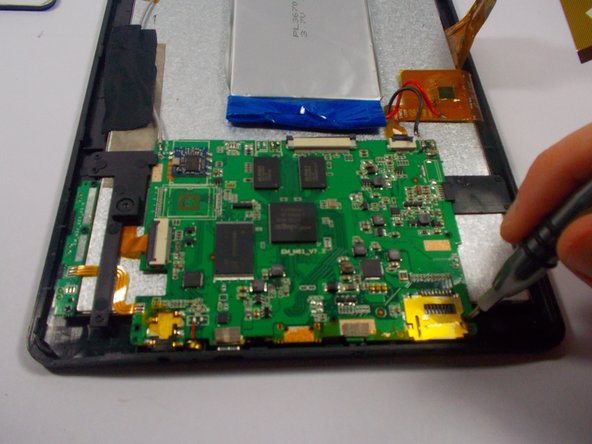
      • Use your spudger to disconnect the screen/digitizer connection from the motherboard.

      询问修复机器人

      添加评论

    2. Trio Stealth-10 Screen/Digitizer Replacement: 步骤 12 中的图像 1,2 Trio Stealth-10 Screen/Digitizer Replacement: 步骤 12 中的图像 2,2
      在这个步骤中使用的工具:
      Tweezers
      $4.99
      • Use a pair of tweezers to grasp the screen/digitizer connection gently and remove each accordingly.

      询问修复机器人

      添加评论

    3. Trio Stealth-10 Screen/Digitizer Replacement: 步骤 13 中的图像 1,1
      • Grasp the EDC tape with your tweezers and lift it off gently from the motherboard and set aside to be reused.

      询问修复机器人

      添加评论

    4. Trio Stealth-10 Screen/Digitizer Replacement: 步骤 14 中的图像 1,2 Trio Stealth-10 Screen/Digitizer Replacement: 步骤 14 中的图像 2,2
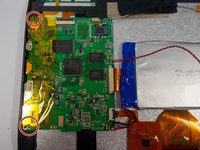
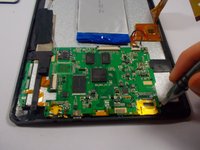
      • Use a Phillips #0 to unscrew the 4mm screws from the motherboard fixture.

      询问修复机器人

      添加评论

    5. Trio Stealth-10 Screen/Digitizer Replacement: 步骤 15 中的图像 1,1
      • Be sure that all the connections to the motherboard are disconnected. Proceed to remove the motherboard by slowly tilting it away from you and then lifting it straight up.

      询问修复机器人

      添加评论

    1. Trio Stealth-10 Screen/Digitizer Replacement, Screen/Digitizer: 步骤 16 中的图像 1,1
      • Remove all disconnected components and remove screen/digitizer.

      询问修复机器人

      添加评论

结论

To reassemble your device, follow these instructions in reverse order.

取消:我没有完成这个指南。

3等其他人完成本指南。

团队

UMass Dartmouth, Team 1-4, Miles Fall 2015 UMass Dartmouth, Team 1-4, Miles Fall 2015 的会员

UMASSD-MILES-F15S1G4

3 名成员

创作了72篇指南

2指南评论

I can fix them like its no $@$* I want every tool to fixs them I use tool but I want the right ones I like making $$$$$

bkress81 - 回复 分享

I want all smart TV that are broke I like working on them I have for many years

bkress81 - 回复 分享

添加评论

浏览统计数据:

过去 24 小时: 10

过去 7 天: 26

过去 30 天: 48

总计 3,534