简介
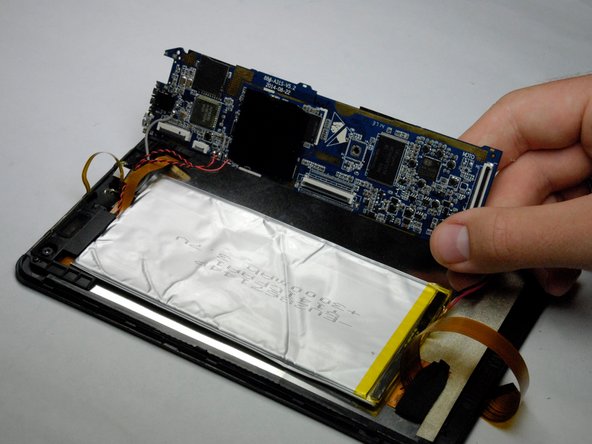
The motherboard is the circuit that connects all of the parts within the tablet. It is essential to the proper function of the device. Damage to the motherboard often prevents the device from turning on or performing tasks correctly and usually requires that the motherboard be replaced. The most common cause of damage is exposure to water.
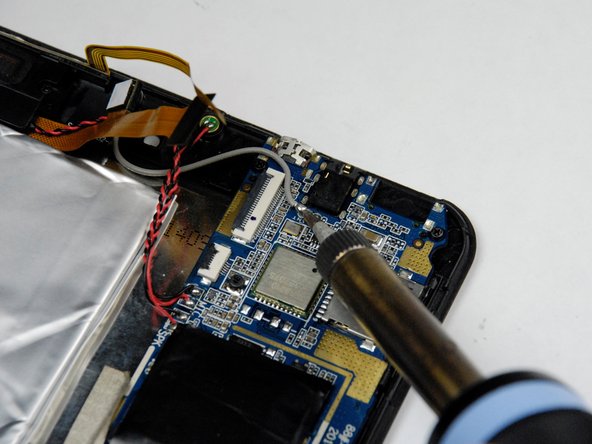
The disassembly is slightly more involved than the other replacement guides for this device. The use of a soldering iron is required to disconnect all of the wires connecting to the motherboard. Be sure to review the iFixit soldering guide if you do not have experience using a solder iron. You will also need to remove a couple of screws in order to take out the motherboard.
你所需要的
-
-
-
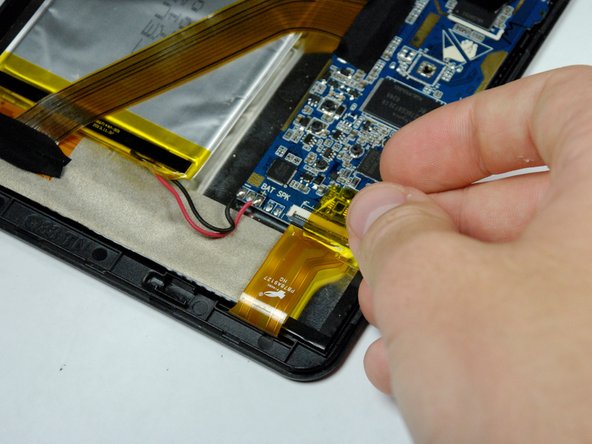
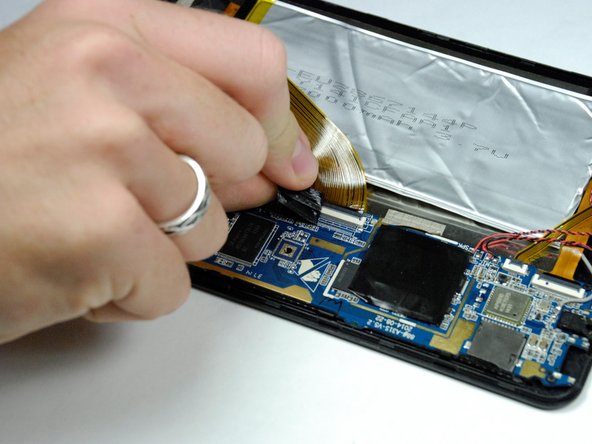
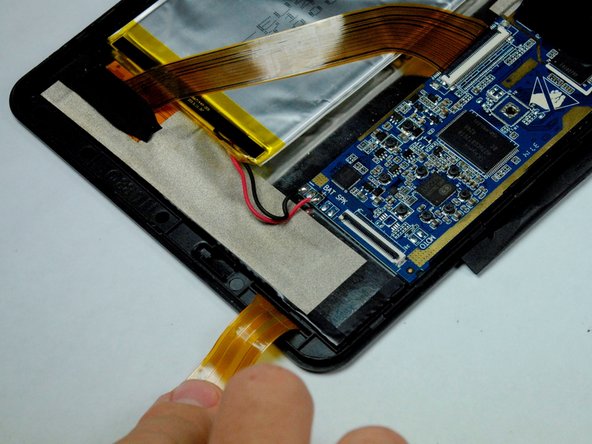
Remove the 4 pieces of tape covering the zero insertion force (ZIF) connectors on the motherboard.
-
-
-
Use the soldering iron to melt away the solder from each of the wires connecting to the motherboard.
-
Once the solder is completely removed, pull the wires away from the motherboard.
-


To reassemble your device, follow these instructions in reverse order.
To reassemble your device, follow these instructions in reverse order.
另外一个人完成了本指南。
团队

Baylor, Team 4-1, Williams Fall 2015 Baylor, Team 4-1, Williams Fall 2015 的会员
BU-WILLIAMS-F15S4G1
4 名成员
创作了10篇指南