跳转到主内容

Sony NEX-7 屏幕更换

你所需要的

  1. Sony NEX-7 屏幕更换, 电池: 步骤 1 中的图像 1,2 Sony NEX-7 屏幕更换, 电池: 步骤 1 中的图像 2,2
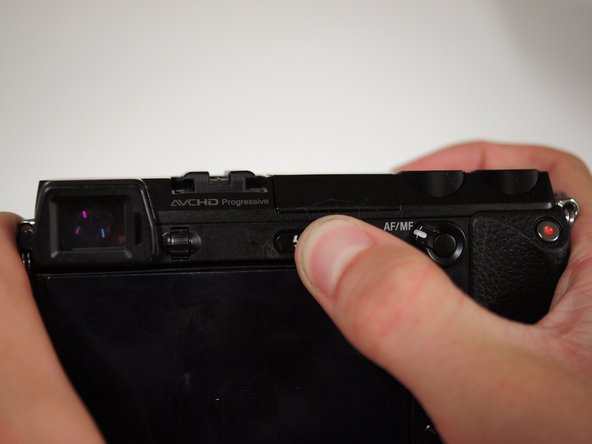
    • 我们需要关闭相机,因为我们正在移除组件,如果电源仍然打开,可能会损坏设备。

    • 如果相机已开启,请逆时针旋转相机顶部的电源开关以关闭相机。

  2. Sony NEX-7 屏幕更换: 步骤 2 中的图像 1,1
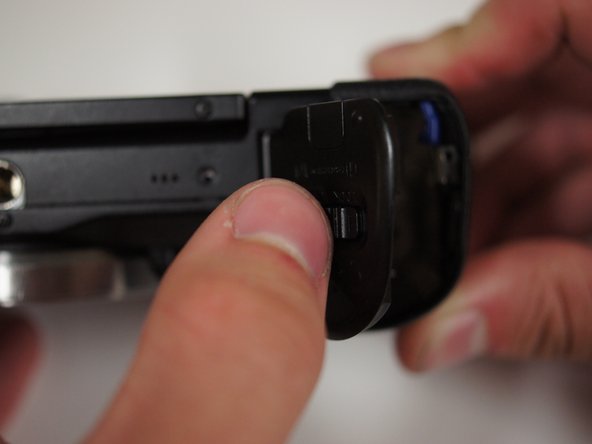
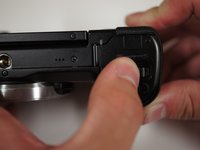
    • 翻转相机,使电源开关指向下。

    • 将相机底部电池舱的开关滑向镜头一侧以打开电池门。

  3. Sony NEX-7 屏幕更换: 步骤 3 中的图像 1,1
    • ‎打开电池舱后,将电池舱中的蓝色拨杆推开以释放电池。‎

  4. Sony NEX-7 屏幕更换, SD卡: 步骤 4 中的图像 1,1
    • SD卡在电池槽的左侧,只需用手指轻轻向下按压,就会弹出。

    • 用你的手指取出SD卡

  5. Sony NEX-7 屏幕更换, 镜头: 步骤 5 中的图像 1,2 Sony NEX-7 屏幕更换, 镜头: 步骤 5 中的图像 2,2
    • 首先,将相机底部朝上

    • 按下银色镜头卡口旁边的按钮,然后逆时针旋转镜头。

    • 将镜头从机身上取下

    • 取下镜头后,请尽快更换镜头或装上机身盖,以防止损坏快门。

  6. Sony NEX-7 屏幕更换, 上、下壳: 步骤 6 中的图像 1,1
    • 首先使用Phillips#00螺丝刀卸下相机底部的两个5/32“#00螺丝。

  7. Sony NEX-7 屏幕更换: 步骤 7 中的图像 1,2 Sony NEX-7 屏幕更换: 步骤 7 中的图像 2,2
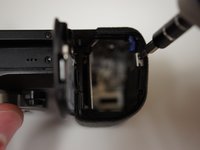
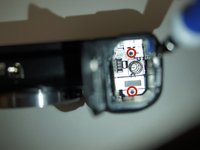
    • 使用Phillips#00螺丝刀卸下电池仓顶部的5/32“#00螺钉。

    • 使用Phillips#00螺丝刀从电池仓内卸下两颗5/32“#00螺丝。

  8. Sony NEX-7 屏幕更换: 步骤 8 中的图像 1,2 Sony NEX-7 屏幕更换: 步骤 8 中的图像 2,2
    • 关闭电池盖。

  9. Sony NEX-7 屏幕更换: 步骤 9 中的图像 1,1
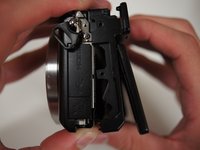
    • 打开相机左侧写有“ HDMI”的盖板。

    • 使用Phillips#00螺丝刀卸下两个可见的5/32“#00螺钉。

  10. Sony NEX-7 屏幕更换: 步骤 10 中的图像 1,3 Sony NEX-7 屏幕更换: 步骤 10 中的图像 2,3 Sony NEX-7 屏幕更换: 步骤 10 中的图像 3,3
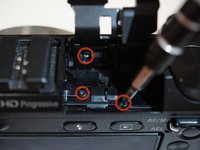
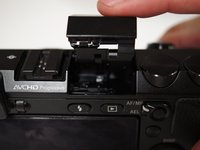
    • 按下相机背面带有闪电图标的按钮,将闪光灯弹出。

    • 使用Phillips#00螺丝刀从闪光灯仓内卸下三颗5/32“螺丝。

    • 收回闪光灯

  11. Sony NEX-7 屏幕更换: 步骤 11 中的图像 1,1
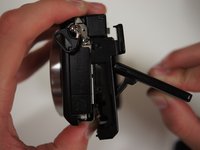
    • 相机的顶部由三根电线和排线连接。 请轻轻地取下顶部!

    • 将相机上壳提离机身。

    • 让顶部悬挂在侧面,以便您有足够的空间来处理设备内部的组件。

  12. Sony NEX-7 屏幕更换: 步骤 12 中的图像 1,1
    • 用镊子或手指轻轻地从接口上拔下排线。

  13. Sony NEX-7 屏幕更换: 步骤 13 中的图像 1,2 Sony NEX-7 屏幕更换: 步骤 13 中的图像 2,2
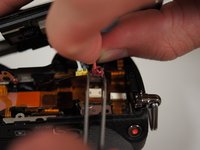
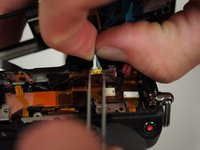
    • 将镊子的尖端放在红色插孔的两侧。

    • 轻轻将红色插头从插孔中拔出。

    • 对黄色插孔重复上述步骤。

    • 现在顶部已经被分离,将其放在一边以备后用。

  14. Sony NEX-7 屏幕更换: 步骤 14 中的图像 1,1
    • 用手指提起LCD屏幕,使屏幕略微倾斜离开相机。

  15. Sony NEX-7 屏幕更换: 步骤 15 中的图像 1,3 Sony NEX-7 屏幕更换: 步骤 15 中的图像 2,3 Sony NEX-7 屏幕更换: 步骤 15 中的图像 3,3
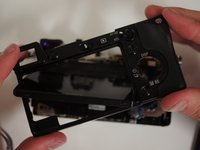
    • 从底部开始,用手指轻轻地将背板撬离相机机身。

    • 当背板脱离机身时,请旋转相机,使后部朝向您,然后旋转后面板直至能让屏幕通过,然后将后面板拉过屏幕。

    • 如果将液晶显示屏从相机上拉开约60度,则背板将更容易取下。

    • 将背板放在一旁。

  16. Sony NEX-7 屏幕更换, 液晶屏幕总成: 步骤 16 中的图像 1,1
    • 使用#00螺丝刀卸下电子取景器旁边的两个3/32“#00螺丝。

  17. Sony NEX-7 屏幕更换: 步骤 17 中的图像 1,1
    • 使用Phillips#00螺丝刀从相机右侧的肩带扣下方卸下两颗5/32“#00螺丝。

  18. Sony NEX-7 屏幕更换: 步骤 18 中的图像 1,1
    • 使用Phillips#00螺丝刀从相机底部卸下另外两个3/32“#00螺丝。

  19. Sony NEX-7 屏幕更换: 步骤 19 中的图像 1,1
    • 使用Phillips#00螺丝刀从相机左侧的金属支架上卸下另外2个3/32“#00螺丝。

  20. Sony NEX-7 屏幕更换: 步骤 20 中的图像 1,1
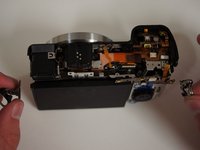
    • 打开插头两侧的卡扣,用镊子拔出相机右上角靠近金属支架的橙色排线。

  21. Sony NEX-7 屏幕更换: 步骤 21 中的图像 1,1
    • 在拉出组件之前,将柔性电路板的最右边的卡扣从金属支架上翘起。

  22. Sony NEX-7 屏幕更换: 步骤 22 中的图像 1,2 Sony NEX-7 屏幕更换: 步骤 22 中的图像 2,2
    • LCD组件随附有隐蔽的排线,因此请小心拆卸。

    • 两侧的肩带扣仅以机械方式固定。 LCD组件开始分离后,它们将分离。

    • 拉动相机两侧的肩带扣,开始拆卸组件。

    • 从黑色外壳上拆下支架后,将其取下并放在一旁

    • 继续卸下屏幕组件。

  23. Sony NEX-7 屏幕更换: 步骤 23 中的图像 1,1
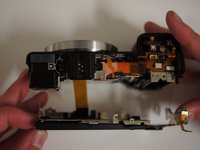
    • 将相机正面朝下,将组合件移开,以清楚看到排线。

    • 用镊子通过插头两侧的凸起拔下排线。

    • 将LCD组件放在一旁。

  24. Sony NEX-7 屏幕更换, 屏幕: 步骤 24 中的图像 1,2 Sony NEX-7 屏幕更换, 屏幕: 步骤 24 中的图像 2,2
    • 将相机机身,顶部和背部面板放在一边,然后将注意力放在LCD组件上。

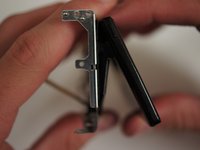
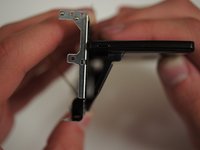
    • 旋转屏幕使其脱离金属支架。

  25. Sony NEX-7 屏幕更换: 步骤 25 中的图像 1,2 Sony NEX-7 屏幕更换: 步骤 25 中的图像 2,2
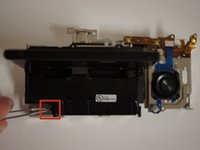
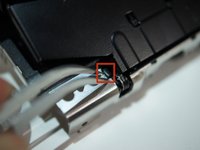
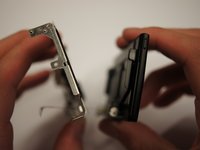
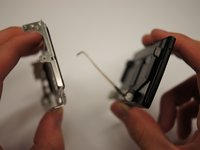
    • 使用镊子将卡扣推到面板左下角附近,以从面板背面松开塑料盖。

  26. Sony NEX-7 屏幕更换: 步骤 26 中的图像 1,1
    • 旋转组件,然后将塑料盖从排线滑出。

  27. Sony NEX-7 屏幕更换: 步骤 27 中的图像 1,1
    • 使用#00螺丝刀从金属支架上卸下四颗2/32“#00螺丝。

  28. Sony NEX-7 屏幕更换: 步骤 28 中的图像 1,2 Sony NEX-7 屏幕更换: 步骤 28 中的图像 2,2
    • 从金属面板上卸下屏幕。

结论

重新组装设备时,请按照相反的顺序进行操作。

5等其他人完成本指南。

由衷感谢以下译者:

en zh

100%

这灯光漂白了四壁正在帮助我们修复这个世界! 您也想加入吗?
开始翻译 ›

Jay Miley

于04/22/14注册

5,042 声望

创作了13篇指南

团队

Cal Poly, Team 10-55, Amido Spring 2014 Cal Poly, Team 10-55, Amido Spring 2014 的会员

CPSU-AMIDO-S14S10G55

4 名成员

创作了31篇指南

4条评论

oh oh - took my nex 7 apart - got to step 28 "Conclusion" an realized I need more steps;

how do I disassemble ( and re-assemble )the "screen" that I have now "removes from the metal panel" ?!?

the part I was hopping to replace is part "LCD Screen Display for Sony nex7" a thin panel, dark gray on one side

and mirror-like on the other.....

Is there another how-to out there somewhere on how to do that ?

or did I order a pert that's to detailed/intricate for a how to series ....

Thanks for any advice

john Grigaitis - 回复

hey,

where can we buy the the new screen. I want to change the old broken screen of my NEX 7 but i don't know where to buy on screen.

Thanks for the informations.

maxence - 回复

A much simpler process for this is to remove the two screws at the bottom of the screen, flip the screen to 90 degrees out from the body, and remove the two screws on the back. Then the top plastic piece can be worked loose and the LCD frame can be removed from the metal bracket.

Reinstallation is a little bit tricky because the plastic piece and the metal back plate much be held in place along with the LCD frame before any of the screws can be reinstalled.

Note that there is a plastic spring piece that clips in the top of the LCD frame, and also a clear/white plastic piece that sits on the light sensor element in the corner of the screen.

Long story short is that the metal LCD hinge does not need to be removed from the body in order to replace the LCD…. so, 4 screws instead of 28.

Paul Chambre - 回复

添加评论

浏览统计数据:

过去 24 小时: 3

过去 7 天: 14

过去 30 天: 56

总计 9,928