简介
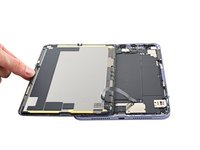
按照该指南可快速学会如何拆卸下ipad mini6的屏幕。
注意该指南是一个首选条件的指南,属于如何拆解ipad mini6这个指南的一部分,切勿单独使用。
你所需要的
-
-
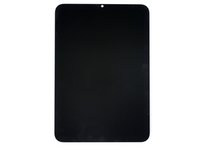
如果你设备屏幕已破碎,在上面贴上胶带以防止维修过程中进一步破坏和保护人身安全。
-
在iPad上贴上互相重叠的透明封箱胶带,到整个屏幕被覆盖为止。
-
尽力认真跟着下面剩下的步骤走。不过如果屏幕已经破碎,它很可能在你维修过程中继续受到破坏,你可能需要一个金属撬具来将玻璃碎弄走。
-
-
-
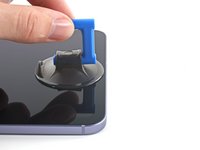
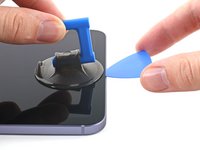
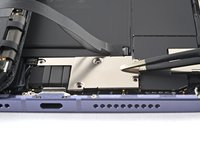
一旦屏幕加热到了合适的温度,即可使用塑料吸盘贴合到屏幕的边缘处(尽可能靠近边缘)。
-
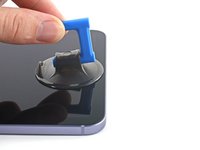
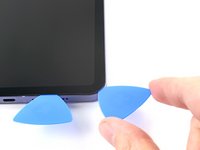
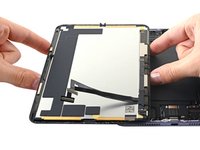
轻轻用力拔起屏幕使其与金属中框之间产生一个小间隙。
-
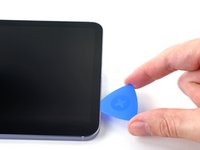
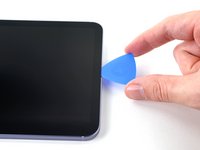
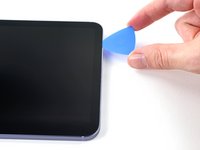
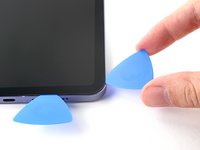
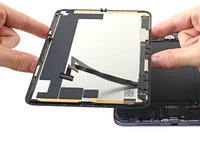
再向这个间隙里放置一块塑料撬片或者是其它扁状钝器。
-
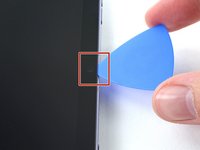
然后将撬片停留在原位放在粘合剂重新凝固。
-
-


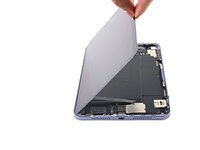


结论
如果你在拆解后想要重新组装这个设备,那么请按照以下指南中相反的步骤。
另外一个人完成了本指南。


