简介
Use this guide to replace a worn-out or dead battery in your Galaxy Buds+. The photos for this guide were taken with the left earbud, but the procedure is the same for both earbuds.
Galaxy Buds+ are rated IPX2 for ingress-resistance, meaning they are splash resistant. After this repair, they may lose their water protection.
你所需要的
-
-
Use your fingers to remove the silicone eartip by pulling it upwards while slipping it off the earbud.
-
-
-
Use your fingers or a pair blunt nose tweezers to remove the earbud's rubber wingtip by pulling it upwards while slipping it off the earbud.
-
-
-
Use a pair of pliers to hold the earbud horizontally along the seam between the upper and lower halves of the case.
-
Apply steady, even pressure to either side of the earbud along the main housing seam to create a gap.
-
-
-
-
Insert an opening tool into the gap between the two cases of the earbud.
-
Use the opening tool to pry the two cases apart.
-
-
-
To remove the upper part of the earbud from the board, place it on the table to access the connector.
-
-
-
Use an opening tool to disconnect the upper earbud case from the board by prying the connector out of its socket.
-
Remove the upper earbud case.
-
-
-
Place an opening tool under one of the small lips of the core assembly.
-
Slightly lift the core assembly—including the motherboard—out of the buds case to access the battery.
-
-
-
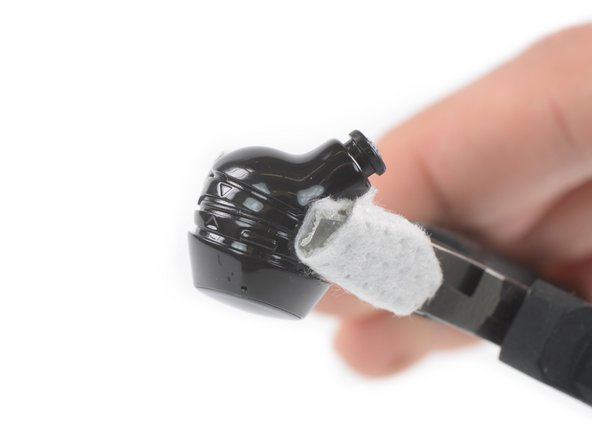
Use a pair of blunt nose tweezers to remove the battery housing while holding the upper part with your fingers.
-
-
-
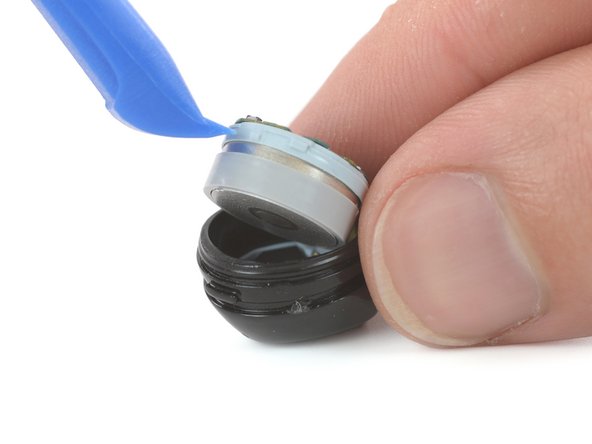
Use an opening tool to separate the housing from the battery.
-
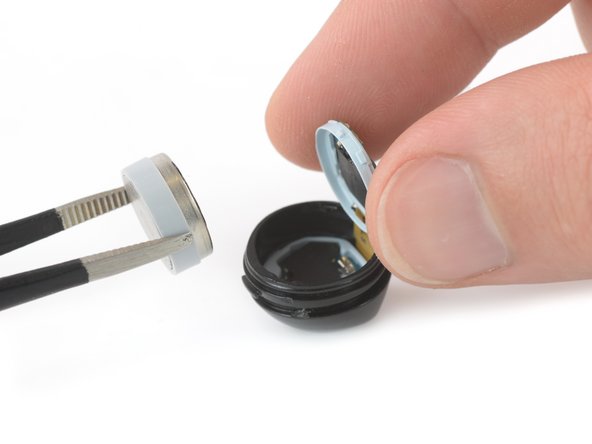
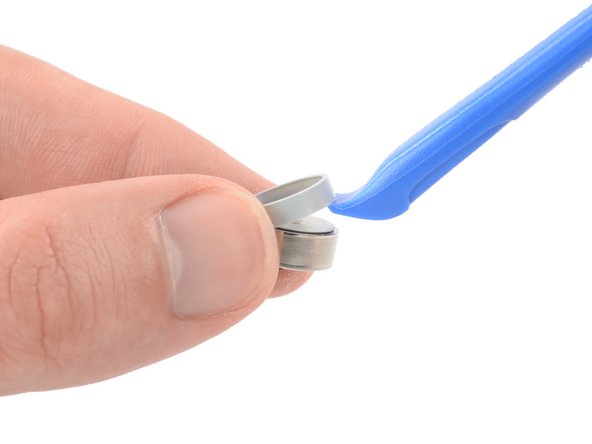
Remove the battery.
-


To reassemble your device, follow these instructions in reverse order. Apply new adhesive where necessary after cleaning the relevant areas with isopropyl alcohol (>90%).
For optimal performance, calibrate your newly installed battery: Charge it to 100% and keep charging it for at least 2 more hours. Then use your device until it shuts off due to low battery. Finally, charge it uninterrupted to 100%.
Take your e-waste to an R2 or e-Stewards certified recycler.
Repair didn’t go as planned? Try some basic troubleshooting, or ask our Answers community for help.
28等其他人完成本指南。


4条评论
Just finished replacement of my batteries. My model didnt have the lower carrier but bad some thermal pads on the bottom PCB and the top plastic cover keeping the battery stable. I had to move the top PCB out of place, then take off the top plastic holder to get the battery out as it isnt physically connected to the top PCB. other then that it was much easier then i expected. THanks!!!!
Thanks to your guide i was able to disassemble both of my earbuds for me to test the batteries since one of them wasn't charging, turns out one of the batteries is long gone, but i wouldn't be able to open them without your guide, THANKS!! Now is just a matter of getting the battery replacements and get them on the go again!
If your headphones are older like mine please keep in mind: the interior plastic that holds the battery was a salmon color for me and the headphone basically fell apart when trying to open it as the adhesive was very broken down. Everything still works fine, just was a little surprising when things just popped open with no force. Thanks iFixit. Lets keep these headphones going another 3 years.
jasiahruby - 回复
Some picture of the old battery model so we can order it before the install would be very helpful. Thank you for your help 😉
Mihnea Ace - 回复