简介
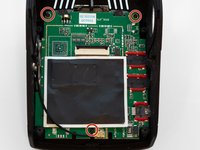
If the video from your device's front/rear camera is not displaying on the screen or your device is not displaying anything, the device's screen could be damaged or faulty. This guide will show you how to remove and replace the LCD screen of your Rexing V1P Plus dashcam.
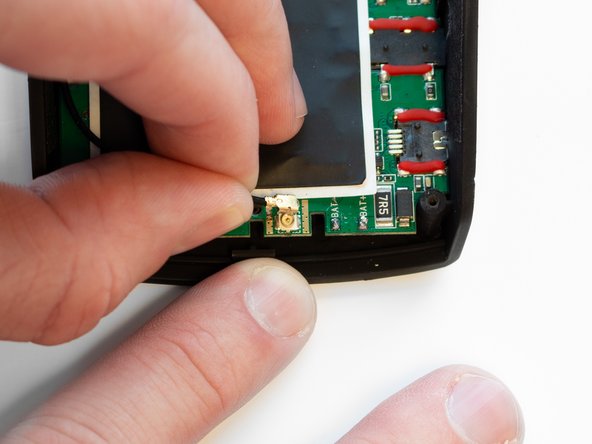
This replacement requires the removal of the device's battery. The battery on the Rexing V1P Plus does not hold a charge for long without being connected to a power source. To ensure the battery is safe to remove, leave the device unplugged for a short period to drain the battery of any charge it may have.
This replacement requires the use of a soldering iron. If you have no prior experience using a soldering iron, it is recommended to do some additional research to gain familiarity with using this tool.
你所需要的
-
-
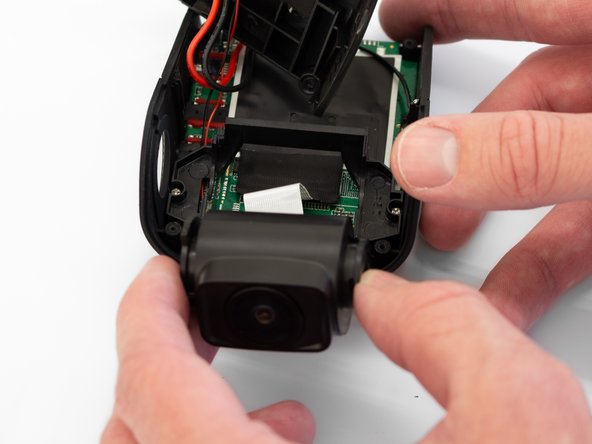
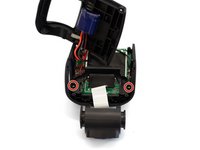
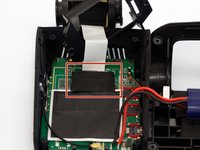
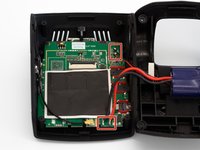
Begin by orienting the device with the LCD screen facing down.
-
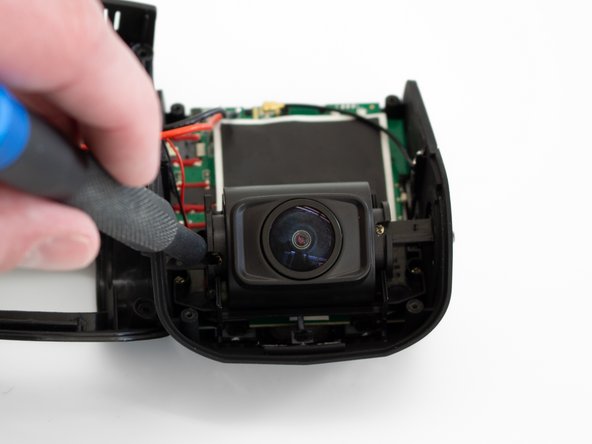
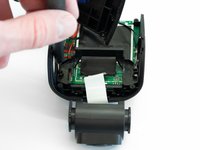
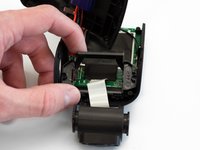
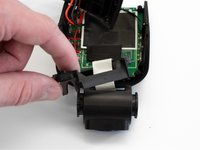
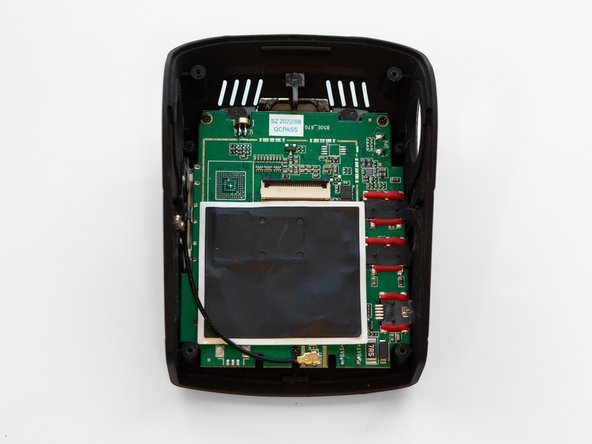
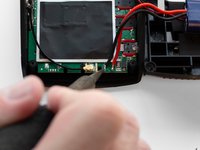
Remove the four 6 mm screws, located on the backside of the device, using the Phillips #00 screwdriver.
-
-
-
-
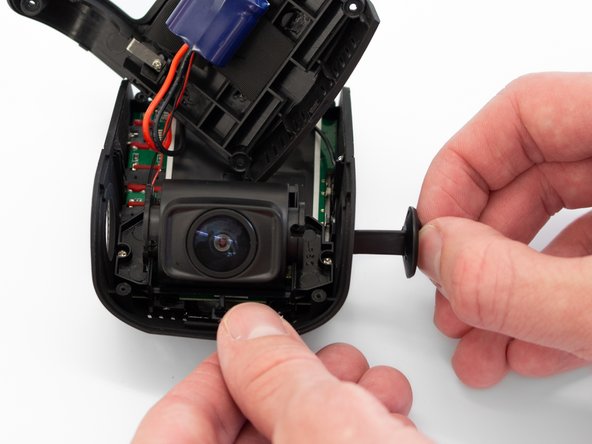
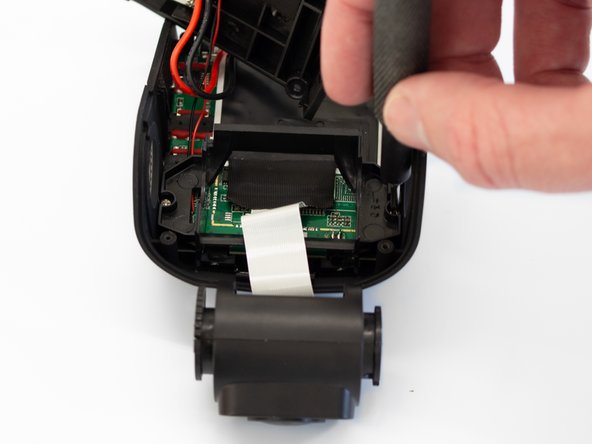
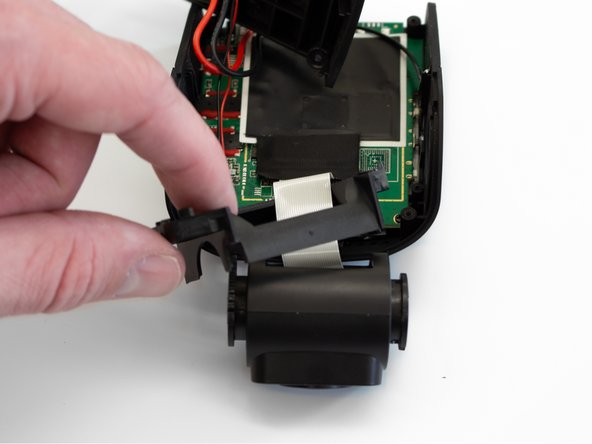
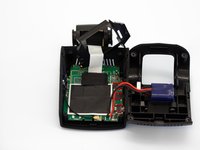
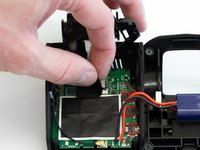
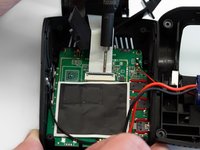
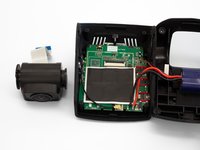
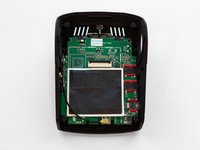
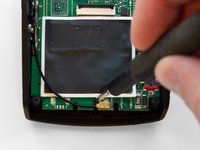
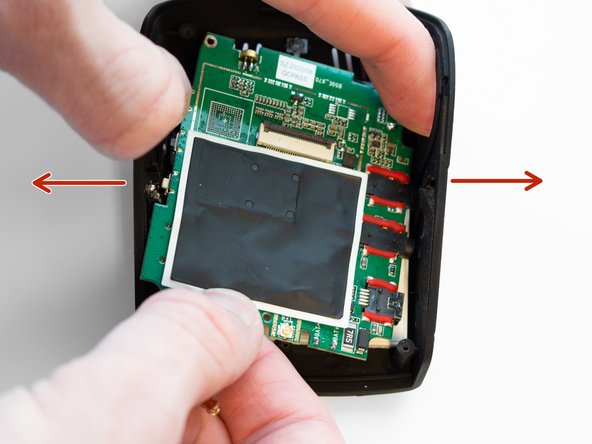
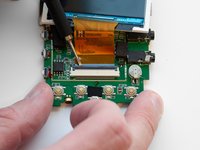
Once separated from the case, flip the motherboard over so the screen faces upward.
-
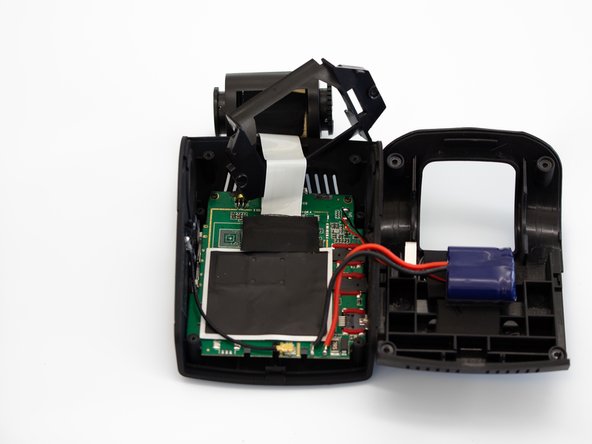
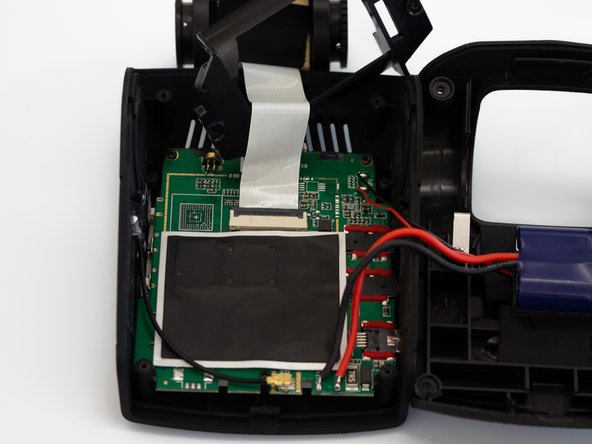
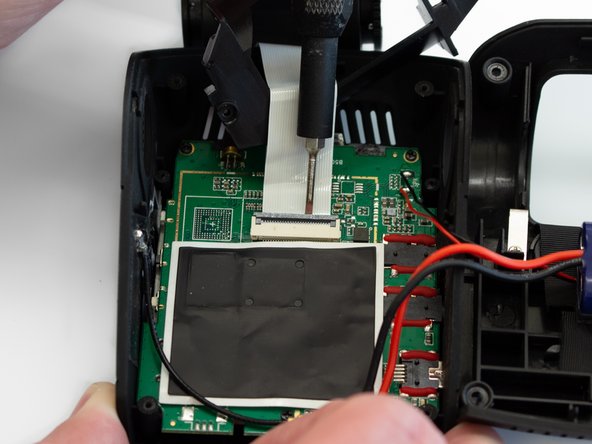
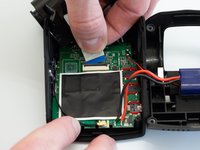
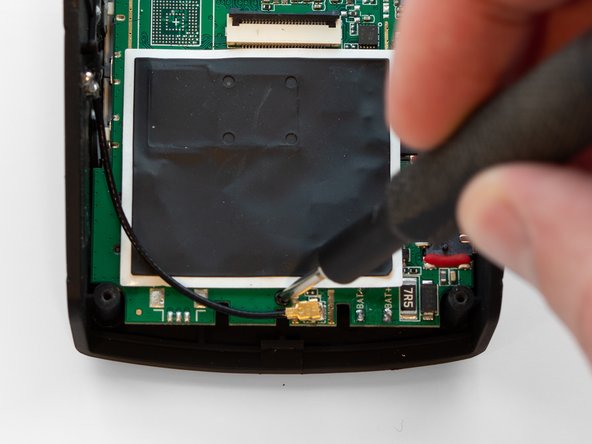
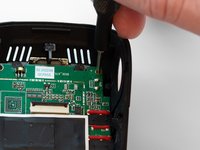
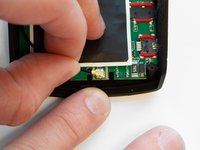
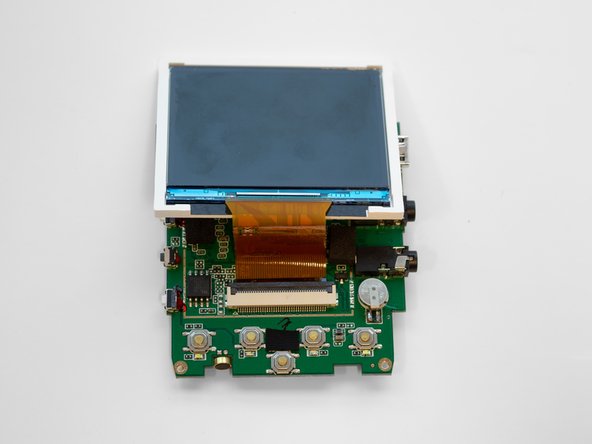
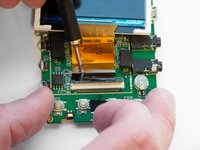
Rotate the motherboard so that the screen hangs over the top of the motherboard, as seen in the second image.
-


To reassemble your device, follow these instructions in reverse order.
另外一个人完成了本指南。
团队

Western Carolina University, Team 1-1, Virtue Spring 2023 Western Carolina University, Team 1-1, Virtue Spring 2023 的会员
WCU-VIRTUE-S23S1G1
4 名成员
创作了5篇指南