简介
Use this guide to replace a broken thumbstick on your Razer Kishi.
Both controller sides of the Razer Kishi are almost identical in construction. The replacement of the thumbsticks are similar on both sides, therefore we will only show the right side in this guide.
你所需要的
-
-
For the right side, remove the five Y0 screws securing the right side of the controller.
-
Four 9.2 mm screws
-
One 7.2 mm screw
-
If you wish to open the left side, remove the five Y0 screws securing the left side of the controller.
-
Four 9.2 mm screws
-
One 7.2 mm screw
-
-
-
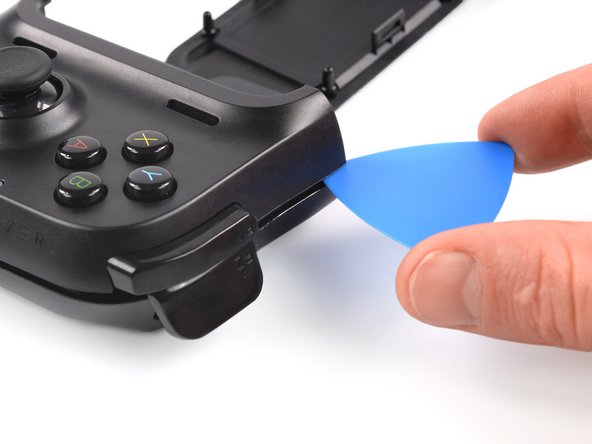
Insert an opening pick in the seam between the top and bottom case, at the bottom left corner of the controller.
-
With the pick still in the seam, slide it along the bottom edge to the bottom right corner to loosen the plastic clips.
-
-
-
Slide the opening pick along the right edge to loosen the plastic clips.
-
-
-
Slide the opening pick along the top edge to loosen the remaining plastic clips.
-
-
-
-
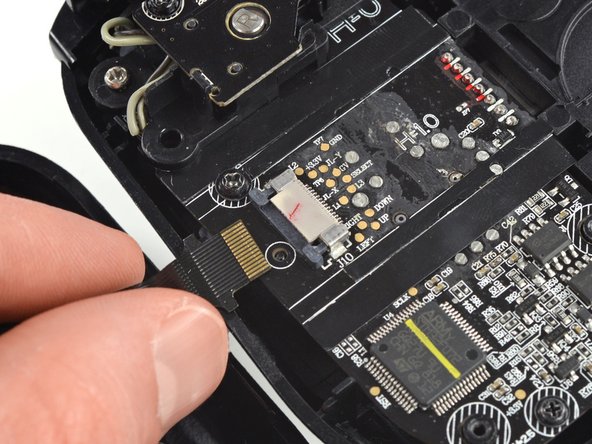
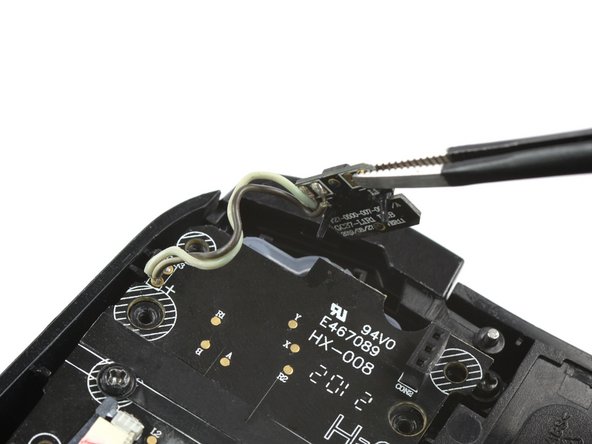
Using the pointed end of a spudger, push the grey tabs on the interconnect socket away from the socket, parallel to the interconnect cable, to release the cable.
-
Pull the cable out of the socket.
-
-
-
Use a Phillips #0 screwdriver to remove the two 4.4 mm-long screws securing the trigger board.
-
-
-
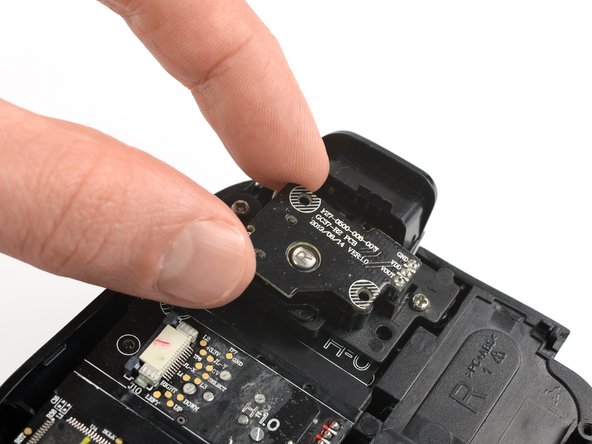
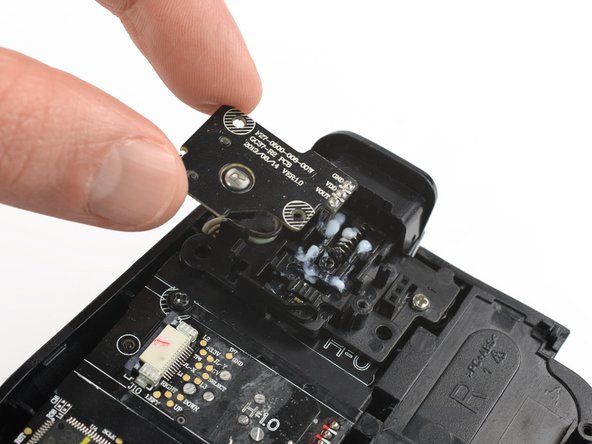
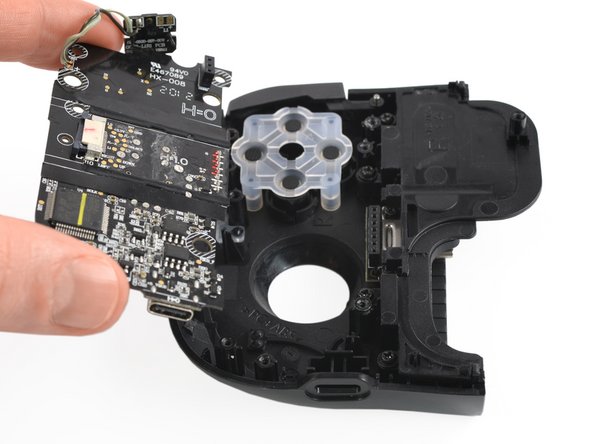
Remove the breakout board by lifting it straight up, away from the controller.
-
-
-
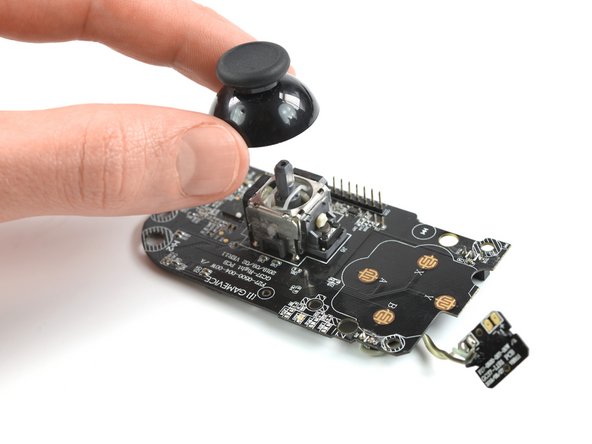
Use a Phillips #0 screwdriver to remove the two 7.0 mm-long screws securing the trigger.
-
-
-
Use a pair of blunt nose tweezers to lift out the shoulder button board.
-


To reassemble your device, follow these instructions in reverse order.
Take your e-waste to an R2 or e-Stewards certified recycler.
Repair didn’t go as planned? Try some basic troubleshooting, or ask our Answers community for help.
To reassemble your device, follow these instructions in reverse order.
Take your e-waste to an R2 or e-Stewards certified recycler.
Repair didn’t go as planned? Try some basic troubleshooting, or ask our Answers community for help.
另外一个人完成了本指南。


7条评论
I second the previous comment. Where can you buy these thumbsticks?
Has anyone had any luck buying the thumbstick for this
tbh, the replacement is pretty straightforward if you've ever done anything like this. The problem is (like everybody above me said) it's hard to find the appropriate replacement thumbstick, as regular thumbsticks don't work! I've tried ps4, Xbox one, 360, original Xbox, switch pro... And to be clear, a lot of these will fit onto the metal rod, but once you close it up there isn't enough clearance for the joystick to move. Kishi's thumbstick is a unique profile that may as well be proprietary.
Regardless, if I find a solution, I will share it with ya'll :)
Derek Wing - 回复
Have you ever find a solution for that? I'm having the same problem.