当前版本的文档还未经巡查,您可以查看最新的已查核版本。
你所需要的
-
这个步骤还没有翻译 帮忙翻译一下
-
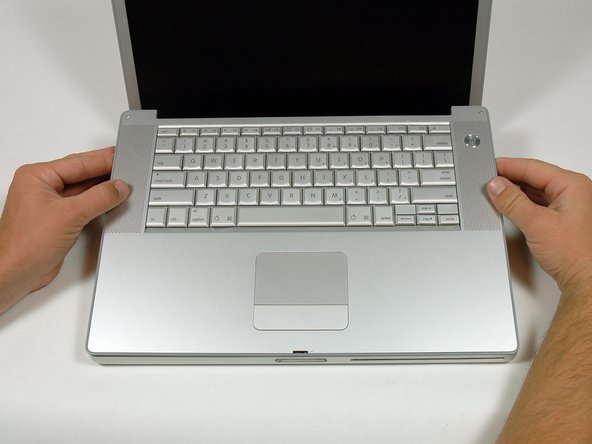
Rotate the computer 90 degrees clockwise so the ports face you.
-
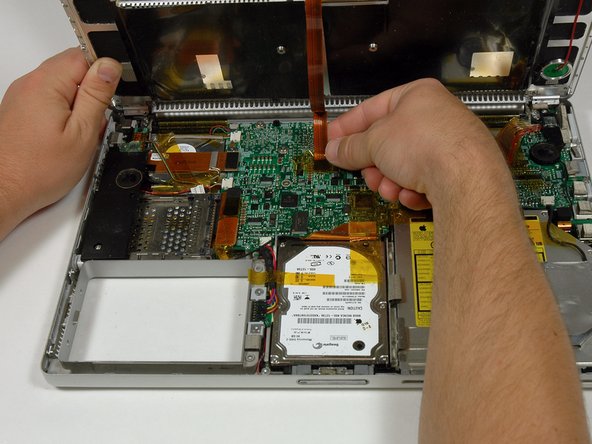
Remove the three 3 mm Phillips screws along the edge of the lower case.
-
When replacing these screws, you must install them in the correct order. Begin by installing the screw closest to the display hinge, then work your way toward the front of the computer. Also, be careful not to put the screws in the two holes on either side of the video out port.
-
-


82等其他人完成本指南。
附加文件

3条评论
I have a 15 inch powerbook g4 with 1,67ghz and I after installing 160gb ATA drive I only had 149,69 gb left before installing os and stuff. My question is: Does powerbooks have any hardware limitations that makes us unable to install more storage?
If you try to install an SSD via SATA-IDE-adaptor, please make sure it works before re-assembling the PowerBook - this saves you a lot of time. I did this four times in a row, just to see that it didn’t work out well. May be it’s the quality of the SSD, or of the adaptor. But note two things: use the “flat” version of the adaptor; and if Leopard’s disk-utility outputs and “Input/Output-Error”, try Tiger’s disk-utility for the first initializion of the SSD. Btw. the manual here is great! Thank you!