当前版本的文档还未经巡查,您可以查看最新的已查核版本。
你所需要的
-
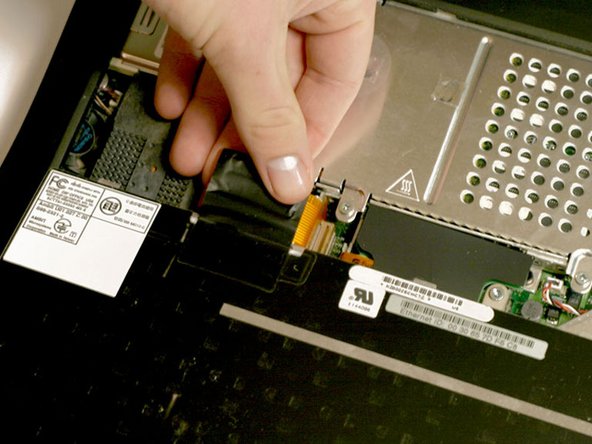
这个步骤还没有翻译 帮忙翻译一下
-
Turn the keyboard locking screw so that it is parallel to the space bar.
-
Pull the keyboard release tabs toward you and lift up on the keyboard until it pops free.
-
Lift the keyboard out by pulling it up and away from you. Rest the keyboard, face down, on top of the track pad.
-
-


16等其他人完成本指南。
附加文件

一条评论
Way too many steps in my opinion. First, the battery should be removed. I saw no reason to remove keyboard, folding it over was enough. Also, saw no reason to remove PRAM battery, I did disconnect it, however. The AirPort card didn’t have to be removed, either. Once the shield was removed along with the heatsink, the processor board just popped right out. When replacing board, make sure the little tabs are in their slots since the board won’t push back in all of the way. Thanks iRobot!