跳转到主内容

PlayStation 5 Optical Drive Laser Replacement

你所需要的

  1. PlayStation 5 Optical Drive Laser Replacement, Remove the stand screw: 步骤 1 中的图像 1,1
    • If your PlayStation 5 is in its vertical orientation, flip it upside down so the stand is facing up.

    • If your PlayStation 5 is in its horizontal orientation, skip to Step 6.

    • Work on a flat surface to prevent your PlayStation from falling over.

    • Use a coin or a flathead screwdriver to remove the 26.5 mm-long stand screw.

  2. PlayStation 5 Optical Drive Laser Replacement, Remove the vertical stand: 步骤 2 中的图像 1,2 PlayStation 5 Optical Drive Laser Replacement, Remove the vertical stand: 步骤 2 中的图像 2,2
    • Lift straight up to remove the stand.

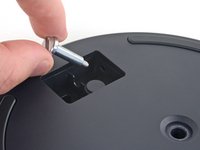
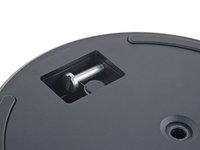
  3. PlayStation 5 Optical Drive Laser Replacement, Store the stand screw: 步骤 3 中的图像 1,2 PlayStation 5 Optical Drive Laser Replacement, Store the stand screw: 步骤 3 中的图像 2,2
    • Insert the screw into the cubby on the bottom of the stand.

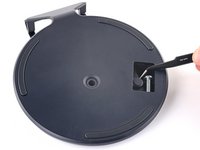
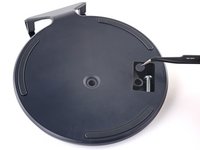
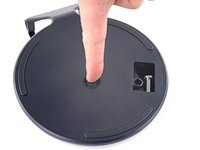
  4. PlayStation 5 Optical Drive Laser Replacement, Cap the screw hole: 步骤 4 中的图像 1,3 PlayStation 5 Optical Drive Laser Replacement, Cap the screw hole: 步骤 4 中的图像 2,3 PlayStation 5 Optical Drive Laser Replacement, Cap the screw hole: 步骤 4 中的图像 3,3
    • Use a pair of tweezers or your fingernail to remove the cap from the cubby.

    • Use your finger to press the cap into the screw hole.

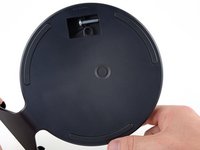
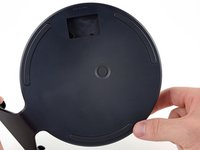
  5. PlayStation 5 Optical Drive Laser Replacement, Close the cubby: 步骤 5 中的图像 1,3 PlayStation 5 Optical Drive Laser Replacement, Close the cubby: 步骤 5 中的图像 2,3 PlayStation 5 Optical Drive Laser Replacement, Close the cubby: 步骤 5 中的图像 3,3
    • Twist the stand counterclockwise to close the cubby.

  6. PlayStation 5 Optical Drive Laser Replacement, Remove the horizontal stand: 步骤 6 中的图像 1,2 PlayStation 5 Optical Drive Laser Replacement, Remove the horizontal stand: 步骤 6 中的图像 2,2
    • If your PlayStation 5 is in its horizontal orientation, rest it on its face with the charging port facing up.

    • Lift the stand straight up to remove it.

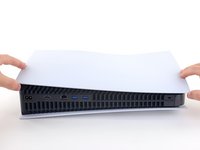
  7. PlayStation 5 Optical Drive Laser Replacement, Remove the right faceplate: 步骤 7 中的图像 1,3 PlayStation 5 Optical Drive Laser Replacement, Remove the right faceplate: 步骤 7 中的图像 2,3 PlayStation 5 Optical Drive Laser Replacement, Remove the right faceplate: 步骤 7 中的图像 3,3
    • Flip the device over so that the USB and ethernet ports are on the left side from your perspective.

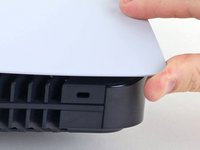
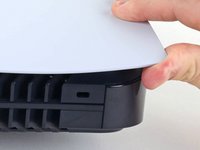
    • Lift up the corner of the faceplate to unclip it from the case.

  8. PlayStation 5 Optical Drive Laser Replacement: 步骤 8 中的图像 1,2 PlayStation 5 Optical Drive Laser Replacement: 步骤 8 中的图像 2,2
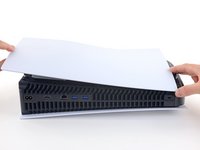
    • While lifting up the corner, slide the faceplate towards the bottom of the device.

    • Remove the right faceplate.

  9. PlayStation 5 Optical Drive Laser Replacement, Pry up the grille: 步骤 9 中的图像 1,3 PlayStation 5 Optical Drive Laser Replacement, Pry up the grille: 步骤 9 中的图像 2,3 PlayStation 5 Optical Drive Laser Replacement, Pry up the grille: 步骤 9 中的图像 3,3
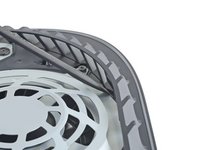
    • Insert the flat end of a spudger underneath the grille and into the gap above the fan.

    • Lift up with the spudger to pry the grille away from the case.

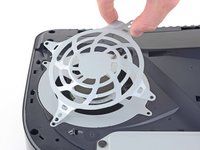
  10. PlayStation 5 Optical Drive Laser Replacement, Remove the grille: 步骤 10 中的图像 1,2 PlayStation 5 Optical Drive Laser Replacement, Remove the grille: 步骤 10 中的图像 2,2
    • Lift the grille away from the case to remove it.

  11. PlayStation 5 Optical Drive Laser Replacement, Remove the fan shroud screws: 步骤 11 中的图像 1,1
    在这个步骤中使用的工具:
    Magnetic Project Mat
    $19.95
    购买
    • Use a TR8 Torx security driver to remove the four screws securing the fan shroud to the case:

    • Two 23.3 mm-long screws

    • One 11.4 mm-long screw

    • One 31 mm-long screw

    • Throughout this repair, keep track of each screw and make sure it goes back exactly where it came from to avoid damaging your console.

  12. PlayStation 5 Optical Drive Laser Replacement, Remove the fan shroud: 步骤 12 中的图像 1,2 PlayStation 5 Optical Drive Laser Replacement, Remove the fan shroud: 步骤 12 中的图像 2,2
    • Lift the fan shroud straight up to remove it.

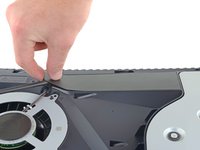
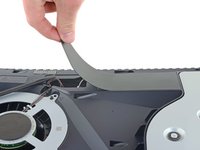
  13. PlayStation 5 Optical Drive Laser Replacement, Remove the wire cover: 步骤 13 中的图像 1,3 PlayStation 5 Optical Drive Laser Replacement, Remove the wire cover: 步骤 13 中的图像 2,3 PlayStation 5 Optical Drive Laser Replacement, Remove the wire cover: 步骤 13 中的图像 3,3
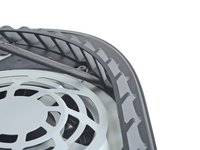
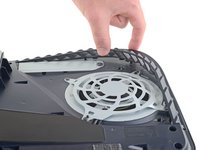
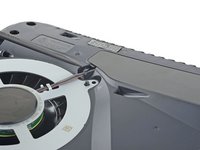
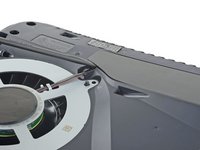
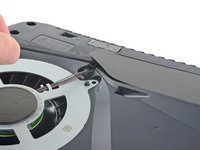
    • Insert the flat end of a spudger beneath the black wire cover and into the gap above the fan wires.

    • Pry only on the wire cover, not on the fan wires themselves.

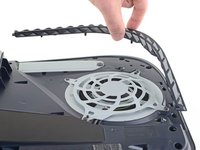
    • Use the spudger to peel up the wire cover until you can grip it with your fingers.

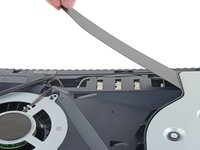
  14. PlayStation 5 Optical Drive Laser Replacement: 步骤 14 中的图像 1,3 PlayStation 5 Optical Drive Laser Replacement: 步骤 14 中的图像 2,3 PlayStation 5 Optical Drive Laser Replacement: 步骤 14 中的图像 3,3
    • Use your fingers to peel off the wire cover.

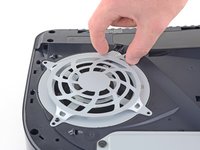
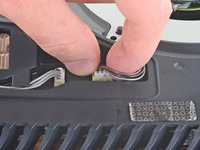
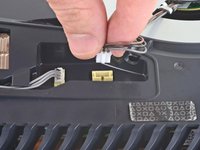
  15. PlayStation 5 Optical Drive Laser Replacement, Disconnect the fan: 步骤 15 中的图像 1,2 PlayStation 5 Optical Drive Laser Replacement, Disconnect the fan: 步骤 15 中的图像 2,2
    • Use your fingers to grip the edges of the fan cable connector, and pull up to disconnect it from the motherboard.

    • Always pull cables by their connectors and not the wires themselves.

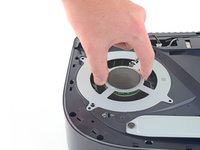
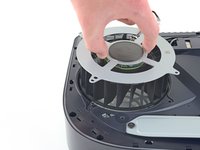
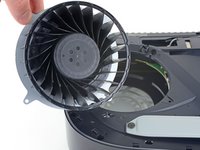
  16. PlayStation 5 Optical Drive Laser Replacement, Remove the fan: 步骤 16 中的图像 1,3 PlayStation 5 Optical Drive Laser Replacement, Remove the fan: 步骤 16 中的图像 2,3 PlayStation 5 Optical Drive Laser Replacement, Remove the fan: 步骤 16 中的图像 3,3
    • Lift the fan up and out of the case to remove it.

  17. PlayStation 5 Optical Drive Laser Replacement, Remove the SSD cover: 步骤 17 中的图像 1,1
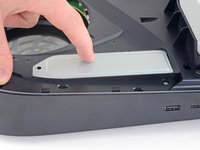
    • Use a Phillips screwdriver to remove the 17 mm-long SSD cover screw.

  18. PlayStation 5 Optical Drive Laser Replacement: 步骤 18 中的图像 1,3 PlayStation 5 Optical Drive Laser Replacement: 步骤 18 中的图像 2,3 PlayStation 5 Optical Drive Laser Replacement: 步骤 18 中的图像 3,3
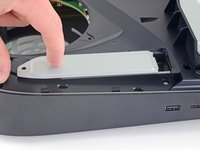
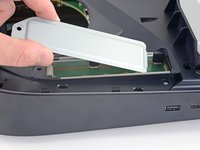
    • Use your finger to slide the SSD cover towards the top of the device to unclip it from the case.

    • Remove the SSD cover.

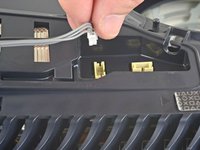
  19. PlayStation 5 Optical Drive Laser Replacement, Remove the optical drive wire: 步骤 19 中的图像 1,2 PlayStation 5 Optical Drive Laser Replacement, Remove the optical drive wire: 步骤 19 中的图像 2,2
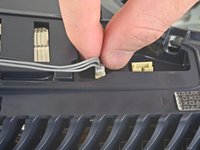
    • Use your fingers to grip the edges of the optical drive cable connector, and pull up to disconnect it from the motherboard.

    • Always pull cables by their connectors and not the wires themselves.

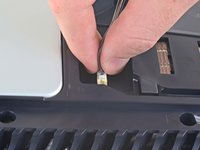
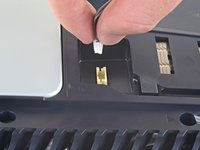
  20. PlayStation 5 Optical Drive Laser Replacement: 步骤 20 中的图像 1,2 PlayStation 5 Optical Drive Laser Replacement: 步骤 20 中的图像 2,2
    • Use your fingers to grip the edges of the optical drive cable connector, and pull up to disconnect it from the optical drive.

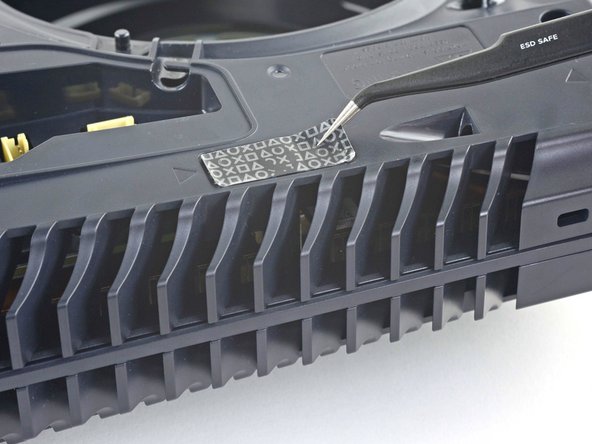
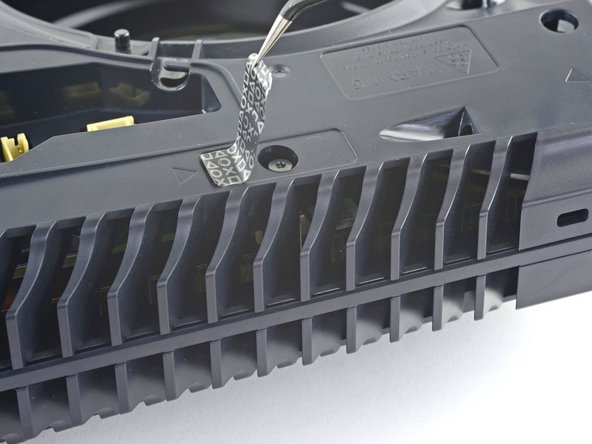
  21. PlayStation 5 Optical Drive Laser Replacement, Remove the tamper-evident sticker: 步骤 21 中的图像 1,3 PlayStation 5 Optical Drive Laser Replacement, Remove the tamper-evident sticker: 步骤 21 中的图像 2,3 PlayStation 5 Optical Drive Laser Replacement, Remove the tamper-evident sticker: 步骤 21 中的图像 3,3
    • Use a pair of tweezers to remove the tamper-evident sticker covering the remaining case screw.

    • If your PlayStation 5 hasn't been opened before, this sticker will be completely black. The pattern will appear after you remove it.

    • Technically, these are tamper-evident stickers—but don't worry—Sony can't legally void your warranty, as long as you don't damage anything. Have fun!

  22. PlayStation 5 Optical Drive Laser Replacement, Remove the case screws: 步骤 22 中的图像 1,1
    • Use a T8 Torx driver to remove the eleven screws securing the case:

    • Six 18.6 mm-long screws

    • Two 23.3 mm-long screws

    • Two 43.2 mm-long screws

    • One 7.3 mm-long screw

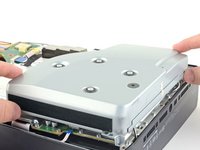
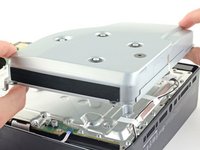
  23. PlayStation 5 Optical Drive Laser Replacement, Remove the case: 步骤 23 中的图像 1,2 PlayStation 5 Optical Drive Laser Replacement, Remove the case: 步骤 23 中的图像 2,2
    • Lift the case straight up to remove it.

  24. PlayStation 5 Optical Drive Laser Replacement, Remove the optical drive ribbon cable: 步骤 24 中的图像 1,3 PlayStation 5 Optical Drive Laser Replacement, Remove the optical drive ribbon cable: 步骤 24 中的图像 2,3 PlayStation 5 Optical Drive Laser Replacement, Remove the optical drive ribbon cable: 步骤 24 中的图像 3,3
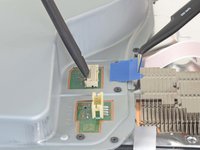
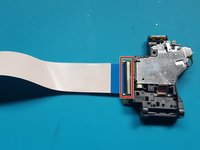
    • Use the flat end of a spudger to press down on the optical drive connector's metal locking tab.

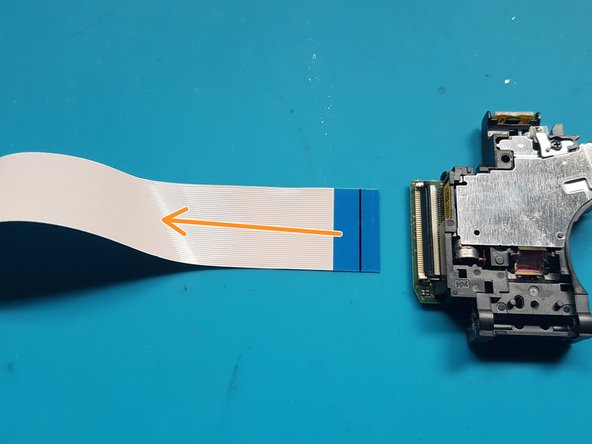
    • With the metal tab depressed, use a pair of tweezers to pull the blue pull tab directly away from the connector to disconnect the cable from the optical drive.

    • Pull only on the pull tab, not the cable itself.

  25. PlayStation 5 Optical Drive Laser Replacement, Remove the optical drive: 步骤 25 中的图像 1,2 PlayStation 5 Optical Drive Laser Replacement, Remove the optical drive: 步骤 25 中的图像 2,2
    • Lift the optical drive away from the device to remove it.

  26. PlayStation 5 Optical Drive Laser Replacement, Remove screws from top cover: 步骤 26 中的图像 1,1
    • silver screws: 4x M1.6 X 3.7mm, with 6.5mm head.

    • black screws: 9x M1.6 x 3.8mm.

    • Remove screws with Phillips #1 screwdriver.

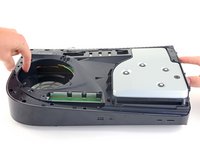
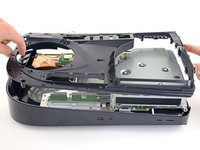
  27. PlayStation 5 Optical Drive Laser Replacement, Remove top cover: 步骤 27 中的图像 1,2 PlayStation 5 Optical Drive Laser Replacement, Remove top cover: 步骤 27 中的图像 2,2
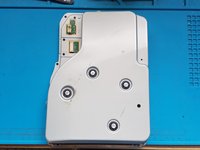
    • Lift off the top cover.

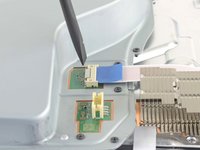
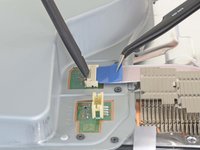
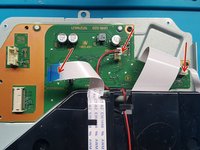
  28. PlayStation 5 Optical Drive Laser Replacement, disconnect FFC cables and 2 wire lead: 步骤 28 中的图像 1,3 PlayStation 5 Optical Drive Laser Replacement, disconnect FFC cables and 2 wire lead: 步骤 28 中的图像 2,3 PlayStation 5 Optical Drive Laser Replacement, disconnect FFC cables and 2 wire lead: 步骤 28 中的图像 3,3
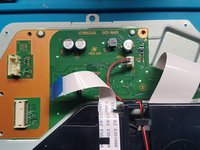
    • Gently pull the medium and narrow FFC flexes and the 2-wire lead from their sockets. Suitable tweezers (bent with points or straight blunt end) can be used to aid removal.

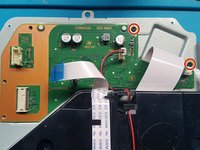
  29. PlayStation 5 Optical Drive Laser Replacement, Remove screws from the PCB.: 步骤 29 中的图像 1,2 PlayStation 5 Optical Drive Laser Replacement, Remove screws from the PCB.: 步骤 29 中的图像 2,2
    • Remove screws with Phillips #1 screwdriver.

    • black screws: 2x M1.6 x 3.8mm

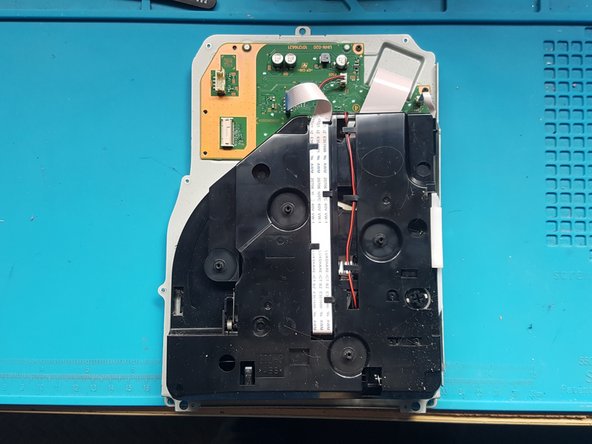
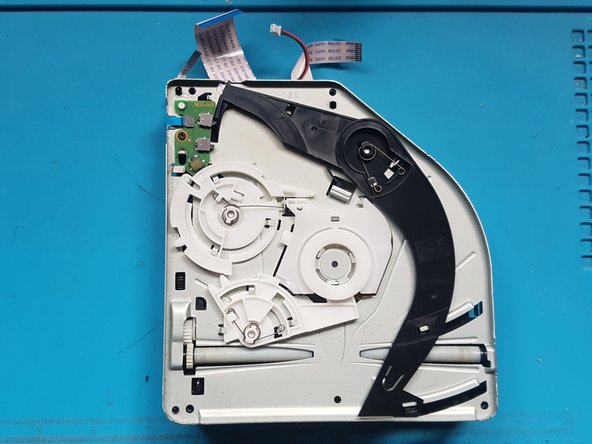
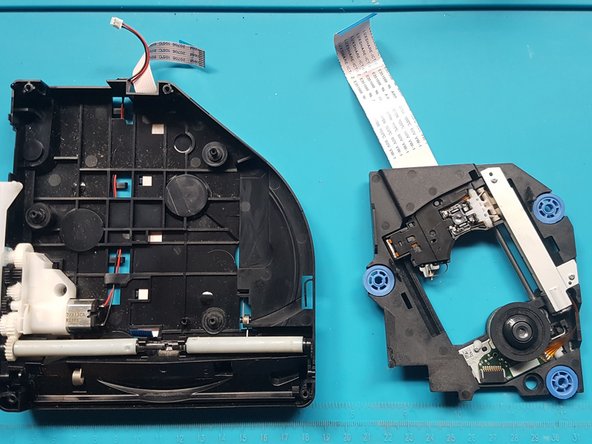
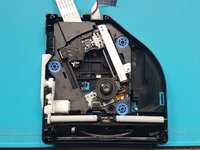
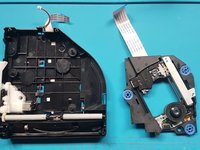
  30. PlayStation 5 Optical Drive Laser Replacement, Remove base plate: 步骤 30 中的图像 1,1
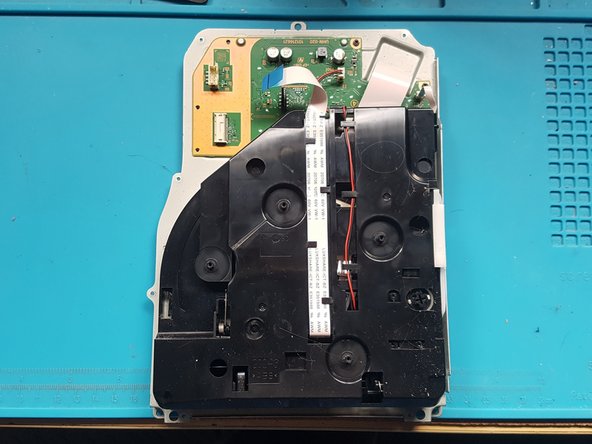
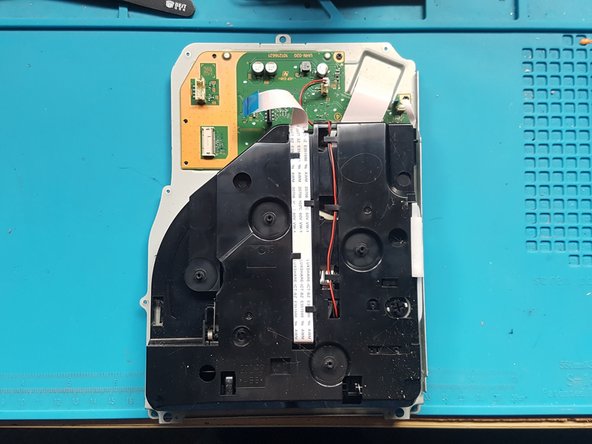
    • Lift off the PCB and attached assembly from the metal plate.

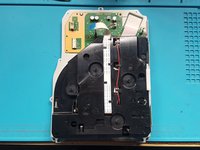
  31. PlayStation 5 Optical Drive Laser Replacement, Flip over: 步骤 31 中的图像 1,1
    • Turn over the PCB and attached assembly.

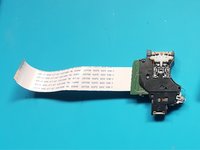
  32. PlayStation 5 Optical Drive Laser Replacement, Disconnect FFC cable and remove the PCB.: 步骤 32 中的图像 1,2 PlayStation 5 Optical Drive Laser Replacement, Disconnect FFC cable and remove the PCB.: 步骤 32 中的图像 2,2
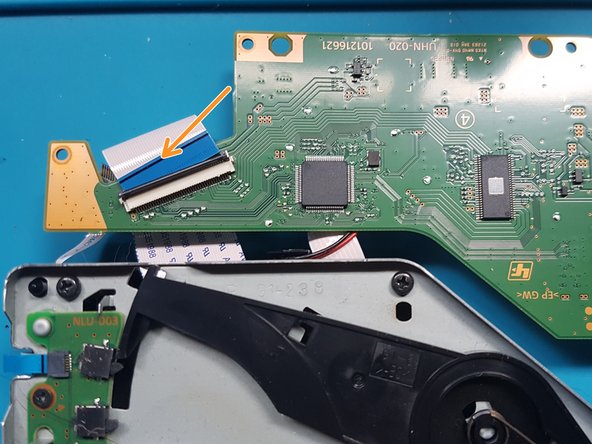
    • Unlatch the wide FFC socket.

    • Gently remove the wide FFC cable from the socket and set aside the PCB.

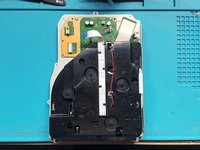
  33. PlayStation 5 Optical Drive Laser Replacement, flip over the assembly: 步骤 33 中的图像 1,1
    • Flip over the assembly.

  34. PlayStation 5 Optical Drive Laser Replacement, Remove the screws from mechanism plate: 步骤 34 中的图像 1,2 PlayStation 5 Optical Drive Laser Replacement, Remove the screws from mechanism plate: 步骤 34 中的图像 2,2
    • Use a Phillips #1 screwdriver to remove the screws.

    • black screws: 4x M1.6 x 3.8mm.

  35. PlayStation 5 Optical Drive Laser Replacement, Remove the mechanism plate: 步骤 35 中的图像 1,3 PlayStation 5 Optical Drive Laser Replacement, Remove the mechanism plate: 步骤 35 中的图像 2,3 PlayStation 5 Optical Drive Laser Replacement, Remove the mechanism plate: 步骤 35 中的图像 3,3
    • Remove the mechanism plate and set aside.

  36. PlayStation 5 Optical Drive Laser Replacement, Remove the FFC cable from laser deck: 步骤 36 中的图像 1,3 PlayStation 5 Optical Drive Laser Replacement, Remove the FFC cable from laser deck: 步骤 36 中的图像 2,3 PlayStation 5 Optical Drive Laser Replacement, Remove the FFC cable from laser deck: 步骤 36 中的图像 3,3
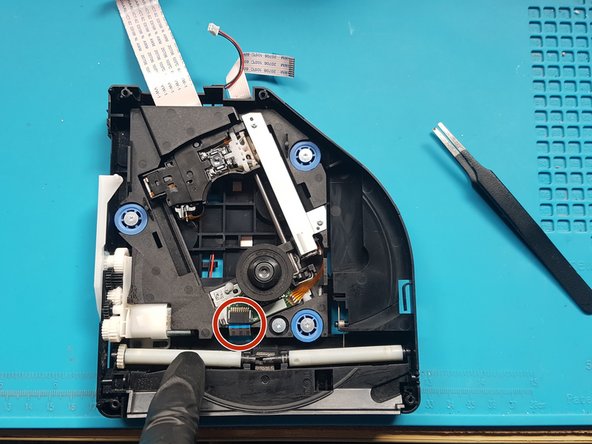
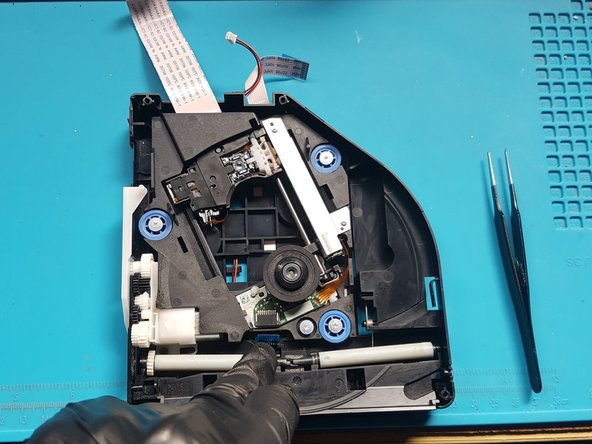
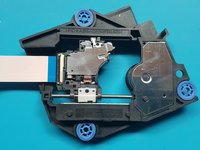
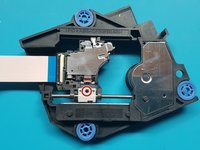
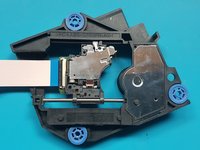
    • Push down on the roller mech and remove the FFC cable from laser deck (near roller mech).

    • Blunt end straight tweezers can be used to aide removal of the FFC flex. To remove the flex from the socket, pull the flex towards the rollers.

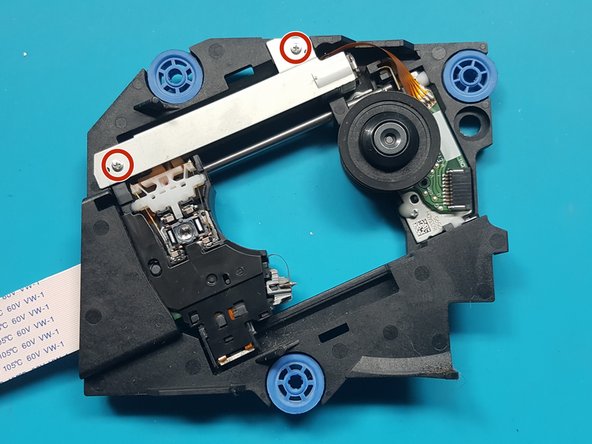
  37. PlayStation 5 Optical Drive Laser Replacement, Remove the screws holding the laser deck: 步骤 37 中的图像 1,2 PlayStation 5 Optical Drive Laser Replacement, Remove the screws holding the laser deck: 步骤 37 中的图像 2,2
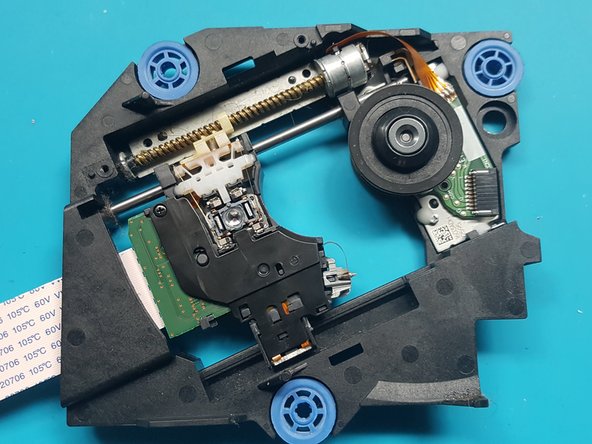
    • Remove the screws using a Phillips #1 screw driver.

    • silver screws: 4x M1.6 X 3.7mm 6.5mm head

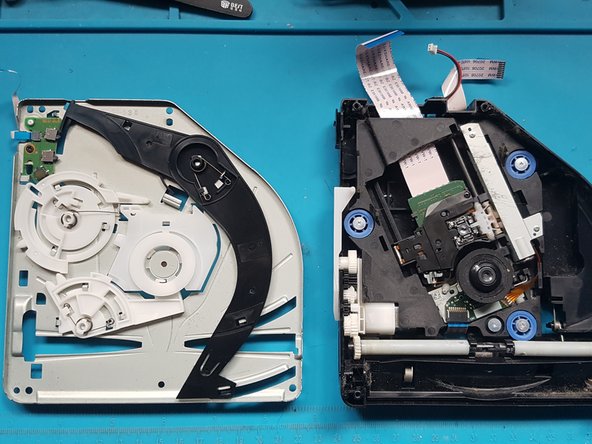
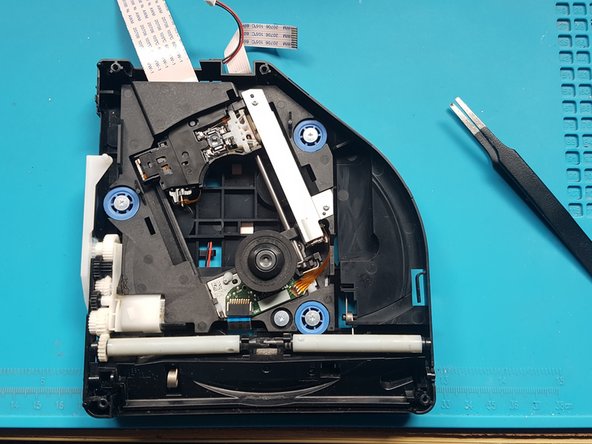
  38. PlayStation 5 Optical Drive Laser Replacement, Remove the laser deck: 步骤 38 中的图像 1,2 PlayStation 5 Optical Drive Laser Replacement, Remove the laser deck: 步骤 38 中的图像 2,2
    • Remove the laser deck.

  39. PlayStation 5 Optical Drive Laser Replacement, Remove the screws from metal plate over laser motor: 步骤 39 中的图像 1,2 PlayStation 5 Optical Drive Laser Replacement, Remove the screws from metal plate over laser motor: 步骤 39 中的图像 2,2
    • Remove the screws from metal plate over laser motor.

    • Use a Phillips PH0 screwdriver to remove the screws.

    • silver screws: 2x M1.7 X 3.8mm

  40. PlayStation 5 Optical Drive Laser Replacement, Remove the metal plate over the laser motor: 步骤 40 中的图像 1,2 PlayStation 5 Optical Drive Laser Replacement, Remove the metal plate over the laser motor: 步骤 40 中的图像 2,2
    • Remove the metal plate covering the laser motor.

  41. PlayStation 5 Optical Drive Laser Replacement, Remove the screws holding the laser motor to the drive deck: 步骤 41 中的图像 1,2 PlayStation 5 Optical Drive Laser Replacement, Remove the screws holding the laser motor to the drive deck: 步骤 41 中的图像 2,2
    • Remove the screws holding the laser motor to the drive deck.

    • Use a Phillips PH0 screwdriver to remove the screws.

    • silver screws: 2x M1.7 X 3.8mm

  42. PlayStation 5 Optical Drive Laser Replacement, Flip over and remove the screw from the white plastic bracket.: 步骤 42 中的图像 1,3 PlayStation 5 Optical Drive Laser Replacement, Flip over and remove the screw from the white plastic bracket.: 步骤 42 中的图像 2,3 PlayStation 5 Optical Drive Laser Replacement, Flip over and remove the screw from the white plastic bracket.: 步骤 42 中的图像 3,3
    • flip over and remove a single black screw from white plastic bracket.

    • Note: laser motor will be loose, so be careful when you flip over the deck for the next step.

    • Remove the screw with a Phillips PH0 screwdriver.

    • black screw: 1x M1.4 x 3.9mm

    • Remove the white bracket and set aside.

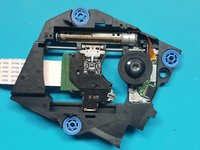
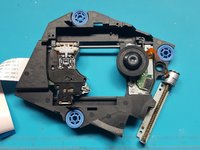
  43. PlayStation 5 Optical Drive Laser Replacement, Flip over the laser deck and move the laser motor to the side: 步骤 43 中的图像 1,2 PlayStation 5 Optical Drive Laser Replacement, Flip over the laser deck and move the laser motor to the side: 步骤 43 中的图像 2,2
    • Flip over the laser deck and move the laser motor to the side

  44. PlayStation 5 Optical Drive Laser Replacement, Remove the rod retention clip.: 步骤 44 中的图像 1,3 PlayStation 5 Optical Drive Laser Replacement, Remove the rod retention clip.: 步骤 44 中的图像 2,3 PlayStation 5 Optical Drive Laser Replacement, Remove the rod retention clip.: 步骤 44 中的图像 3,3
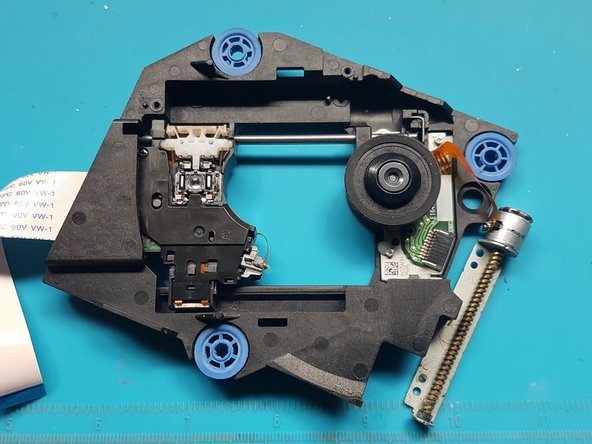
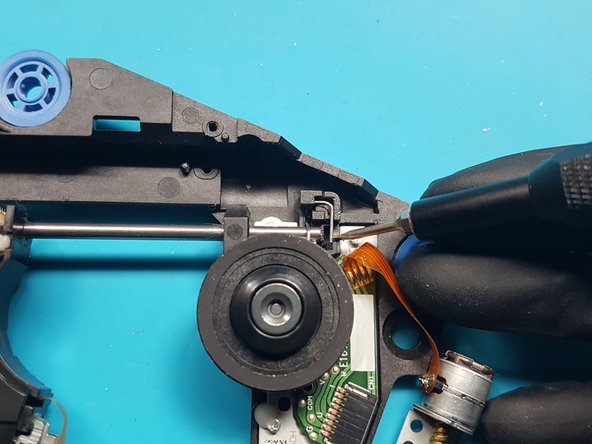
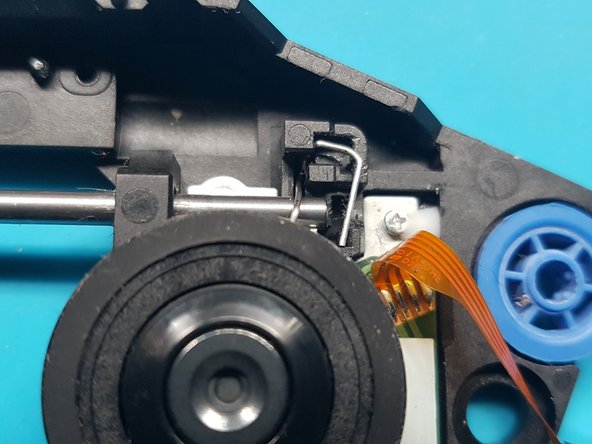
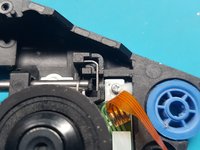
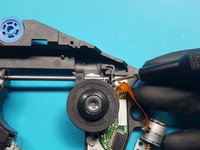
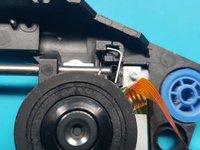
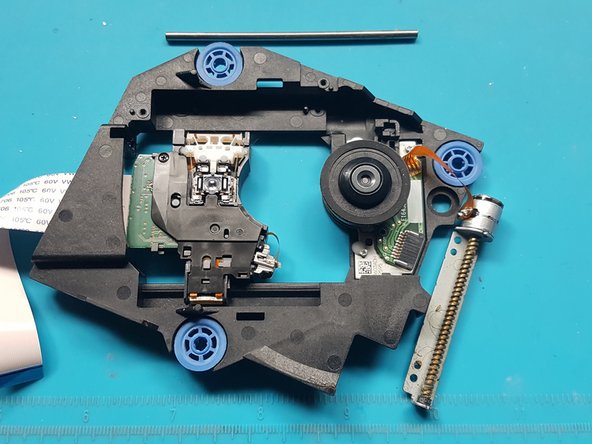
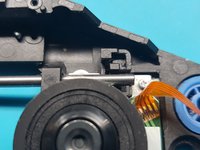
    • remove the clip that stops the rod from being removed.

    • a) Use a 1.5mm slotted screwdriver to push the lower end of the clip to the left, to unhook it from the retaining hook.

    • b) The clip should pop up.

    • c) lift out the clip.

  45. PlayStation 5 Optical Drive Laser Replacement, Slide out the rod from the laser module.: 步骤 45 中的图像 1,3 PlayStation 5 Optical Drive Laser Replacement, Slide out the rod from the laser module.: 步骤 45 中的图像 2,3 PlayStation 5 Optical Drive Laser Replacement, Slide out the rod from the laser module.: 步骤 45 中的图像 3,3
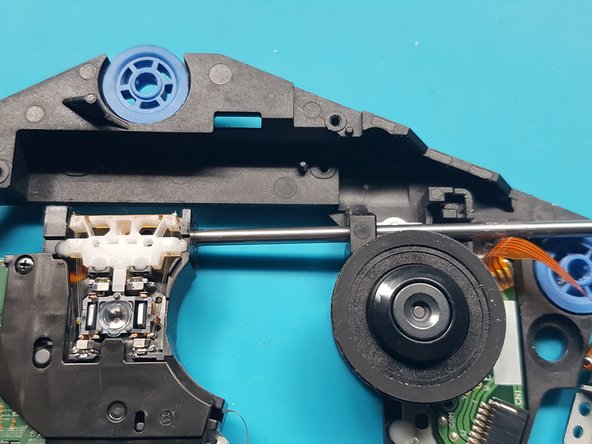
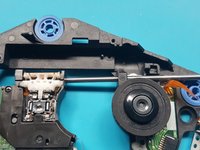
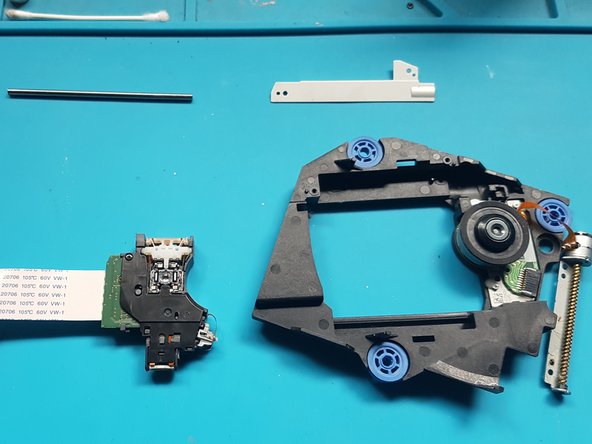
    • slide out the rod from the laser module.

  46. PlayStation 5 Optical Drive Laser Replacement, Remove the laser module: 步骤 46 中的图像 1,2 PlayStation 5 Optical Drive Laser Replacement, Remove the laser module: 步骤 46 中的图像 2,2
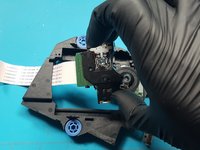
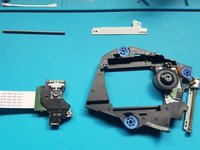
    • Remove the laser module

  47. PlayStation 5 Optical Drive Laser Replacement, Flip over the laser module: 步骤 47 中的图像 1,2 PlayStation 5 Optical Drive Laser Replacement, Flip over the laser module: 步骤 47 中的图像 2,2
    • Flip over the laser module.

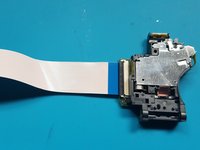
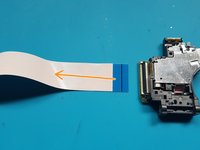
  48. PlayStation 5 Optical Drive Laser Replacement, unlatch the FFC connector and remove the FFC flex from the laser.: 步骤 48 中的图像 1,2 PlayStation 5 Optical Drive Laser Replacement, unlatch the FFC connector and remove the FFC flex from the laser.: 步骤 48 中的图像 2,2
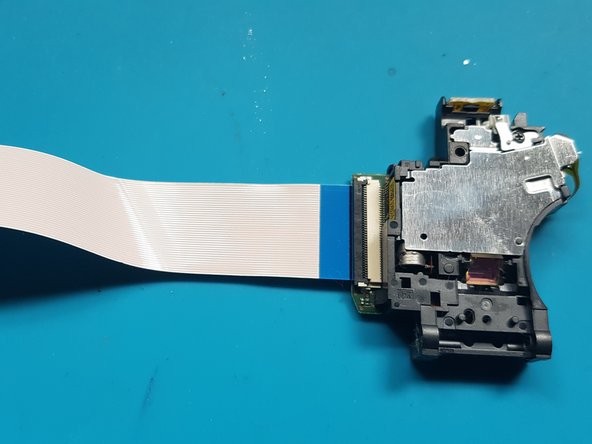
    • unlatch the FFC connector.

    • Remove the FFC flex from the laser.

结论

To reassemble your device, follow these instructions in reverse order.

Take your e-waste to an R2 or e-Stewards certified recycler.
Repair didn’t go as planned? Try some basic troubleshooting, or ask our PlayStation 5 Answers community for help.

5等其他人完成本指南。

David Fear

于06/10/17注册

390 声望

撰写一个指南

一条评论

Danke für die tolle und ausführliche Anleitung!

Discs werden wieder gelesen *freu*

Jan Bäumler - 回复

添加评论

浏览统计数据:

过去 24 小时: 22

过去 7 天: 151

过去 30 天: 821

总计 9,977