简介
The guide will show users how to remove the laser lens of the PlayStation 3 Super Slim. By showing the removal of the correct screws and cables, the guide will be able to give users the ability to remove their optical drive from its enclosure. After removing the optical drive, The user will open up the optical drive to be able to remove the laser lens. This allows for the replacement of a component of the PlayStation 3 Super Slim that reads the Blu-Ray discs.
你所需要的
-
-
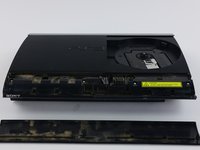
Remove the side HDD bay cover by sliding the panel towards the back of the device.
-
-
-
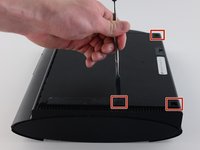
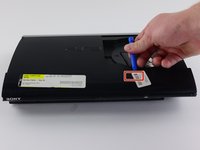
On the top of the device, unlatch the hook on the furthest right beneath the front panel, lift the panel slightly and apply pressure.
-
Unlatch the second right-side hook by sliding a plastic opening tool in the marked area.
-
Slide the panel to the left to unlatch the rest of the hooks.
-
-
-
-
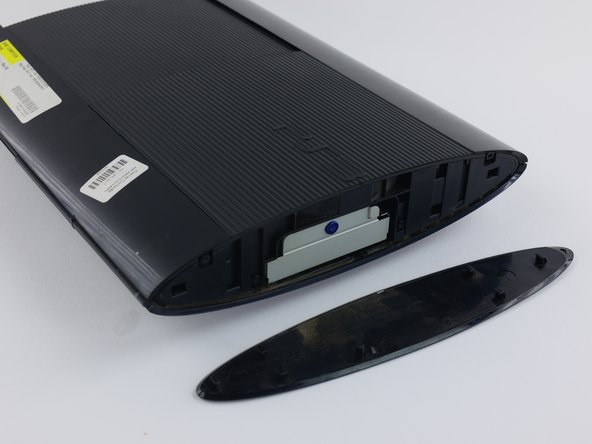
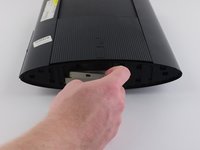
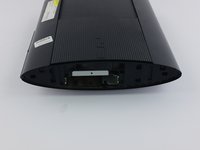
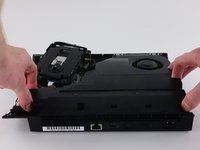
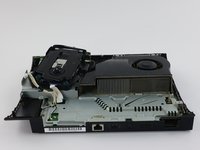
Remove the back panel by pressing down the tab on the right side of the device, and sliding the panel to the left.
This tip and photo made me break this panel lmao there's a button top right of the disk tray you're supposed to push that not a "tab on the right side of the device" the mechanism to unlock the panel safely is in the top right of the inside of the disk tray
You cannot really even see the bottom in this photograph but it is clearly visible in step seven please before trying to remove this panel look at step seven to see the button I have described lol
-
-
-
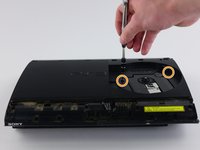
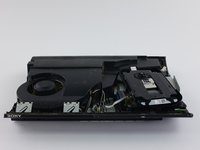
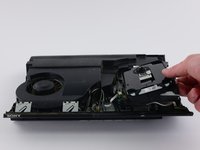
Move the optical drive to the side to reveal one of the silver 8.8mm long screws.
-
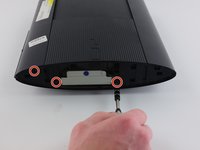
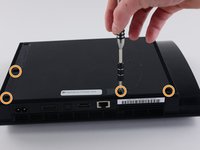
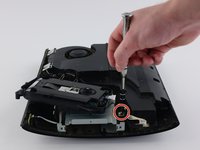
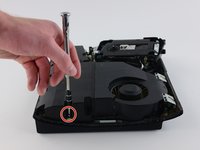
Remove the two silver 8.8mm long screws on either side with a Phillips #1 screwdriver.
be careful, the fiber-optic cables come out easily and are a pain to put back in
-
-
-
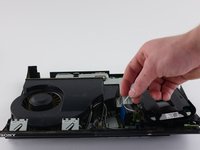
Remove the cable from the plug and remove the wires from the two plastic hooks.
-
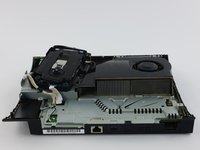
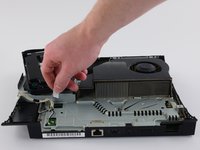
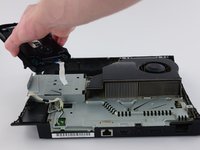
Remove the power supply unit.
The left side of the PSU sits on two long metal prongs so you may need to pull a little to get it lose but you should be able to pull the whole unit in an upward motion
-
-
-
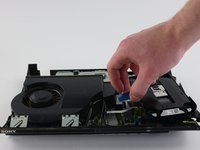
Remove the front white flex-ribbon cable by pulling upward from its base.
-
Remove the black and blue flex-ribbon cable behind it by pulling upward on the black tab, then pulling out the cable.
-
-
-
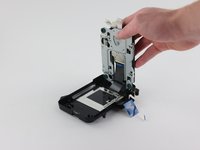
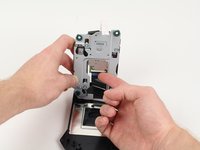
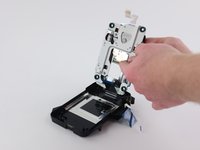
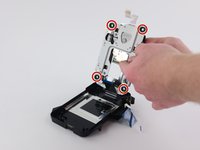
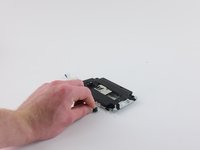
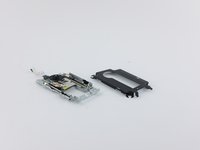
Lift up the free end of the laser lens to separate the two layers.
-
On the bottom of the laser lens, flip up the black plastic latch to remove the flex ribbon cable.
-
To reassemble your device, follow these instructions in reverse order.
To reassemble your device, follow these instructions in reverse order.
8等其他人完成本指南。
6条评论
so i did follow this to a tee and not only does the laser not want to work but it keeps makeing this buzzing sound whenever the disk tray is closed
is there something i might be doing wrong
like the video,
Where is the parts purchased from?
Thanks Joe
Laser is KEM-850a. You can order them from ebay. gamesunlimited and ep game supply are good stores. You can also order these from groupvertical.com or sourcleyplus.com
I am replacing the optical drive in my console. But didn't note where the drive ribbon was positioned!? Every video I have found, they just pop right in...my original and replacement drives, have larger receptacles than the ribbon it self. There are at least 5 pins, that don't have (potentially) anything connecting them, to the ribbon. I don't want to randomly place the ribbon in one of the possible (7?) positions and fry something in the process...so where do I connect the smaller ribbon?!
Necesito elflex del lazer del ps3 eslim la ke esta enesta fotodesu publicacion est@ y t@mbien el flex delmotorcito que gira el disco























Just wanted to add: the HDD bay cover isn't on the right all the time, it varies with each unit. The side without the rubber PS logo is the bay cover.
Yash - 回复
I just wanted to add that the above is not correct either
My PS3 Super Slim Mdel No. CECH-4004A has the removable PS logo rubber seal on the left side while the HDD is housed behind the right side (with no rubber PS logo seal)
Eoin - 回复
My p3 just went off it goes on but then it just shut down
Chadley Abrahams - 回复