跳转到主内容

OnHub Congestion-sensing Antenna Replacement

你所需要的

  1. OnHub Congestion-sensing Antenna Replacement, Speaker Grille: 步骤 1 中的图像 1,2 OnHub Congestion-sensing Antenna Replacement, Speaker Grille: 步骤 1 中的图像 2,2
    • Make sure the device is unplugged before proceeding with the disassembly.

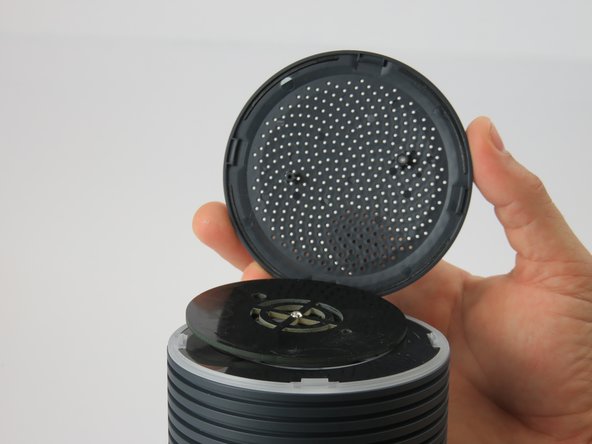
    • While holding the base firmly using the palm of one hand, remove the cowl (cover) by turning the cowl counterclockwise until a snap is heard. Once disengaged, pull upwards.

  2. OnHub Congestion-sensing Antenna Replacement: 步骤 2 中的图像 1,1
    • Place the plastic opening tool under the speaker grille, and just above the light ring.

    • Move the plastic opening tool around the groove while applying upward force to pry loose the 4 clips holding the grille in place.

  3. OnHub Congestion-sensing Antenna Replacement: 步骤 3 中的图像 1,2 OnHub Congestion-sensing Antenna Replacement: 步骤 3 中的图像 2,2
    • Using a metal spudger, carefully remove the congestion-sensor antenna by undoing the two clips.

    • There is a delicate wire connection to the antenna that is easily broken if not careful.

  4. OnHub Congestion-sensing Antenna Replacement, Congestion-sensing Antenna: 步骤 4 中的图像 1,2 OnHub Congestion-sensing Antenna Replacement, Congestion-sensing Antenna: 步骤 4 中的图像 2,2
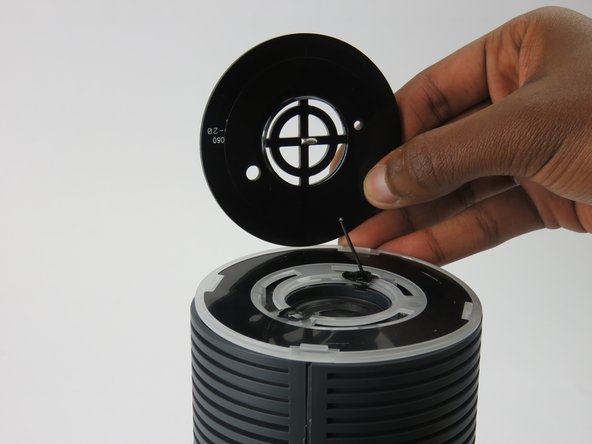
    • Remove the wire connection to the antenna by soldering it off.

    • For help with soldering and de-soldering check out the iFixit Soldering Guide

结论

To reassemble your device, follow these instructions in reverse order.

3等其他人完成本指南。

团队

USF Tampa, Team 3-3, Sullivan Spring 2016 USF Tampa, Team 3-3, Sullivan Spring 2016 的会员

USFT-SULLIVAN-S16S3G3

3 名成员

创作了10篇指南

0条评论

添加评论

浏览统计数据:

过去 24 小时: 0

过去 7 天: 5

过去 30 天: 8

总计 343