当前版本的文档还未经巡查,您可以查看最新的已查核版本。
你所需要的
-
-
这个步骤还没有翻译 帮忙翻译一下
-
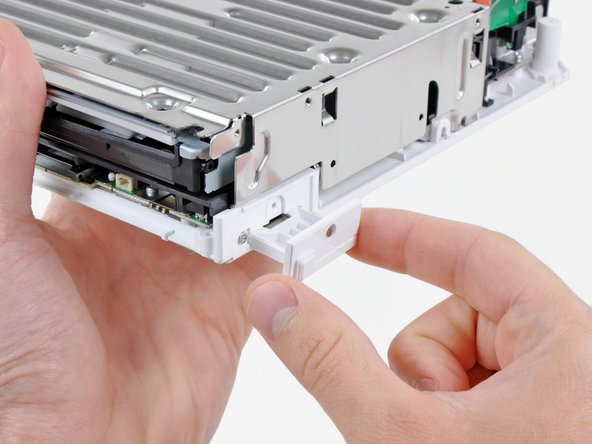
Remove the three 10 mm Phillips screws securing the black bracket to the bottom panel near the front of the Wii.
-
Slightly lift the bracket and use your other hand to pull the retaining clip away from where the Wi-Fi antennas enter the motherboard sheild.
-
Remove the bracket from the Wii.
-


40等其他人完成本指南。

5条评论
Any idea if there is a common issue effecting these motherboards that causes them to fail? Perhaps I'm wondering if there is a best-practice method for determining where and/or why my Wii's MB failed (circuit tracing, component testing, soldered fuses, etc.). Upon lengthy inspection, I am unable to find any components with the usually noticeable burn marks, leaky/exploded capacitors, discolored parts or similar visual cues telling me why this MB failed.
And as a side note, I've already testing this Wii's power supply and it's 100%.
Thoughts?
I just found this post about on-board fuses, but the other parts of my original question still apply.
Nintendo Wii Drive Board Fuse Replacement
If I determine it's a fuse-related issue, I'll post an update here.
Our WII unit was hit by a power surge…was not able to get it to work after that. Will motherboard replacement likely resolve most issues related to this?
Brian Walk - 回复
Thank you for these detailed instructions! I was able to replace my original 01 board with rev. 60 and it's working beautifully! Can't thank you enough!
Dan Melton - 回复