简介
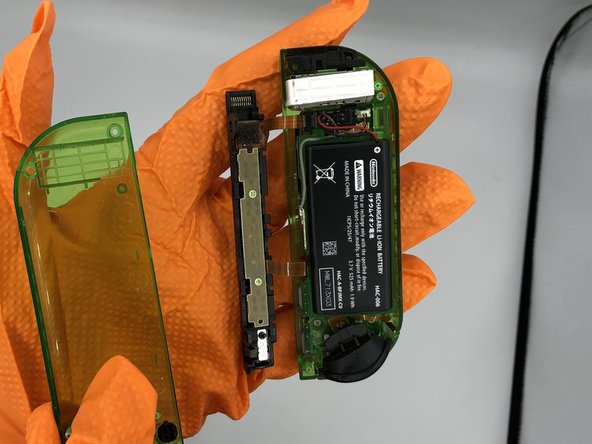
在频繁使用或者使用过猛后,任天堂Switch的Joy-Con外壳可能会磨损或破裂。这可能会暴露Joy-Con的内部电子设备,使它们面临进一步损坏的风险,但是, Joy-Con在没有替换外壳的情况下,还是可以继续使用。我们建议在你买新的 Joy-Con之前最好替换新的外壳。如果您想修复破损的外壳,请使用本指南更换 右 Joy-Con 外壳。
请注意,修复左 Joy-Con 的程序 是不同的。
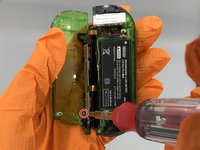
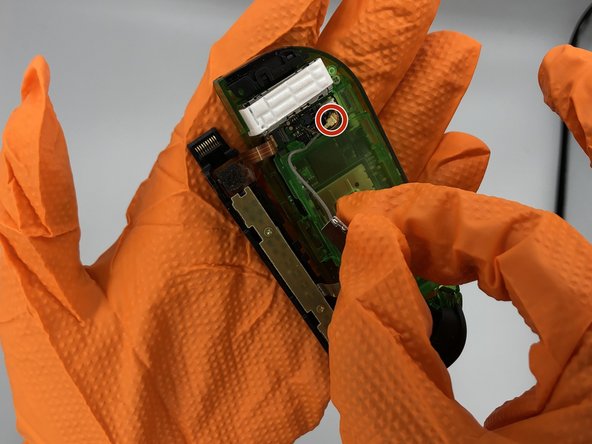
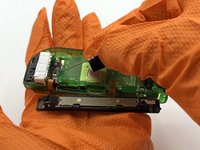
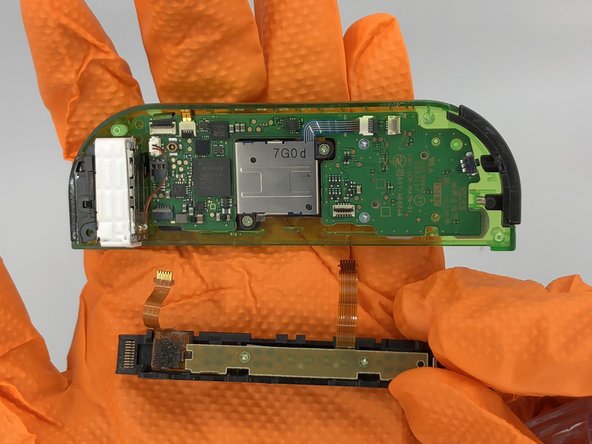
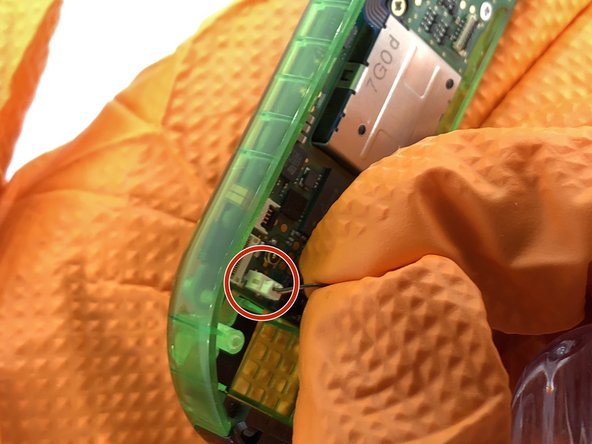
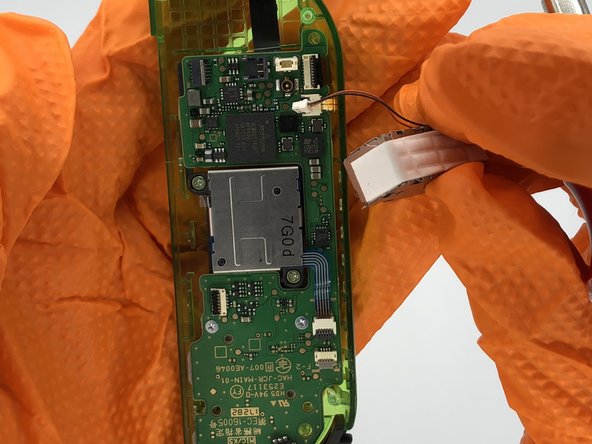
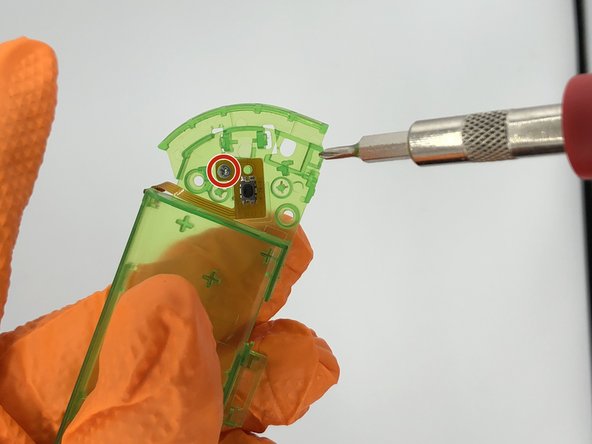
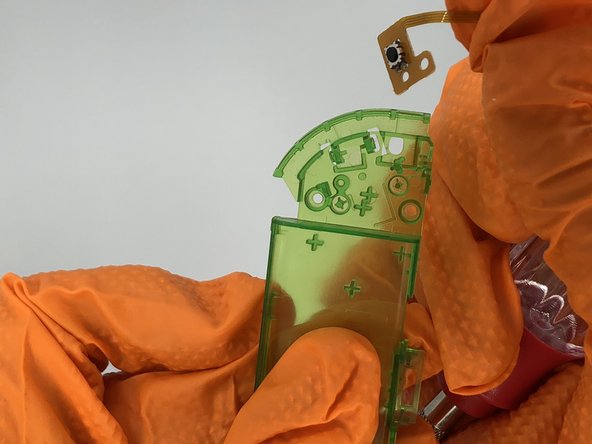
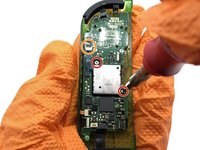
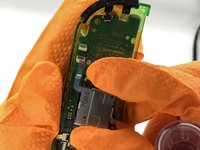
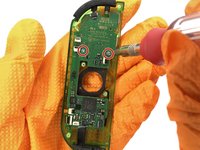
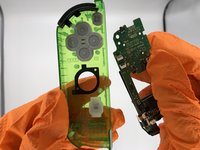
尽管更换Joy-Con外壳虽然更换 Joy-Con 外壳仅涉及螺丝拆卸和移动电子模块,但有些步骤仍需要精确地重新连接 小零件。
因为Joy-Con与主机系统是分开的,在更换Joy-Con外壳之前,你不需要关闭Switch
你所需要的


重新组装设备,请按指南相反的顺序进行操作。
68等其他人完成本指南。


团队

University of North Texas, Team S1-G8, Raign Spring 2020 University of North Texas, Team S1-G8, Raign Spring 2020 的会员
UNT-RAIGN-S20S1G8
2 名成员
创作了7篇指南
9指南评论
Not quite as thorough as the other Joy-con tear down but always a handy thing to have, going by the pictures it gave me all the information I needed personally concerning the screws, so I was able to strip the whole controller down and swap it into another shell. It is straight forward once you get in to it and have to give the author their much deserved credit for posting this up!
Very good detailed guide, only thing I would change is I’d probably take the rumble motor out right after of even before the battery. It’s pretty easy to remove, you can do it at anytime after opening, and it gets the wires out of the way to make other parts easier.
I am having difficulty removing the ribbon cable next to the rumble motor on step 7. It would be nice to have a photo of which way the clamp is expected to swing; I suspect I know the correct direction, but my tools are bending it instead.
In fact, this step is unnecessary unless you are replacing the buttons or rail case. The rail may remain attached if you are only replacing the front, back, and middle casing.
earthexe -