简介
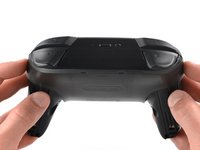
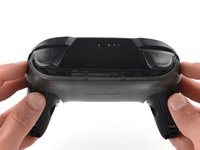
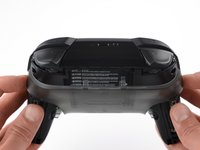
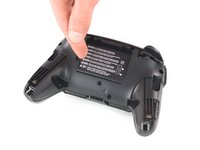
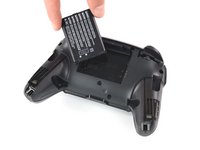
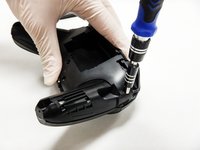
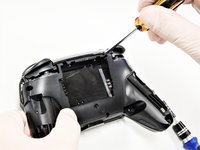
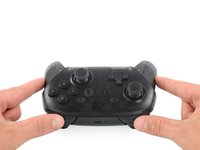
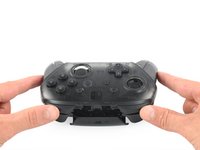
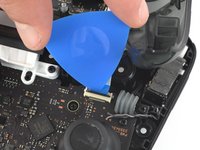
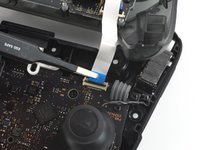
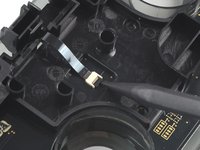
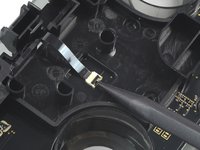
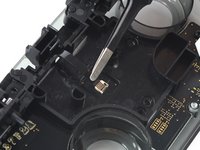
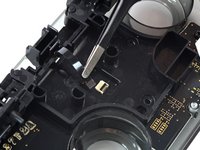
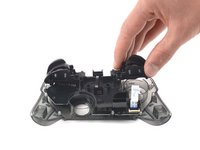
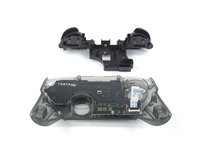
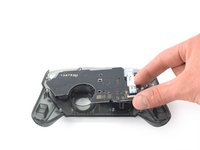
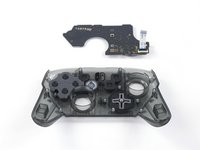
Nintendo Switch Pro 控制器上的正面按鈕應該是自由流動的,並且具有閃電般的快速反應時間。如果您的控制器沒有達到最高水平,那麼這意味著您將繼續輸掉遊戲。控制器必須是最好的,這樣您才能發揮您的最終潛力。如果您的正面按鈕黏滯、無回應或無法完全按下,請使用本指南移除和更換按鈕。本指南需要使用 Phillips #00 螺絲起子來拆卸螺絲。
你所需要的


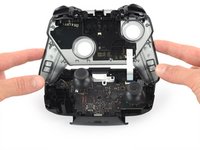


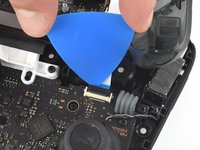


若要重新組裝您的設備,請以相反順序執行這些說明。
9等其他人完成本指南。


团队

Cal Poly, Team S11-G2, Regan Fall 2019 Cal Poly, Team S11-G2, Regan Fall 2019 的会员
CPSU-REGAN-F19S11G2
5 名成员
创作了45篇指南
4指南评论
I broke the locking tab on the ZIF connector what can I do?
I’ve been looking myself and can’t find any replacement button board to buy - just asking again if anyone knows how to find or where to buy one?
if anyone else is reading this article... I easily found a nice set of replacement buttons that fit well on zedlabz. they're made in china and they are good quality rigid plastic with pleasant texturizing so they are easy to grip and press. happy fixing!