简介
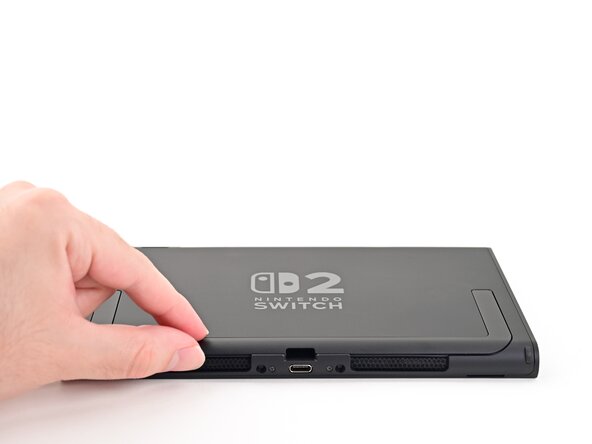
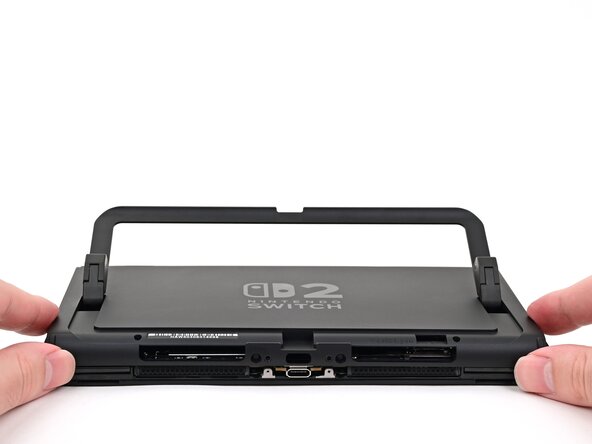
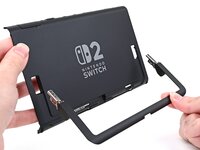
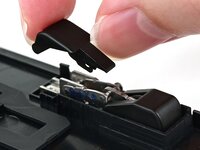
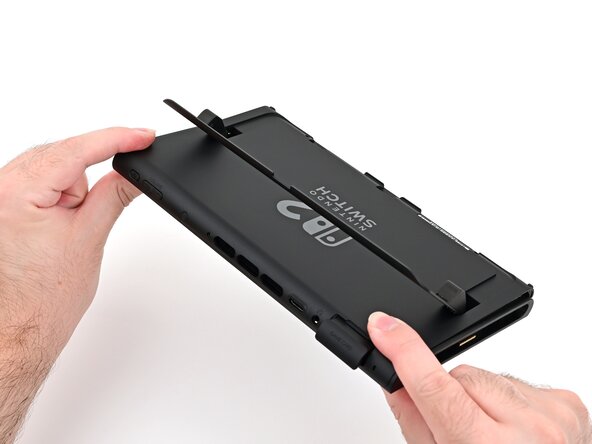
参照本指南,为 Nintendo Switch 2游戏主机更换支架。
如果替换部件上没有预先安装转轴,请改为参照此指南。
NS2 使用 JIS 螺丝。如果使用非 iFixit 十字螺丝刀,则可能在维修过程中损坏 JIS 螺丝。iFixit 十字螺丝刀专为兼容 JIS 螺丝而设计。
你所需要的
-
-
-
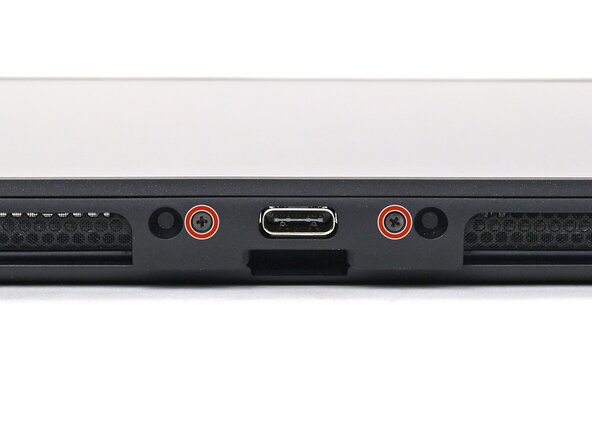
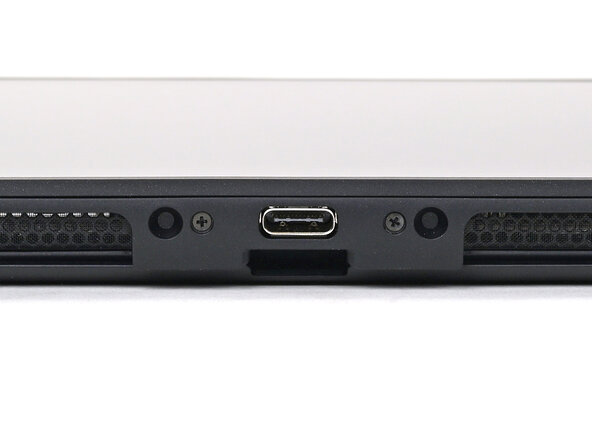
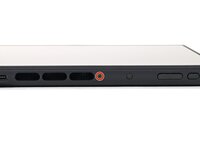
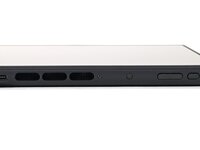
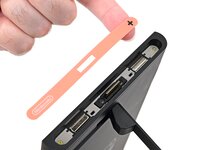
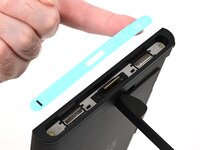
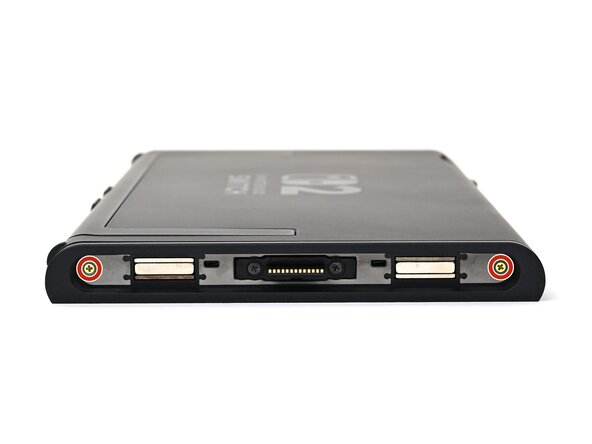
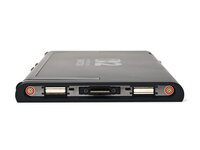
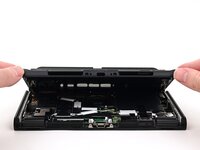
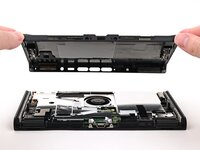
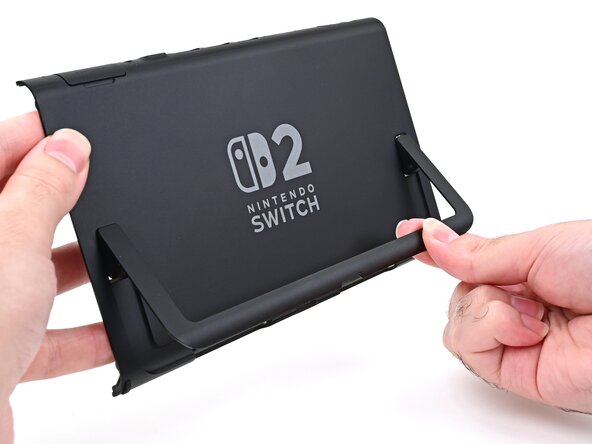
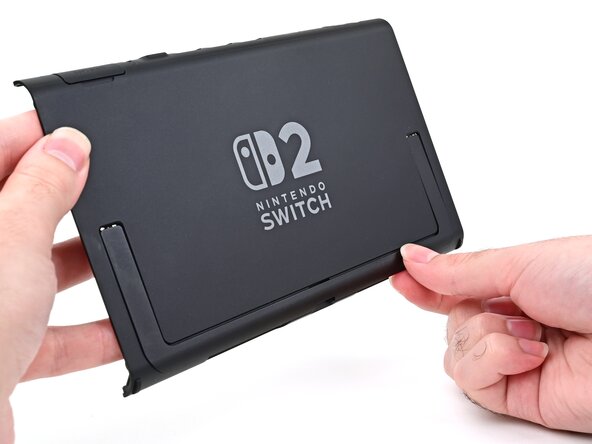
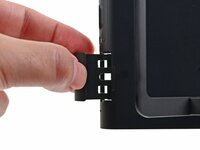
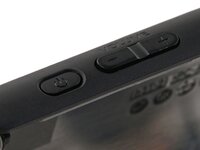
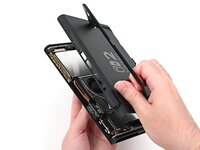
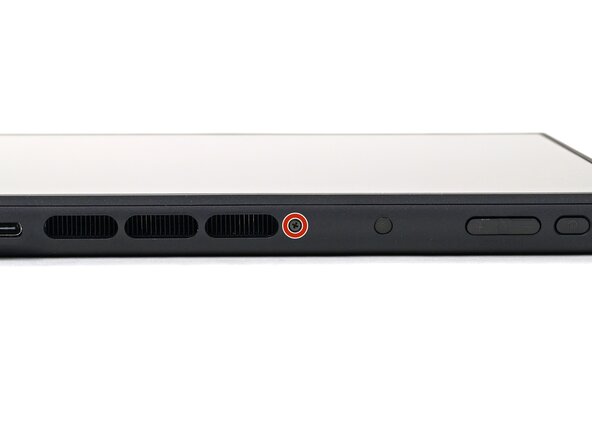
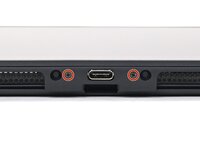
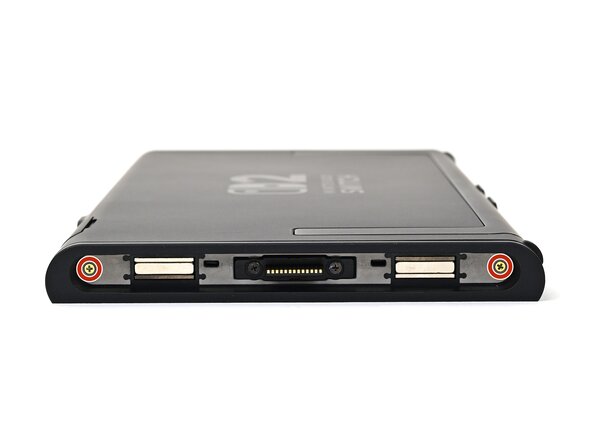
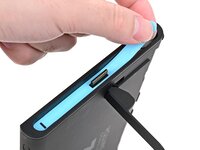
使用 JIS 00螺丝刀,安装固定后盖的3颗3.1毫米长螺丝:1颗位于机身顶部边缘,2颗位于机身底部的 USB-C 接口两侧。
-
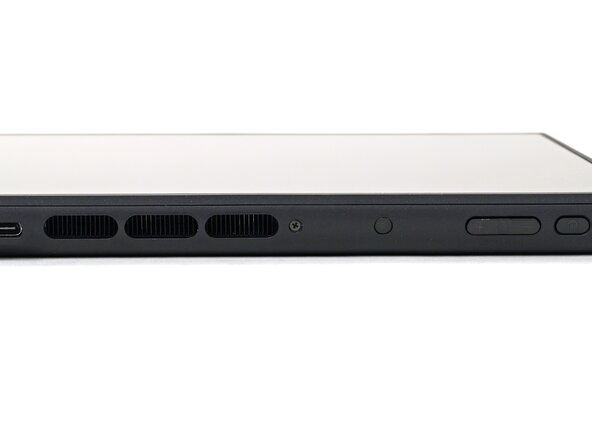
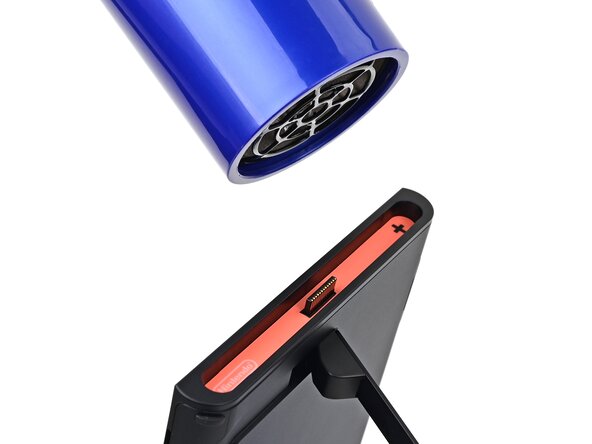
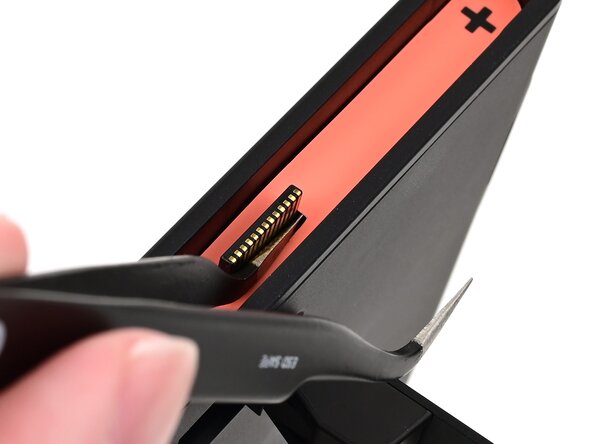
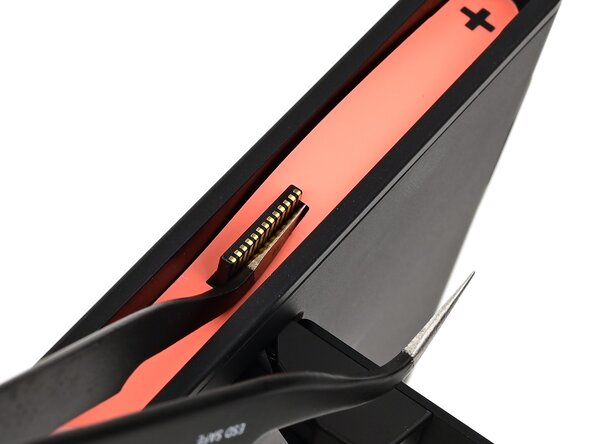
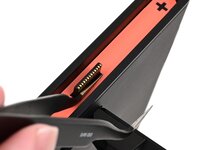
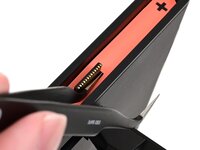
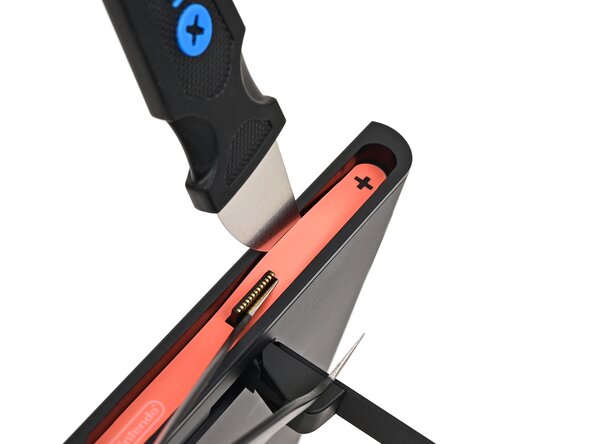
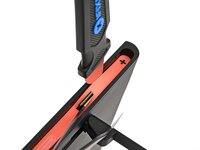
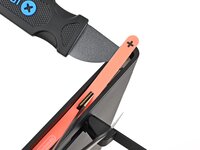
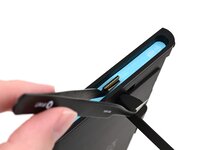
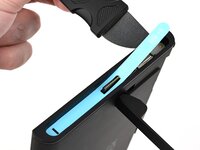
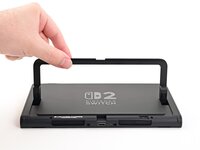
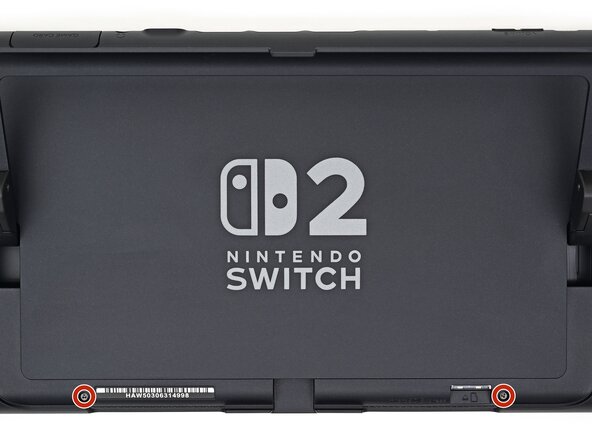
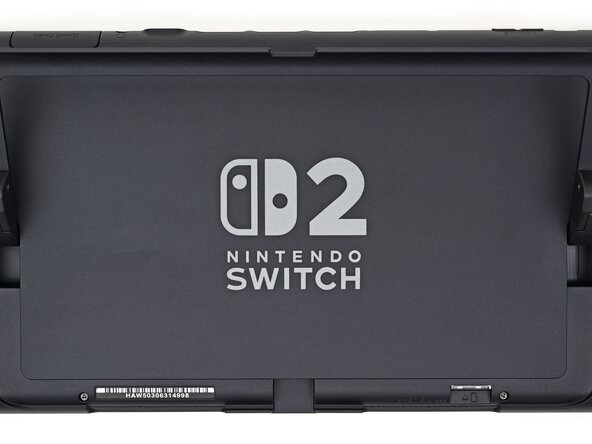
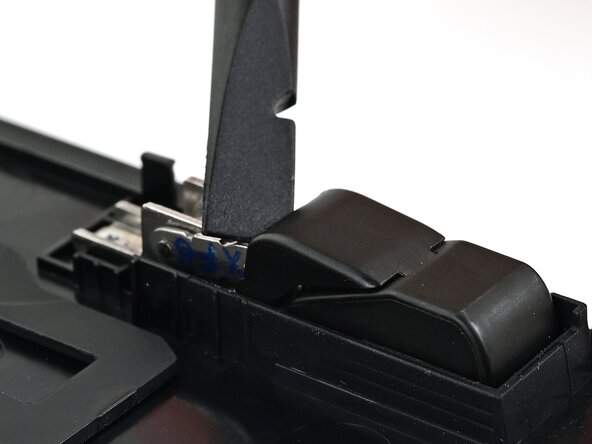
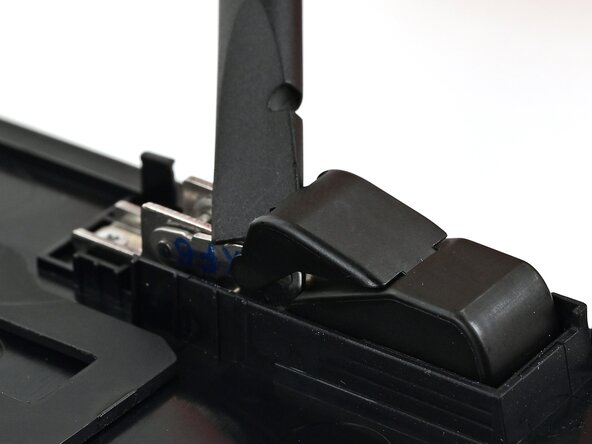
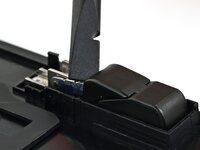
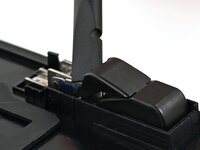
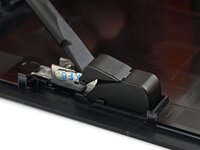
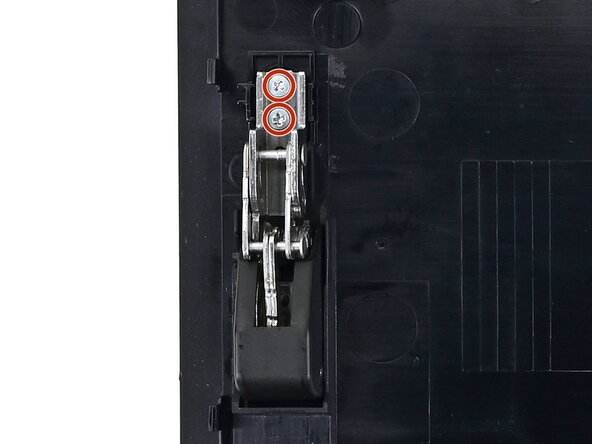
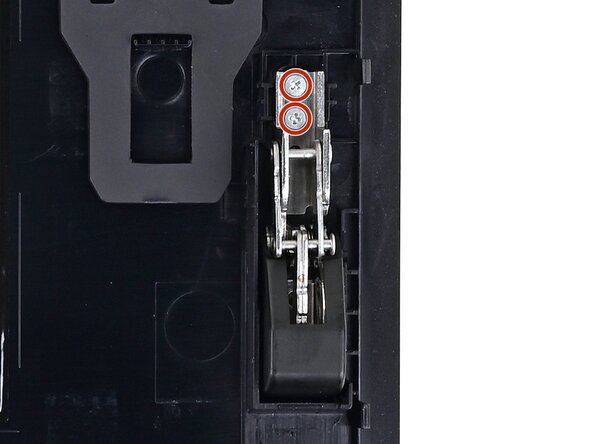
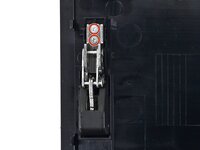
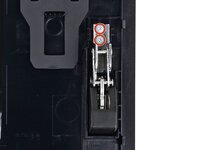
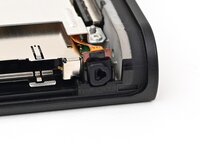
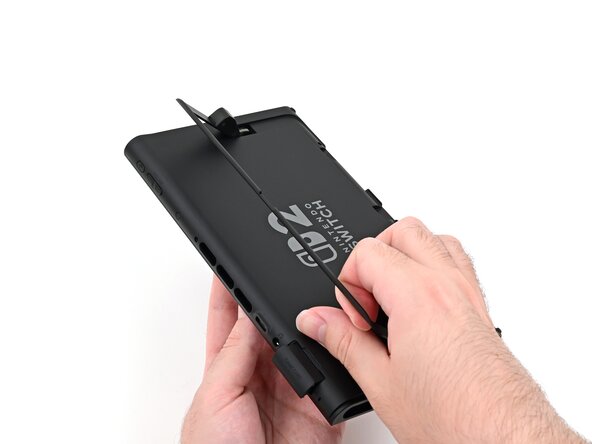
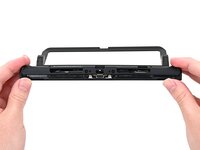
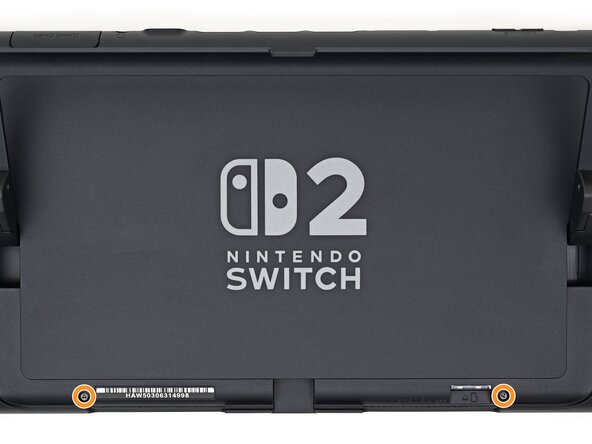
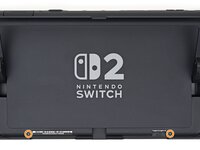
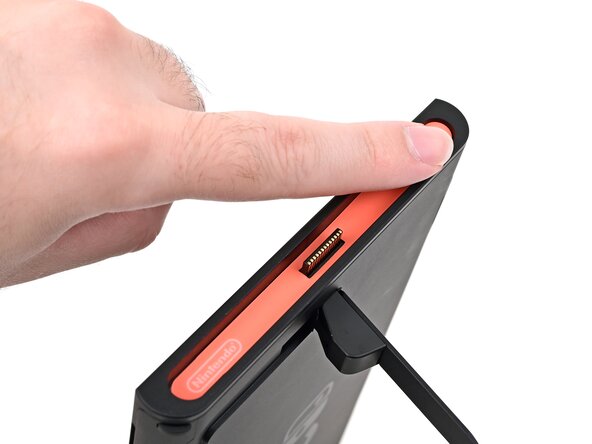
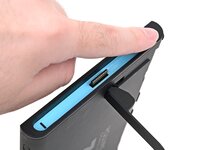
使用 Y00 螺丝刀,安装位于支架凹槽中的2颗4.4毫米长螺丝。
-


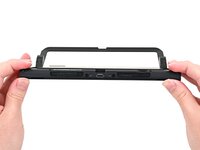


结论
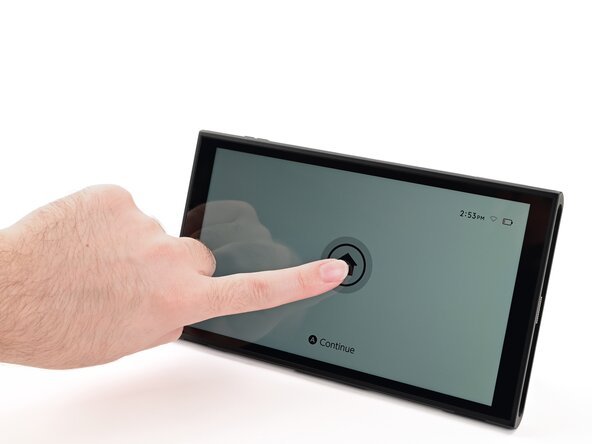
NS2 已经修好了!
请将维修过程中产生的电子废弃物携带至R2 或 e-Stewards 认证回收点。
维修过程中遇到意外情况?尝试以下基础疑难解答方法,或前往 iFixit Nintendo Switch 2 问答社区提问寻求帮助。

