简介
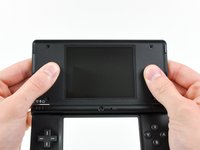
This guide will walk you through replacing the upper LCD on your DSi.
你所需要的
-
-
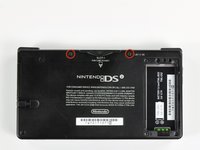
Unscrew the two Phillips screws securing the battery cover to the lower case.
-
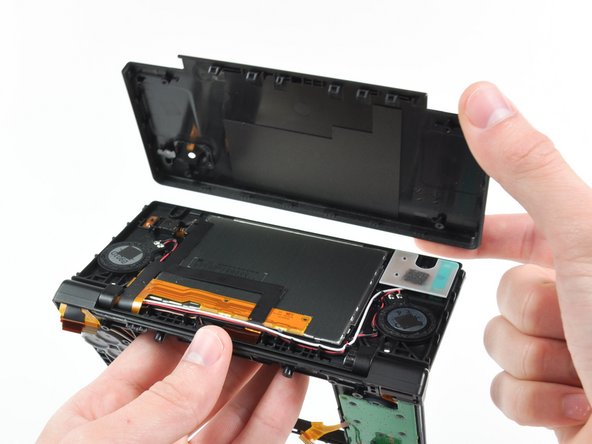
Grasp the battery cover and lift it out of the lower case.
-
-
-
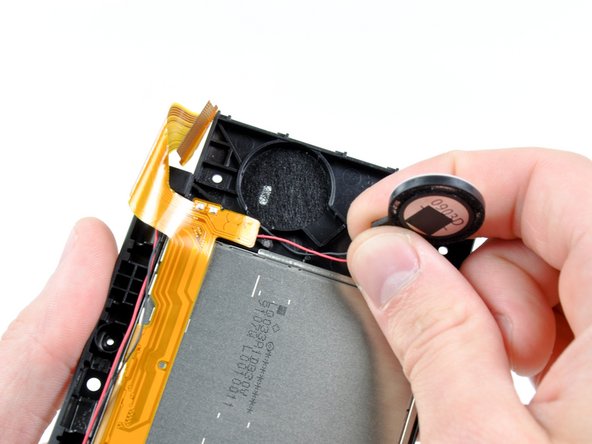
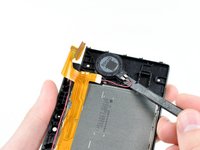
Using a spudger tool (or your fingernail), lift up the battery from the top.
-
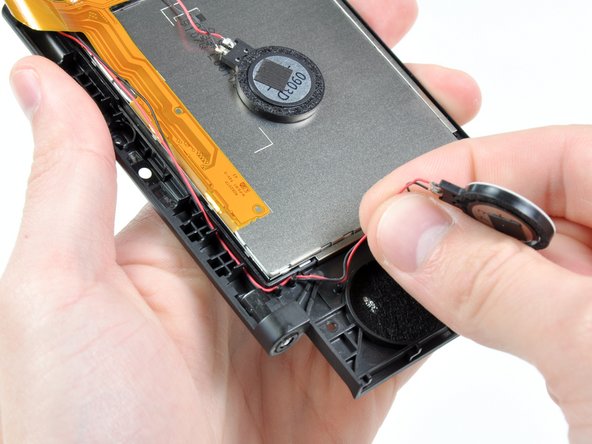
Grasp the battery and remove it from the DSi.
-
-
-
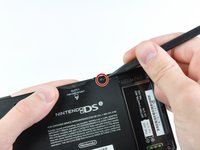
Two screws are hidden underneath two rubber feet highlighted in red.
-
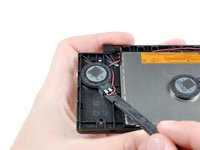
Use the tip of a spudger to pry the rubber feet out of the lower case.
-
-
-
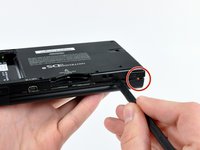
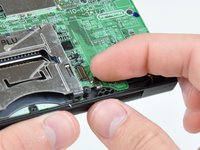
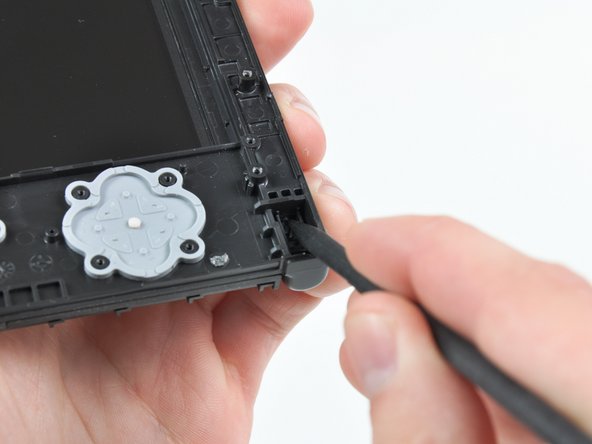
Insert the spudger in between the lower casing and lower panel near the top right corner of the DSi.
-
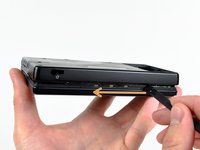
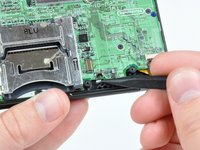
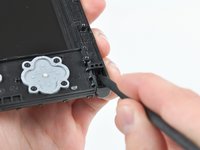
Carefully run the spudger along the edge of the outer casing, creating an opening between the body and the casing.
-
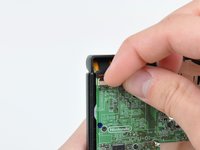
Continue running the spudger around the body of the DSi until the majority of the lower case has been separated.
-
-
-
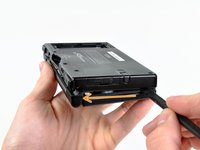
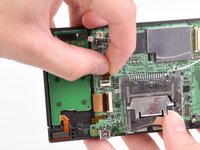
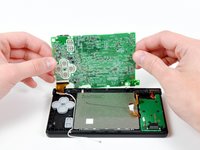
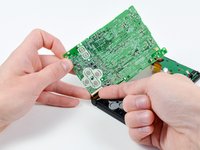
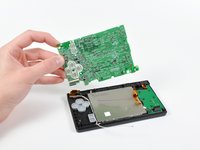
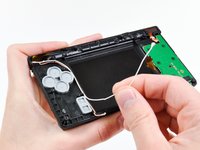
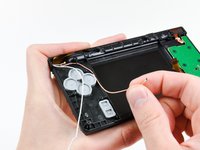
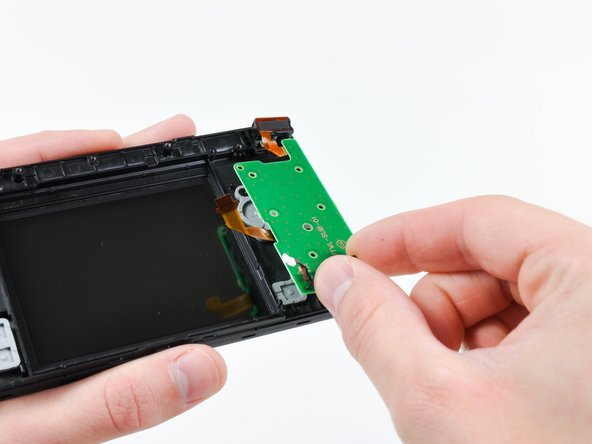
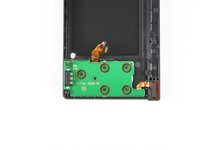
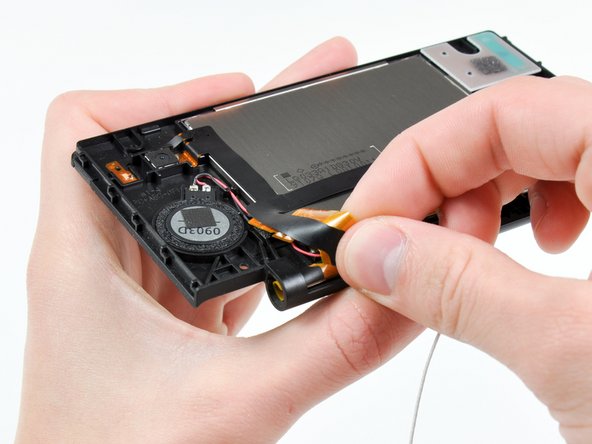
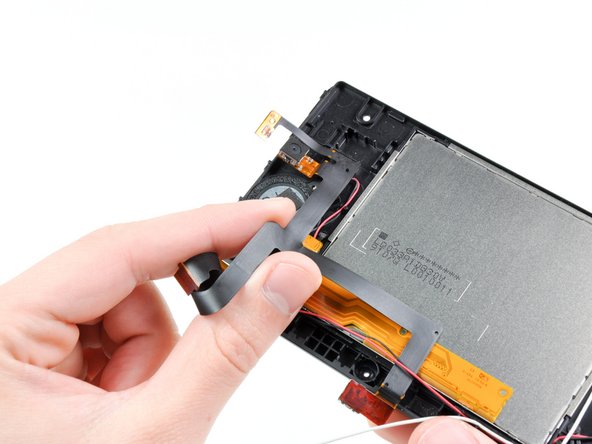
Pull the Wi-Fi board away from the motherboard by its edge closest to the headphone jack.
-
-
-
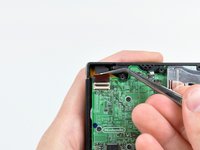
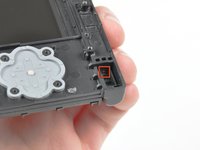
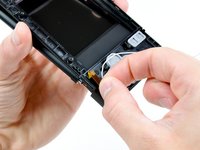
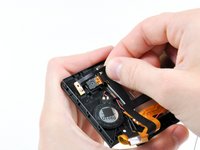
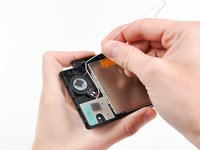
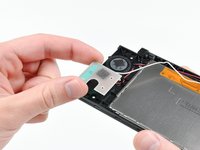
Use the tip of a spudger to pry the power board connector out of its socket on the motherboard.
-
-
在这个步骤中使用的工具:Tweezers$4.99
-
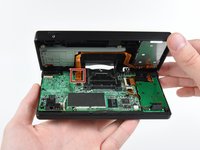
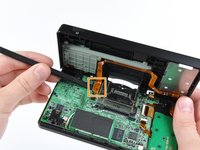
Use your fingernail or the edge of a plastic opening tool to flip up the retaining flap on the following three ZIF sockets:
-
Lower touchscreen cable
-
Lower LCD cable
-
Power board cable
-
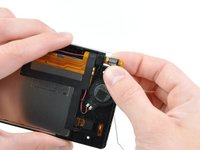
After flipping up the locking tabs on all three sockets, use your fingers or a pair of tweezers to gently pull the cables straight out of their sockets.
-
-
-
-
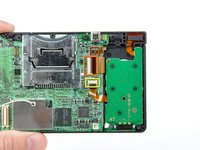
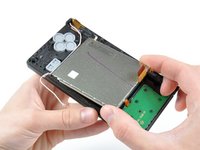
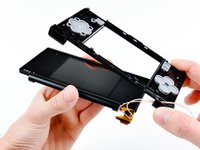
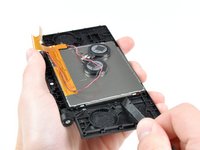
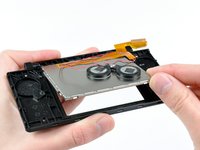
Use the tip of a spudger to pry the metal backing of the lower LCD up from the DSi's framework.
-
Lift the lower LCD assembly out of the DSi.
-
-
-
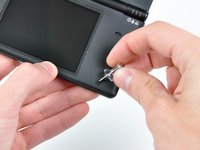
Use a pushpin to remove the four plastic screw covers on the front bezel.
-


To reassemble your device, follow these instructions in reverse order.
To reassemble your device, follow these instructions in reverse order.
32等其他人完成本指南。

14条评论
The tricky part is getting the upper screen and black ribbon through the hinge. I found that curling them and pushing them through a drinking straw that was cut short first and then pushing the straw through the hinge hole made it a whole lot easier.
So true. I just broke my second ribbon cable while replacing the case. While most repairs on the dsi are relatively easy, this ribbon cable makes any repairs that involve it a nightmare.
I curled the larger (new) cable the same way the smaller one was already curled. Just spend some time doing that until it was shaped that way and it was a lot easier to get both through the molded tube and ring.
Tplan -
While doing this I accident messed something up. When I power on the DSi, the bottom screen just flashes and the DS turns off. What did I do wrong?