跳转到主内容

Motorola syn1654A Microphone Replacement

你所需要的

  1. Motorola syn1654A Microphone Replacement, Microphone: 步骤 1 中的图像 1,2 Motorola syn1654A Microphone Replacement, Microphone: 步骤 1 中的图像 2,2
    • Remove star head screw from above base of the microphone with T6 Torx Screwdriver.

    • To prevent stripping, use an appropriate bit and ensure screwdriver is oriented perpendicular to the face of the screw.

  2. Motorola syn1654A Microphone Replacement: 步骤 2 中的图像 1,1
    • To expose the next screw, peel foam cover from the base toward the end of microphone.

    • Remove screw with screwdriver and place in a safe location.

  3. Motorola syn1654A Microphone Replacement: 步骤 3 中的图像 1,3 Motorola syn1654A Microphone Replacement: 步骤 3 中的图像 2,3 Motorola syn1654A Microphone Replacement: 步骤 3 中的图像 3,3
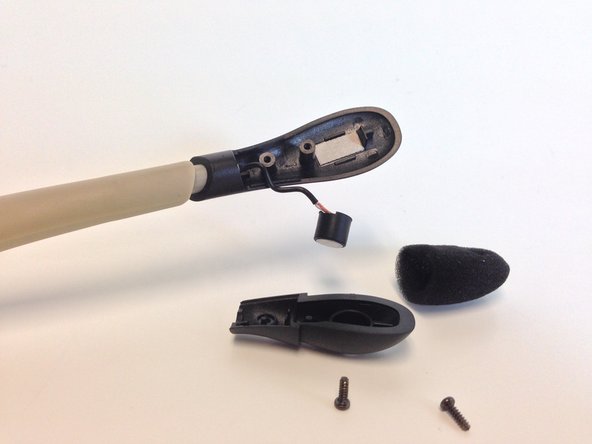
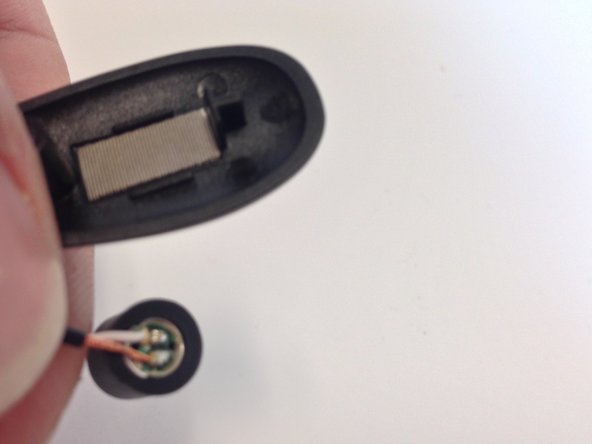
    • With Screws removed, remove the microphone from foam and plastic cover to be inspected.

    • If the microphone is corroded or wires are frayed, it must be replaced.

  4. Motorola syn1654A Microphone Replacement: 步骤 4 中的图像 1,1
    • Clip both wires to remove defective microphone.

    • Be sure to clip as close to the base of the microphone as possible in order to have enough wire for the new microphone.

    • Align wires with corresponding pads on new microphone and solder in place.

    • For soldering, see the Ifixit soldering guide: 如何焊接和拆焊

结论

To reassemble your device, follow these instructions in reverse order.

另外一个人完成了本指南。

John Ware

于02/24/14注册

325 声望

创作了2篇指南

团队

Michigan Tech, Team 5-1, Lauer Spring 2014 Michigan Tech, Team 5-1, Lauer Spring 2014 的会员

MTU-LAUER-S14S5G1

2 名成员

创作了3篇指南

0条评论

添加评论

浏览统计数据:

过去 24 小时: 0

过去 7 天: 0

过去 30 天: 0

总计 351