你所需要的
-
-
-
Use the T5 screw head to unscrew the 9 silver screws from the housing frame. Carefully separate the housing frame from the motherboard.
-


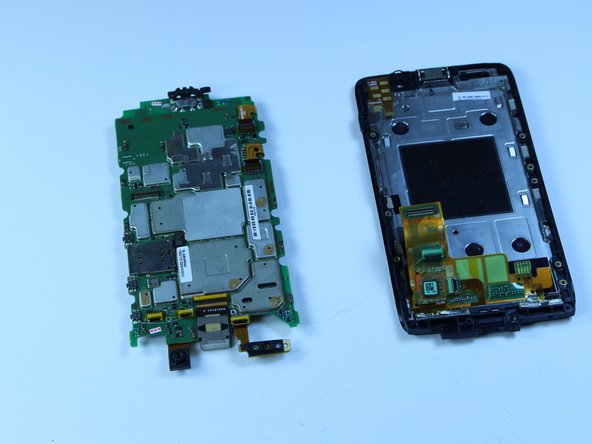

To reassemble your device, follow these instructions in reverse order.
To reassemble your device, follow these instructions in reverse order.
8等其他人完成本指南。
团队

USF Tampa, Team 9-2, Leahy Fall 2014 USF Tampa, Team 9-2, Leahy Fall 2014 的会员
USFT-LEAHY-F14S9G2
3 名成员
创作了5篇指南
4条评论
This guide is inaccurate in essentially every step.
A few examples:
1) there are 13 screws to remove the back housing
2) an additional 2 screws to remove the motherboard
3) fails to mention transferring power button and ear speaker
Just replaced a cracked screen on this model. This guide is pretty misleading. In addition to all the the things missing that the last commenter mentioned, it entirely fails to detail the most crucial part: replacing the screen. For which task you need a heat gun (hair dryer will do), metal spudger, replacement screen, and 1mm adhesive tape. I recommend this video to get a sense of what is actually involved: https://youtu.be/Q2tlwlHpZ04
I used the guide below to replace/re-attach the LCD and digitizer into the front frame. Sat the phone face down on a paper towel with books on it, while on a 3d printer bed heated to 80 degrees C, for total of about 20 minutes (IR thermometer measured screen/frame at around 65C). Will see how well this holds up…