跳转到主内容

Miele W4164 disassembly

你所需要的

  1. Miele W4164 disassembly, Miele W4164 disassembly: 步骤 1 中的图像 1,1
    • The detergent drawer is removed, push down the yellow lever to remove it completely.

  2. Miele W4164 disassembly: 步骤 2 中的图像 1,1
    • The lid has a small panel on both sides that can be levered out with a small screwdriver.

  3. Miele W4164 disassembly: 步骤 3 中的图像 1,1
    • There is a Tx20 screw under each of these covers, remove this.

  4. Miele W4164 disassembly: 步骤 4 中的图像 1,1
    • The cover can now be lifted at the front and then pushed back slightly. At the rear end it is only slightly hooked.

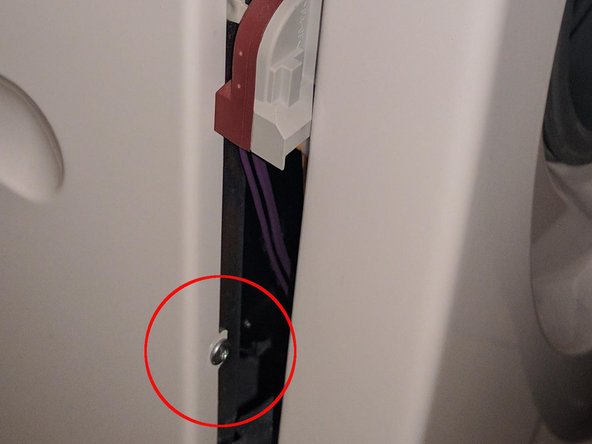
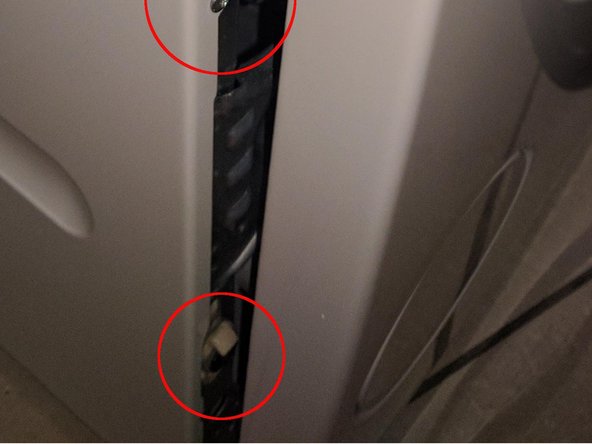
    • The left side panel has three clearly visible screws at the top and three at the back, all Tx20. These must be removed. Caution, the three screws above are only identical to the bottom screw at the back, the other two screws from the back are different.

    • Caution, the side panel cannot be removed yet, in this step only loosen the screws.

  5. Miele W4164 disassembly: 步骤 6 中的图像 1,1
    • Remove the two Tx20 screws from the door lock.

  6. Miele W4164 disassembly: 步骤 7 中的图像 1,1
    • Remove the Tx30 screw below the filler hole.

  7. Miele W4164 disassembly: 步骤 8 中的图像 1,1
    • Lift the cover of the control bar slightly from behind and remove it.

  8. Miele W4164 disassembly: 步骤 9 中的图像 1,1
    • The control panel is secured with one screw on the right side, remove this Tx20 screw.

    • Do not remove any other screws from here.

  9. Miele W4164 disassembly: 步骤 10 中的图像 1,2 Miele W4164 disassembly: 步骤 10 中的图像 2,2
    • The control unit is hooked into two places, one to the right of the detergent drawer and one to the far right.

    • Carefully loosen the unit there, it is still connected with cables, so place the unit carefully on the machine.

  10. Miele W4164 disassembly: 步骤 11 中的图像 1,2 Miele W4164 disassembly: 步骤 11 中的图像 2,2
    • The front is still attached with two Tx20 screws on the right and left, loosen them while holding the front so that it doesn't accidentally fall down and get damaged. The front has a small hold on the right screw through the metal bracket.

  11. Miele W4164 disassembly: 步骤 12 中的图像 1,1
    • The front front is hooked to small feet, lift slightly to release. Make sure that the damper rubber remains on the feet. The front is still connected to the machine via the rubber boot. Keep holding the front.

  12. Miele W4164 disassembly: 步骤 13 中的图像 1,3 Miele W4164 disassembly: 步骤 13 中的图像 2,3 Miele W4164 disassembly: 步骤 13 中的图像 3,3
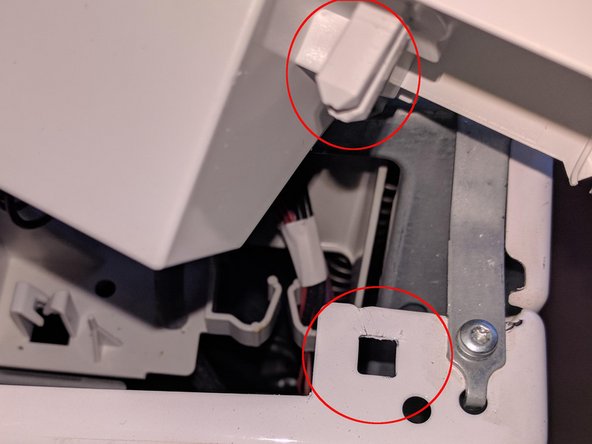
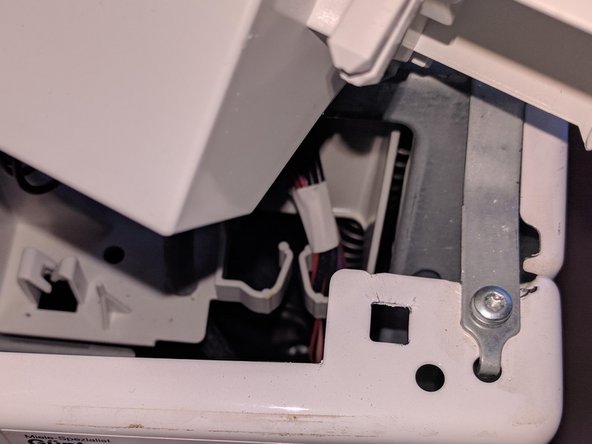
    • Now move the front a bit so that you can loosen the 3 Tx20 screws on the left front. Then reinsert the front panel and fix it with the two upper screws. The left front can now be removed. Attention when installing the left front later, it will be hooked in at the lower end.

    • Be careful when installing the left side cover later, it will be slightly hooked at the lower end.

    • If the machine is to be operated while it is open, the door lock must be fastened first. The screw underneath the door collar has to be fastened as well.

结论

Work the steps in reverse order to reassemble your device.

3等其他人完成本指南。

由衷感谢以下译者:

de en

100%

oldturkey03正在帮助我们修复这个世界! 您也想加入吗?
开始翻译 ›

kapott

于08/25/15注册

2,236 声望

创作了11篇指南

0条评论

添加评论

浏览统计数据:

过去 24 小时: 6

过去 7 天: 41

过去 30 天: 221

总计 4,473